Right a little more progress as of weekend gone.
Firstly the car now SORN. I know I've been saying it for months, but it's actually now off the road officially. There was quite a few complications, which is why it didn't come off in Dec (the original plan). But I'm glad it didn't to be honest.
It'll be back on the road as soon as I have the money to tax, insure and MOT in again! So hopefully mid May?
At least it prevents me from taking it out of the garage pre to detail finish though.
Speaking of the detail, I finished off the the front bumper, did half of the roof, and the whole rear including the lights on Saturday.
So now all that is left of the initial machine polish is the drivers side of the car, and half the roof. Which should hopefully be done tomorrow.
Then I'll glaze it all, followed by the wax!
No pictures as I was working to a strict time limit. Unfortunate as the tailgate has transformed alot (It was heavily heavily swirled).
Will get some of tomorrows progress though!
Tim's GTI. update thread, FOR SALE. NEW WINTERS PG 51
-
Tim_GTi

- Post Whore
- Posts: 12289
- Joined: Mon Jun 25, 2007 6:31 pm
- Location: Newport, South Wales
- Contact:
Re: Tim's GTI. update thread, DETAIL STARTS PG 26
PROGRESS
Spent the last two days cracking on with the Detail!
Finished it off doing the drivers side, over half of the roof and glazed all over.
Here are some before shots
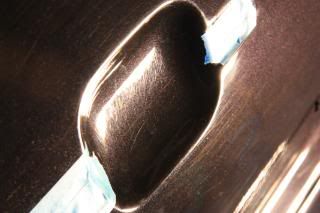
Rear door
Roof

Front wing
Various drivers side
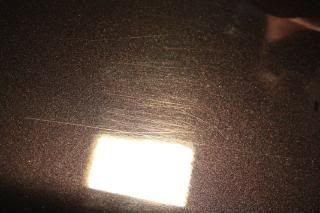
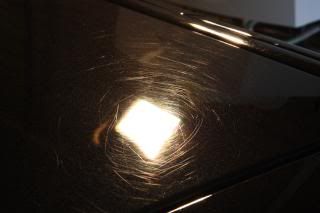
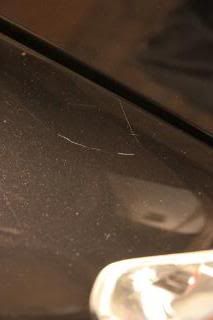
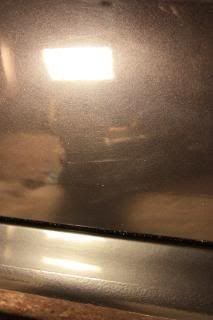
As you can see like the rest of car, the paint was ghastly!
Here were my initial weapons of choice
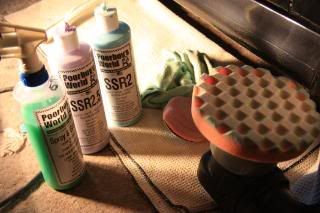
My cutting pads 4" & 6".
Poorboy's SSR2 and SSR 2.5 Polish
Poorboy's Spray n Gloss Quick Detailer
And about 20 microfibre cloths!
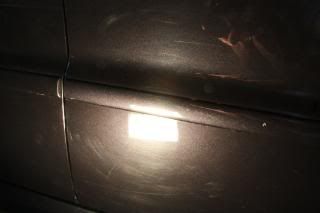
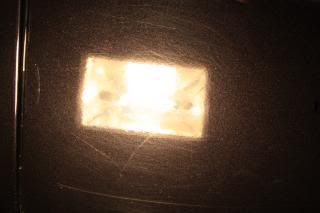
I used the SSR25. all over initially, but got macromarring in some spots (when an agressive pad and polish combo leaves it's own scratches):

So i passed over with the SSR2 after.
Once the car was fully corrected, I cracked on with this:
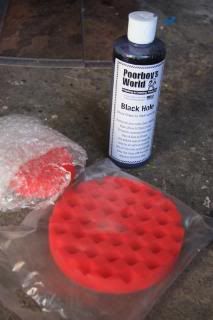
Poorboy's Black Hole Glaze & finishing pads.
This stuff is probably my favourite ever product. It's amazing.
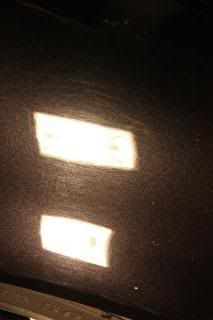
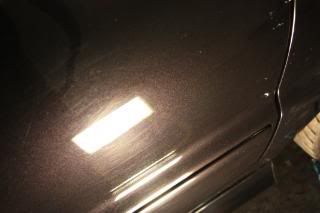
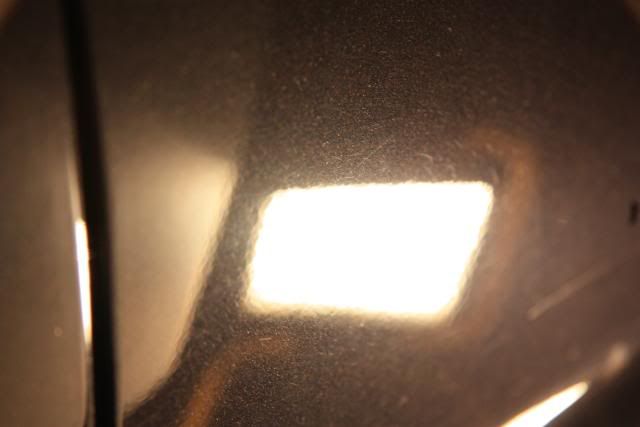
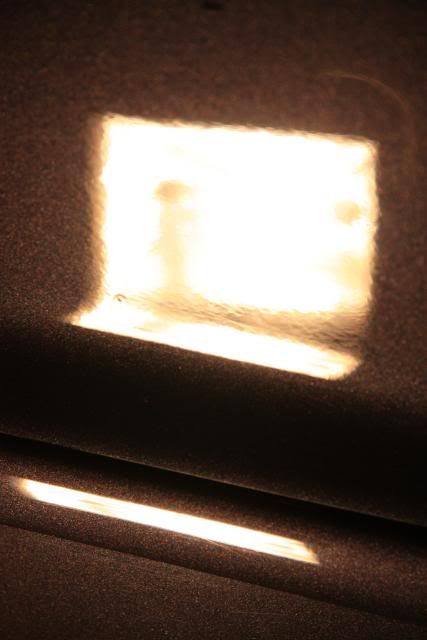
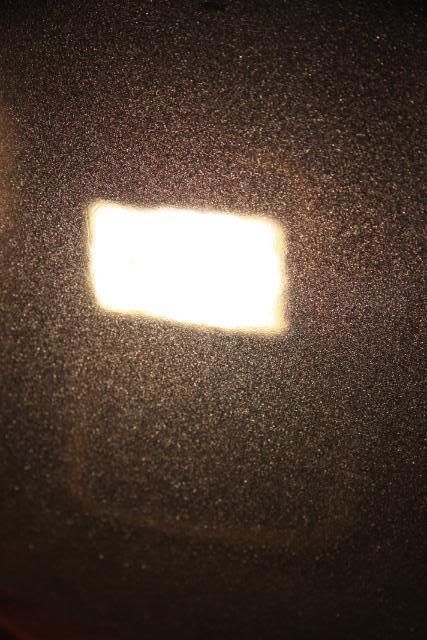
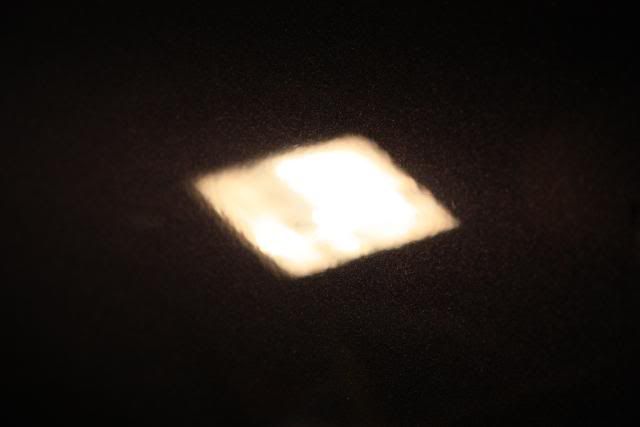
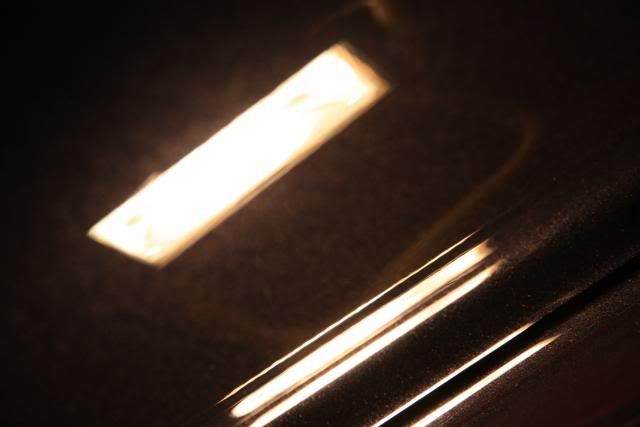
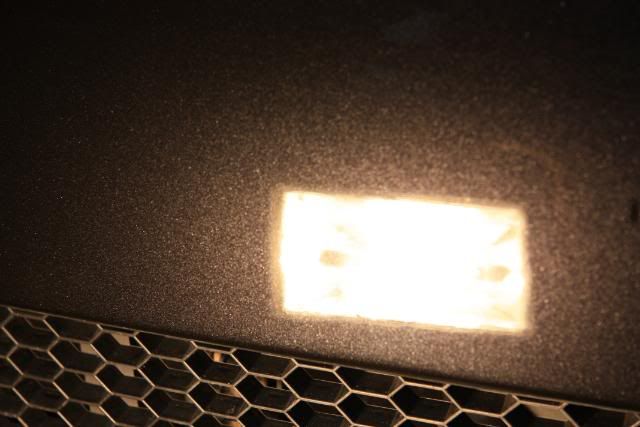
Look at this picture, you can actually see the colour difference it makes to the paintwork! The lighter section on the right hand side is the paintwork before the glaze, the rest is after

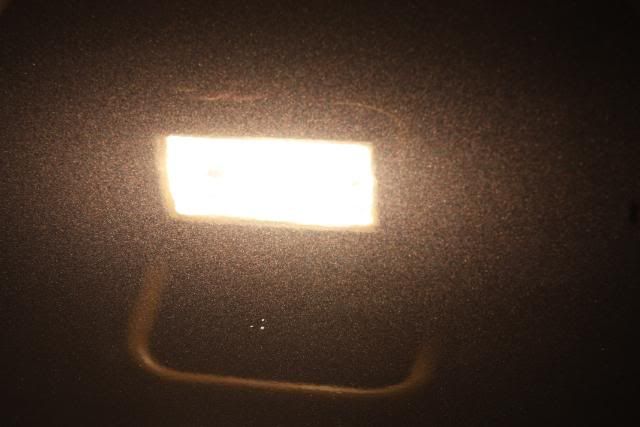
So this is where I'm at now, the car is fully corrected and glazed over, I'm really really happy with the results!
There's still various scratches and chips around the car, but they're not fixable without a respray or running the paint too thin. Most of the them are on the front, but I am planning on getting that redone so it's all good.
Anyway, the results:
various drivers side
Rear bumper
Bonnet

Couple of before and after shots:
before
after
before:

after
before
before
after
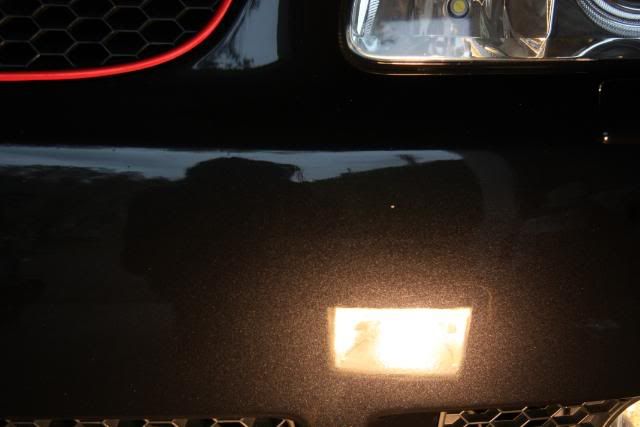
front bumper
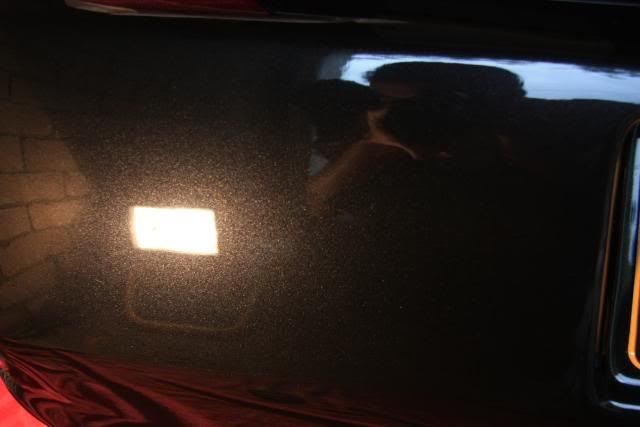
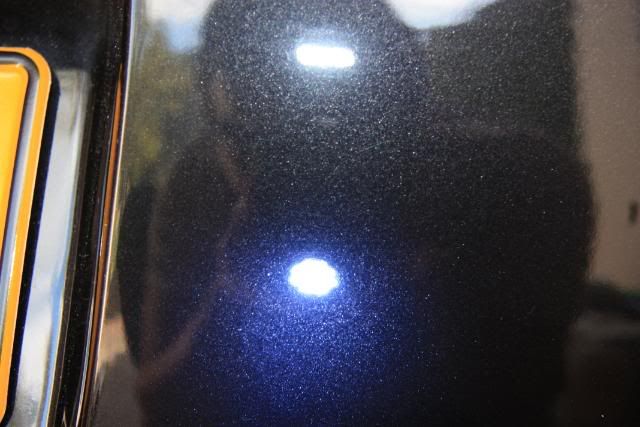
I like this shot of the bonnet, shows the pearlescant paint at it's best!

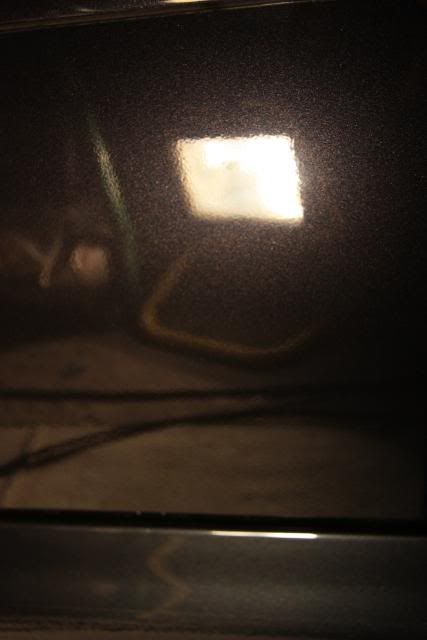
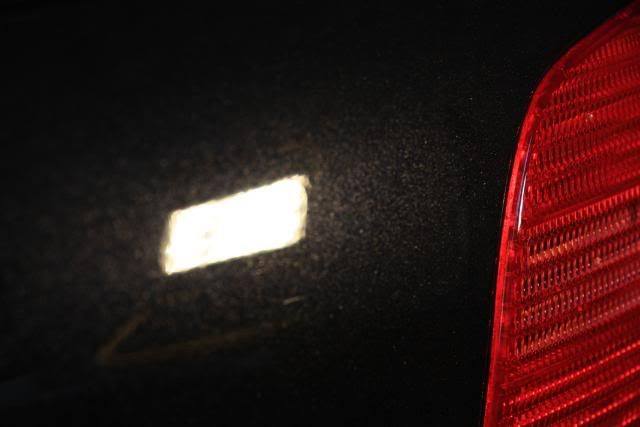
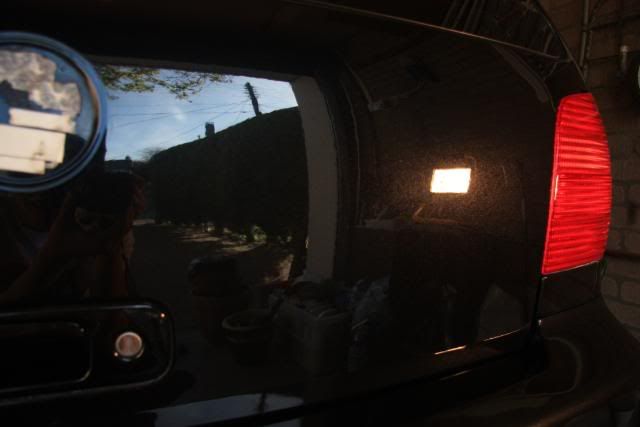
tailgate
Nearly there on the paint front!
Next is give it a wash, then 3 or so coats of collinite. It'll be out of the garage for this, so can get some proper pics
Other jobs still to do:
Clean all the door shuts, machine polish where necessary, and wax them
Dress all the plastic trims & grills, and all the rubber seals
Refit rear badge, and refit front numberplate with new mount
After all that hopefully it'll be back on the road. Then it's polish the Monos and fit them, get them sealed up, clean the arch wells and drop the stance some more!
Comments welcome.
Spent the last two days cracking on with the Detail!
Finished it off doing the drivers side, over half of the roof and glazed all over.
Here are some before shots
Rear door
Roof
Front wing
Various drivers side
As you can see like the rest of car, the paint was ghastly!
Here were my initial weapons of choice
My cutting pads 4" & 6".
Poorboy's SSR2 and SSR 2.5 Polish
Poorboy's Spray n Gloss Quick Detailer
And about 20 microfibre cloths!
I used the SSR25. all over initially, but got macromarring in some spots (when an agressive pad and polish combo leaves it's own scratches):
So i passed over with the SSR2 after.
Once the car was fully corrected, I cracked on with this:
Poorboy's Black Hole Glaze & finishing pads.
This stuff is probably my favourite ever product. It's amazing.
Look at this picture, you can actually see the colour difference it makes to the paintwork! The lighter section on the right hand side is the paintwork before the glaze, the rest is after
So this is where I'm at now, the car is fully corrected and glazed over, I'm really really happy with the results!
There's still various scratches and chips around the car, but they're not fixable without a respray or running the paint too thin. Most of the them are on the front, but I am planning on getting that redone so it's all good.
Anyway, the results:
various drivers side
Rear bumper
Bonnet
Couple of before and after shots:
before
after
before:
after
before
before
after
front bumper
I like this shot of the bonnet, shows the pearlescant paint at it's best!
tailgate
Nearly there on the paint front!
Next is give it a wash, then 3 or so coats of collinite. It'll be out of the garage for this, so can get some proper pics
Other jobs still to do:
Clean all the door shuts, machine polish where necessary, and wax them
Dress all the plastic trims & grills, and all the rubber seals
Refit rear badge, and refit front numberplate with new mount
After all that hopefully it'll be back on the road. Then it's polish the Monos and fit them, get them sealed up, clean the arch wells and drop the stance some more!
Comments welcome.
Re: Tim's GTI. update thread, DETAIL CONTINUES PG 28
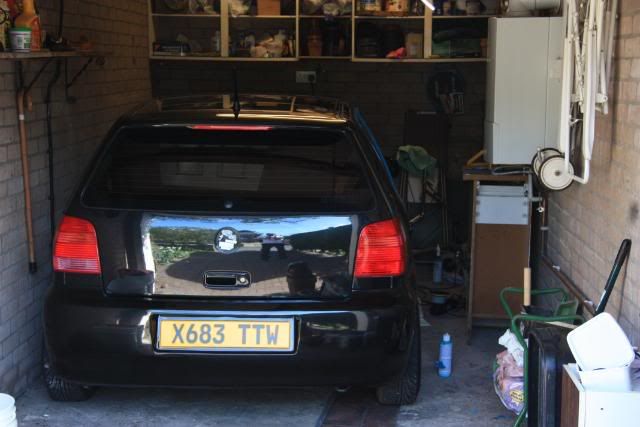
Tim that really is inspirational, I wish I had the dedication and the attention to detail that you have. The last shot in the garage really does make me miss old Polo, LC9Z is by far the best paint code for a VW
Re: Tim's GTI. update thread, DETAIL CONTINUES PG 28
Makes such a difference to the paint. Looks like a totally different paint job on the 'after' shots.
Really impressive work there mate. You wont want to be driving it after all your work lol
Really impressive work there mate. You wont want to be driving it after all your work lol
-
Tim_GTi
- Post Whore
- Posts: 12289
- Joined: Mon Jun 25, 2007 6:31 pm
- Location: Newport, South Wales
- Contact:
Re: Tim's GTI. update thread, DETAIL CONTINUES PG 28
Cheers for the comments guys! Appreciate it.
Adam: that has been a concern of mine haha.
Adam: that has been a concern of mine haha.
Re: Tim's GTI. update thread, DETAIL CONTINUES PG 28
That is some superb work there to bring the paint back up to scratch (no pun intended!). Wish I had the time and dedication to do mine 
-
charlievwp

- Gold Member
- Posts: 577
- Joined: Fri Jul 27, 2007 4:42 pm
- Location: Milton Keynes, Bucks
- Contact:
Re: Tim's GTI. update thread, DETAIL CONTINUES PG 28
Fantastic work Tim! 
Re: Tim's GTI. update thread, DETAIL CONTINUES PG 28
lol. even after i give mine a wash with the jet wash and dry it down, i dont like the thought of grubby roads! so i don't want to know what your thinking lol after a massive cleaning job 
-
chrisjames

- Silver Member
- Posts: 413
- Joined: Tue Apr 08, 2008 8:55 pm
- Location: Edinburgh / Poole
- Contact:
Re: Tim's GTI. update thread, DETAIL CONTINUES PG 28
Yup strong work there
I am guessing you may have seen this but it might be useful for the chips you couldnt repair?
http://www.detailingworld.co.uk/forum/s ... hp?t=20127
I guess it depends how much polishing would be needed on the area and as you said the paint might get too thin.
I am guessing you may have seen this but it might be useful for the chips you couldnt repair?
http://www.detailingworld.co.uk/forum/s ... hp?t=20127
I guess it depends how much polishing would be needed on the area and as you said the paint might get too thin.
-
Tim_GTi
- Post Whore
- Posts: 12289
- Joined: Mon Jun 25, 2007 6:31 pm
- Location: Newport, South Wales
- Contact:
Re: Tim's GTI. update thread, DETAIL CONTINUES PG 28
Cheers for the comments guys.
Can't wait to have some time off to work to finish off the paint with some collinite.
chris- cheers for the link, i hadn't read that particular thread before but was aware of the process. i'm jus a little werey of messing it up! may try one in a more hidden area first though to see how it holds up.
Thanks again.
-
h4r1s

- Platinum Member
- Posts: 1309
- Joined: Tue Mar 21, 2006 4:10 pm
- Location: Leicester/Sheffield Drives: Polo MKV-6N2 1.4SE 16v 75BHP
Re: Tim's GTI. update thread, DETAIL CONTINUES PG 28
Mate that is looking insanely mint now, good work! I need to find a garage to get mine started 
-
Tim_GTi
- Post Whore
- Posts: 12289
- Joined: Mon Jun 25, 2007 6:31 pm
- Location: Newport, South Wales
- Contact:
Re: Tim's GTI. update thread, DETAIL CONTINUES PG 28
cheers mate. yeh get cracking! be prepared to use your more agressive combos, as i found the paint pretty hard!
I'd also well recommend running the poorboy's black hole over as a finisher
I'd also well recommend running the poorboy's black hole over as a finisher
-
Peetje GTI
- New
- Posts: 30
- Joined: Fri Apr 17, 2009 7:43 pm
Re: Tim's GTI. update thread, DETAIL CONTINUES PG 28
Putting in quite some time! Really does look good though, keep it up I was really happy after claying and Megs phase II and III 
-
Tim_GTi
- Post Whore
- Posts: 12289
- Joined: Mon Jun 25, 2007 6:31 pm
- Location: Newport, South Wales
- Contact:
Re: Tim's GTI. update thread, DETAIL CONTINUES PG 28
Yeh I'm doing it really slowy. That way I'm always fresh and only do a few bits a day, don't get bored of it, and don't rush it.
Small update the paintwork is now done! 3 coats of collinite went on it over the weekend. All the doorshuts were cleaned degreased and waxed up. Now all that is left is the plastics!
Have got pictures, just haven't sorted them out yet.
Small update the paintwork is now done! 3 coats of collinite went on it over the weekend. All the doorshuts were cleaned degreased and waxed up. Now all that is left is the plastics!
Have got pictures, just haven't sorted them out yet.
-
morris_GTI
- Getting There!
- Posts: 81
- Joined: Tue Apr 29, 2008 8:31 am
- Location: Thames Valley,Buckinghamshire
Re: Tim's GTI. update thread, DETAIL CONTINUES PG 28
dude your detailing works is a bloody good efffort!
i need to do mine, i always wash with the 2 bucket method and a wool mit and i can see a lot of swirls now from years of predecessors using a sponge :\
do you happen to know a good website/shop that you can purchase machine polishers from and/or poor boys polishing products ?
keep up the good work man!