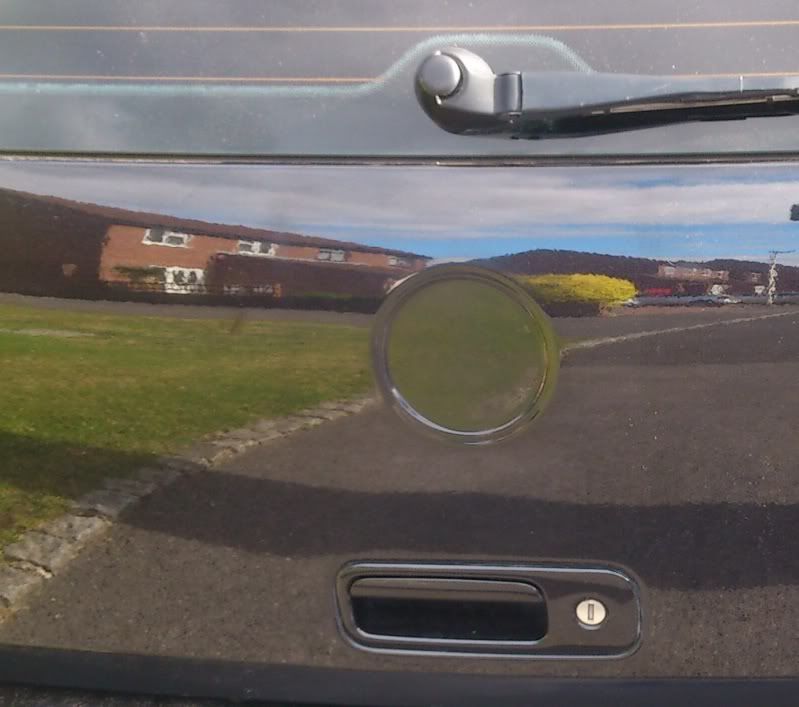
Okay, so I recently decided to do something with my rear VW badge as the faded grey bits on the backing were starting to annoy me...
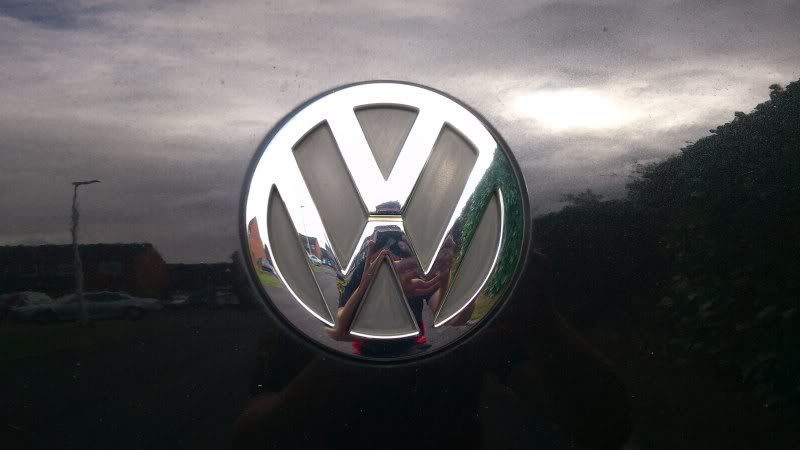
I've always liked the chrome so didn't want to change the colour of the VW bit. I originally didn't want to go through the effort of taking the badge off the car so I tried to paint the backing with a touch up kit. This failed miserably as the paint didn't dry in a smooth way, instead it was all rippley and looked even worse...
So I started researching the method of removing the badge and spraying it to give it a much better paint job.
I found dribs and drabs of information (mostly people asking questions of how to do it on Club Polo) online but not a great deal, hence this tutorial to try and put everything together and allow people to see that it really isn't that difficult and to provide some guidelines for anybody who wants to do it in the future.
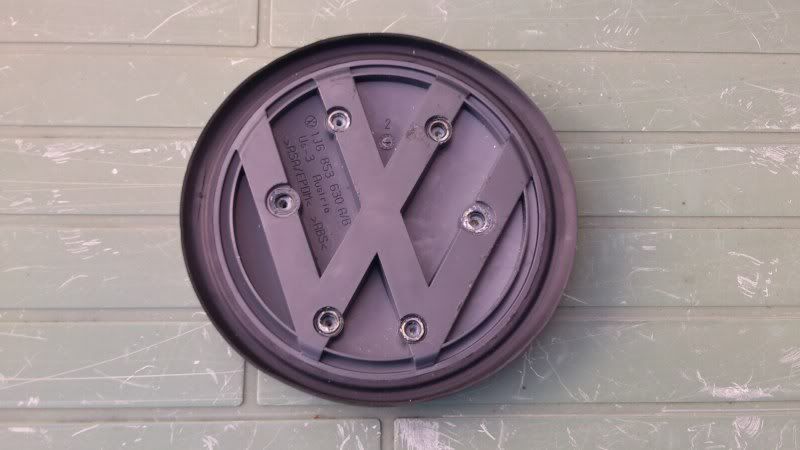
The rear VW badge is not bolted or held on with any clips, it's purely stuck on with some ridiculously sticky German double sided pad. The best method I found was to heat up the badge with a hair dryer/heat gun (loosen the glue) and try and work it loose with either a lolly pop stick or something similar. I used a debit card which I was just about to shred which was very handy. Dental floss also works well to slip under the badge and almost cut it away from the sticky pad underneath. Then with a bit of tugging the badge should come off. Half of the sticky pad was left on the badge and the other half was stuck on the car. I spent quite a few hours trying to get what was left on the car off. I used the combination of the corner of the debit card, nail varnish remover and T-cut to get it all off in the end.
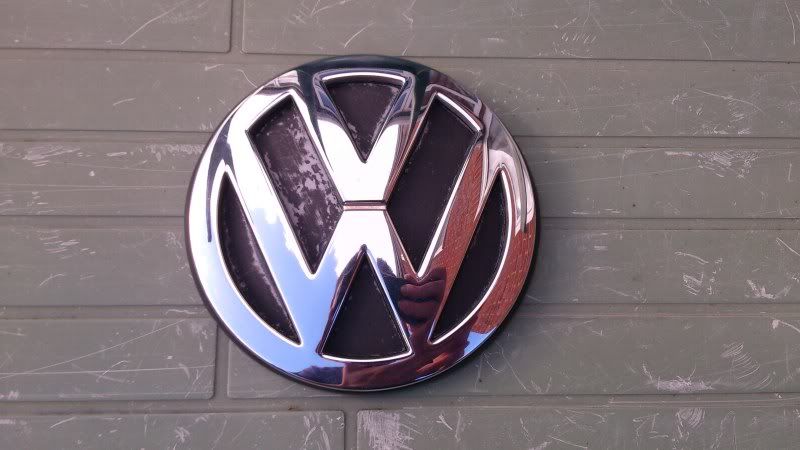
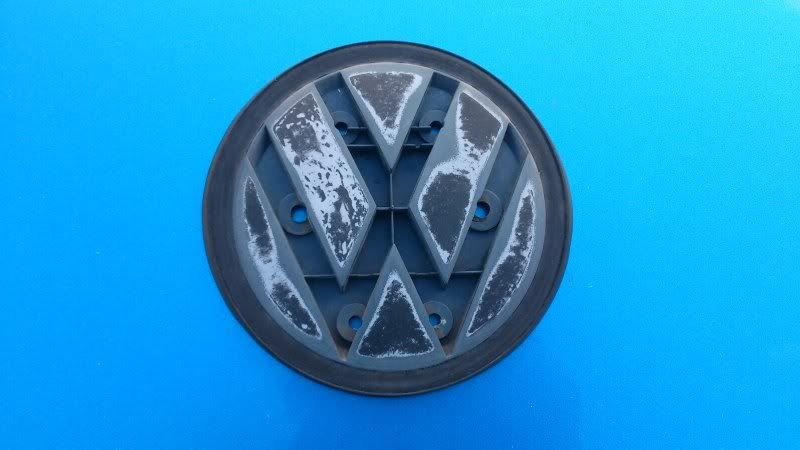
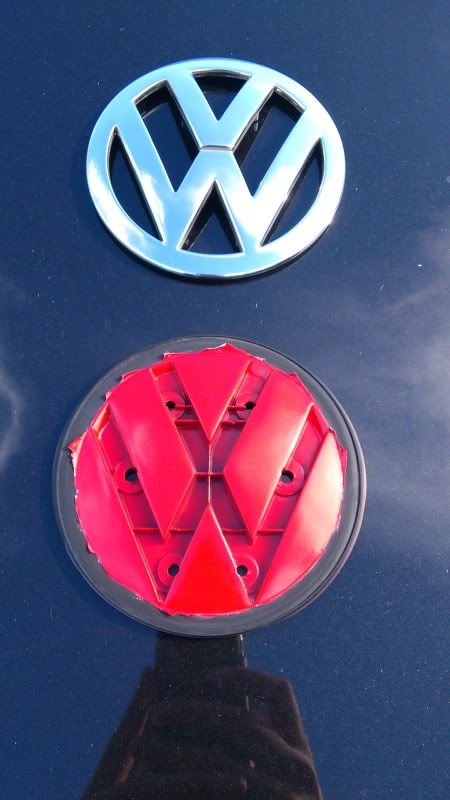
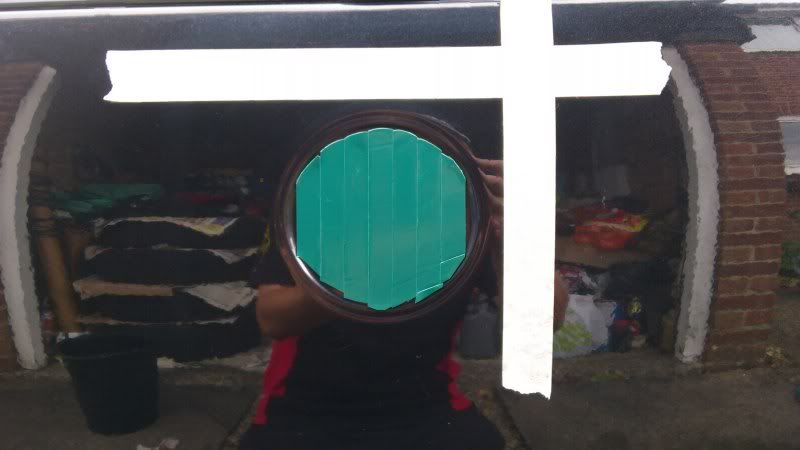
Badge once off the car: (the awful touch up paint job I did cannot be seen, I'd already sanded down the backing the badge is back together just for picture purposes)
Recess left behind:
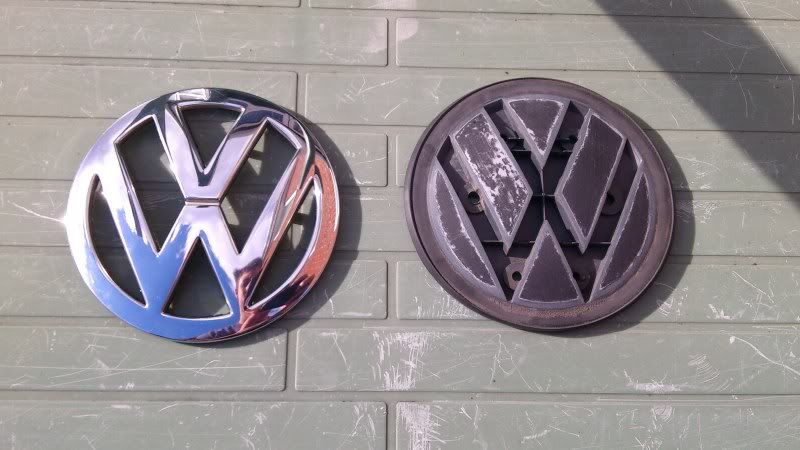
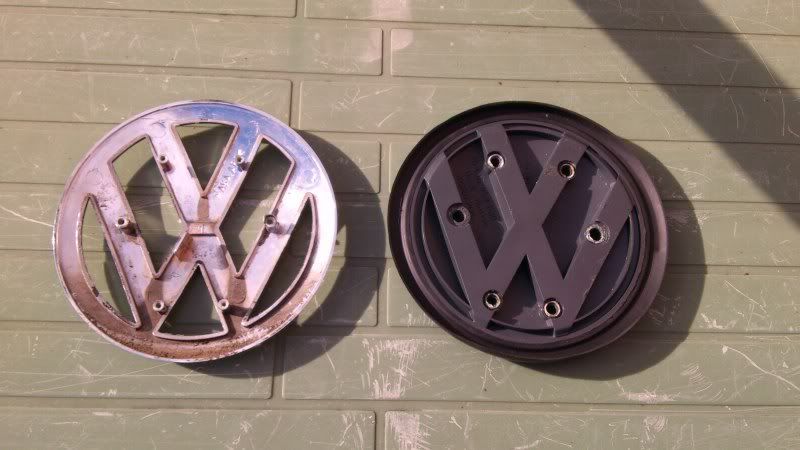
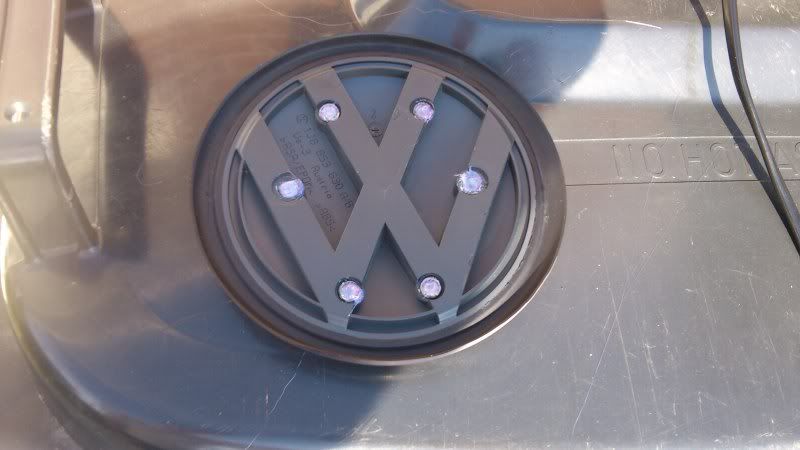
Once the badge is off, you can turn it over to see that the chrome VW section is stuck onto the backing and held in place by some plastic rivets which have been melted on. I read somewhere that someone had suggested to melt them off with a soldering iron but I decided this would be too messy so I essentially drilled the tops of them off and slipped a tea spoon between the chrome and the backing to prise the badge apart.
Back of badge drilled:
Before spraying and as I had already attempted to paint it, I had to rub the badge down to take the touch up paint off.
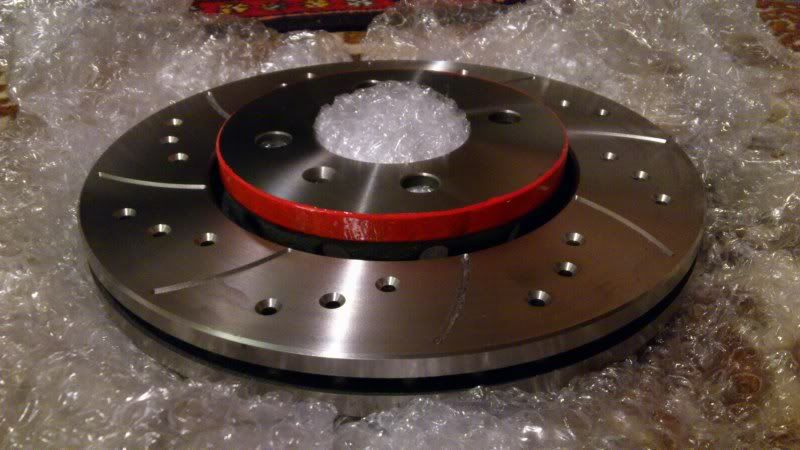
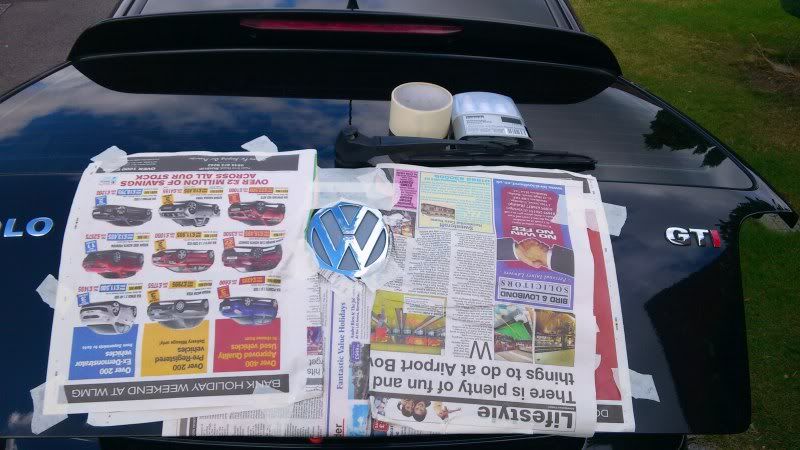
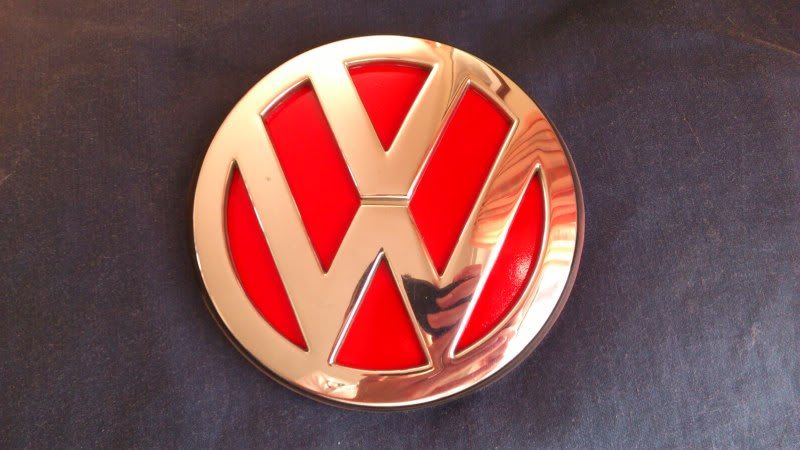
Once nice and smooth I then primed it, sprayed it red followed by a nice coat of lacquer...
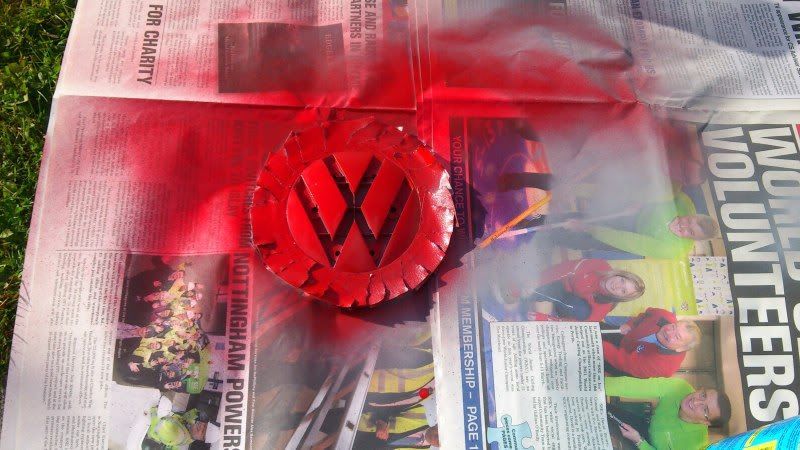
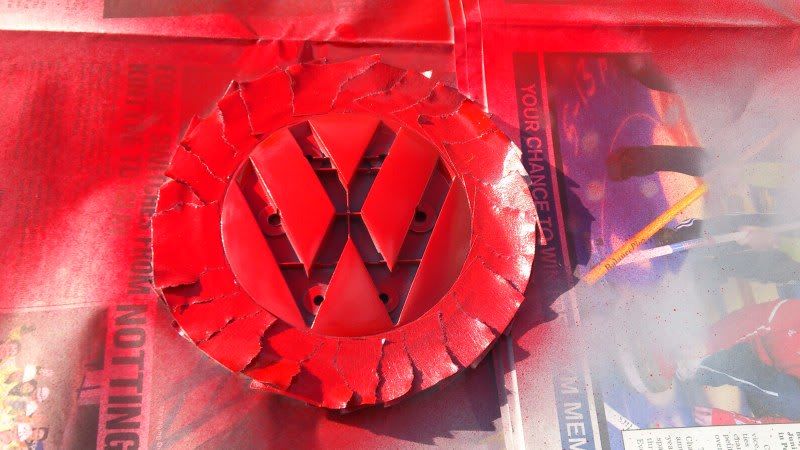
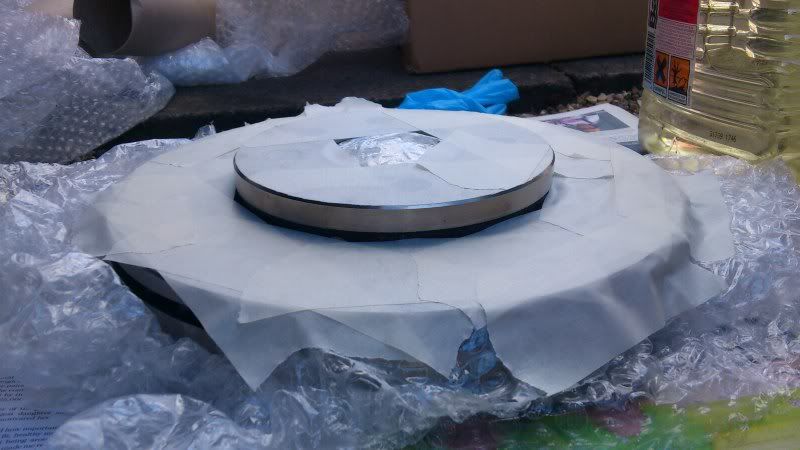
I masking taped up the edges of the badge (the rubbery seal) so that these would stay black.
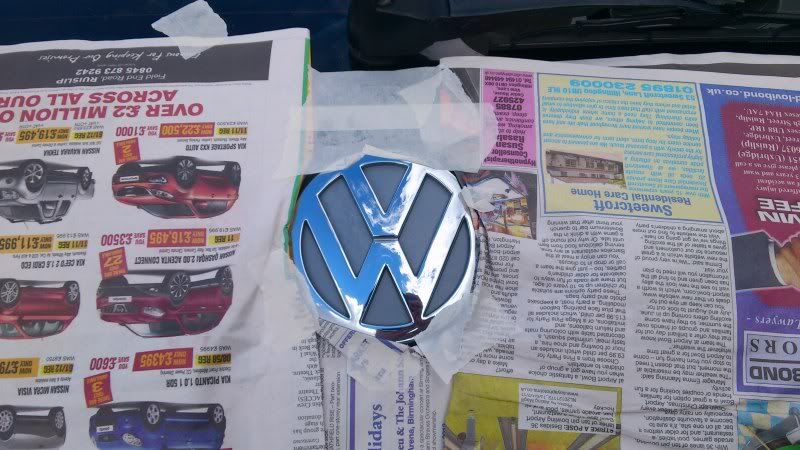
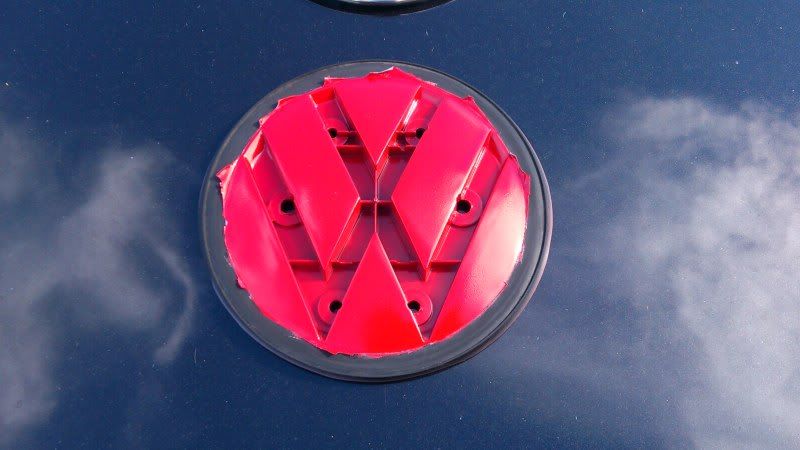
Dried with the tape off:
Now the badge is ready to be put back together:
Instead of using super glue which will become brittle after time, to replace the plastic rivets I used a glue gun:
Badge back together in one piece:
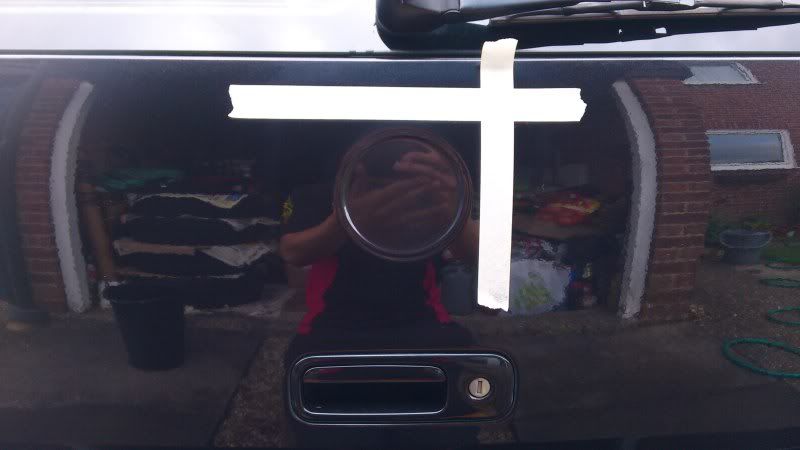
So after cleaning the recess, I marked up with tape the lines that I could see which were left behind by the badge on the boot lid. The edges of the tape would provide me with a guide of where the badge should sit and then I can also check to see if the VW sign is actually straight. To stick the badge back on the car I used Halfords number plate sticky pads which come in a long reel (just like masking tape but not so much width) so I can to cut this into strips and size them in order to fit in the recess:
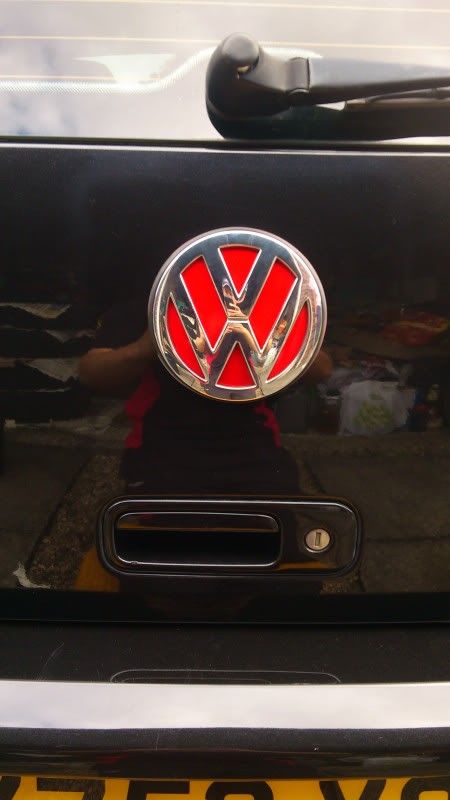
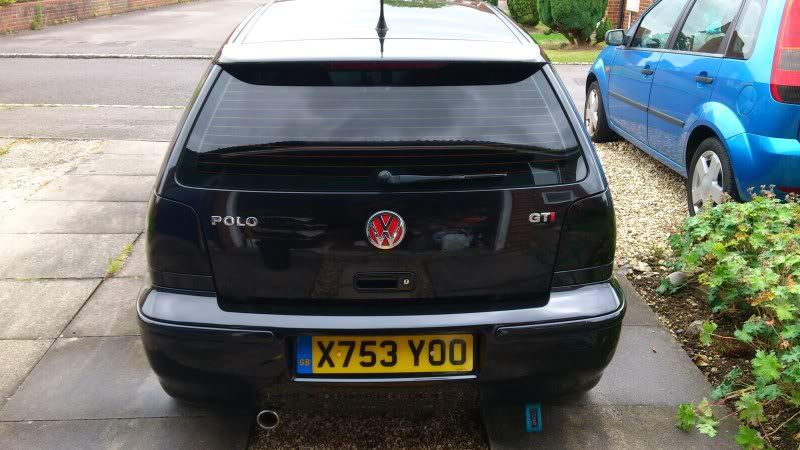
Finally, the finished piece!

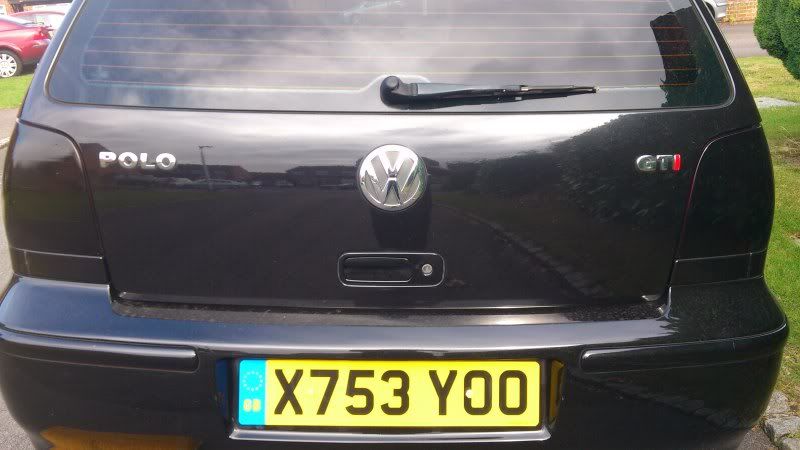
Before:
After:
I hope this guide is of some use!