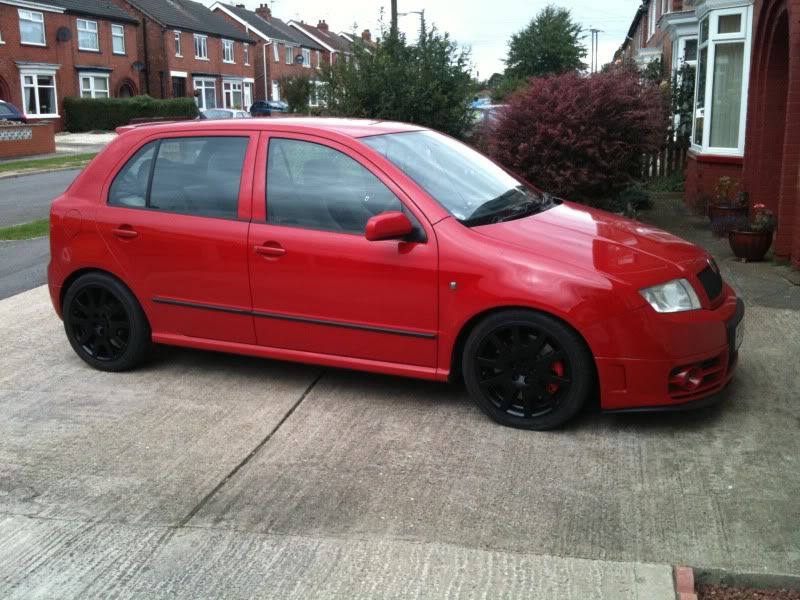
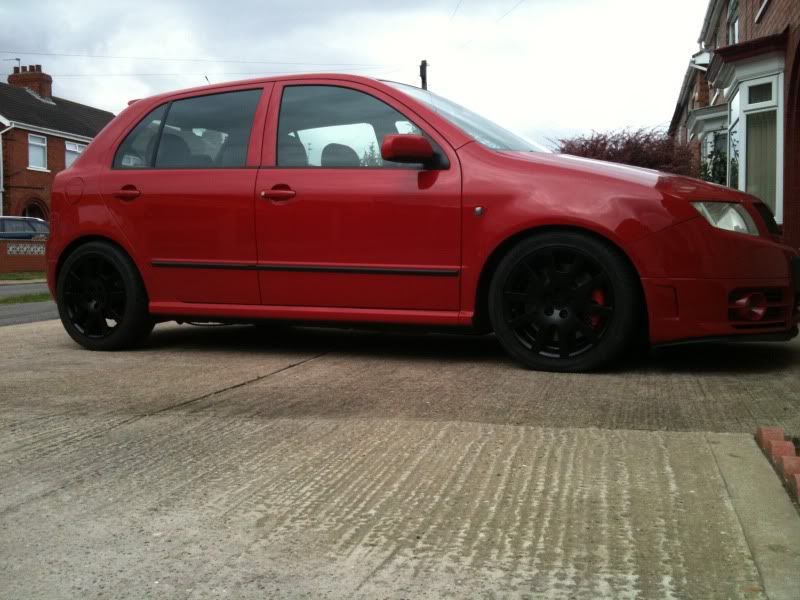
bit of an update, if anyone cares haha

Currently running 195bhp and 455nm torque.
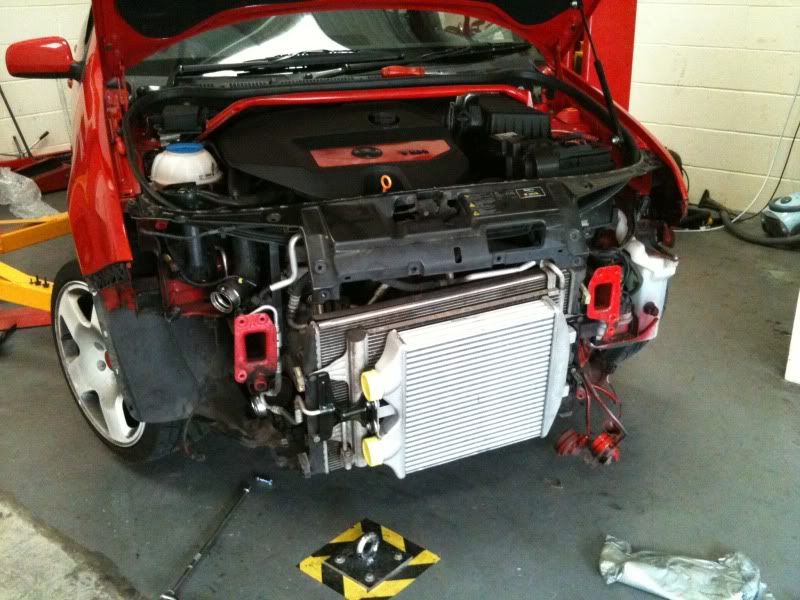
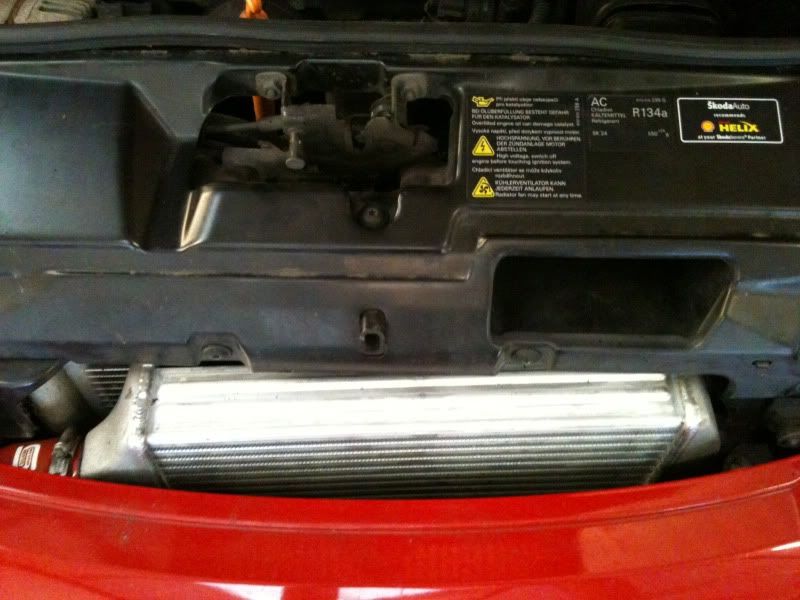
Well the FMIC is now all fitted. A massive thanks to Chris at CC Tuning for been an actual leg end.
We did a before, after and another remap to see what actual gains the FMIC gave.
I've done a quick how too for Briskoda, so i'll just paste it in here.
Fitting the Seat Sport FMIC onto a Fabia vRS
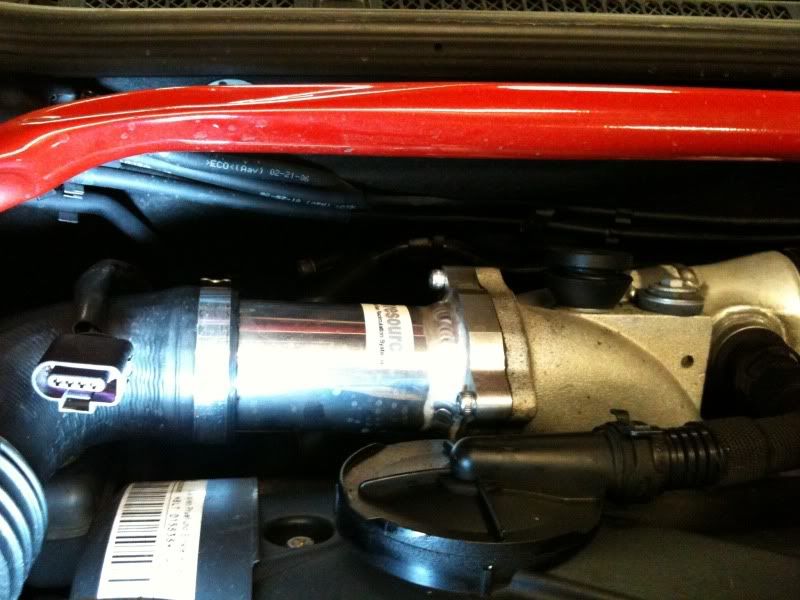
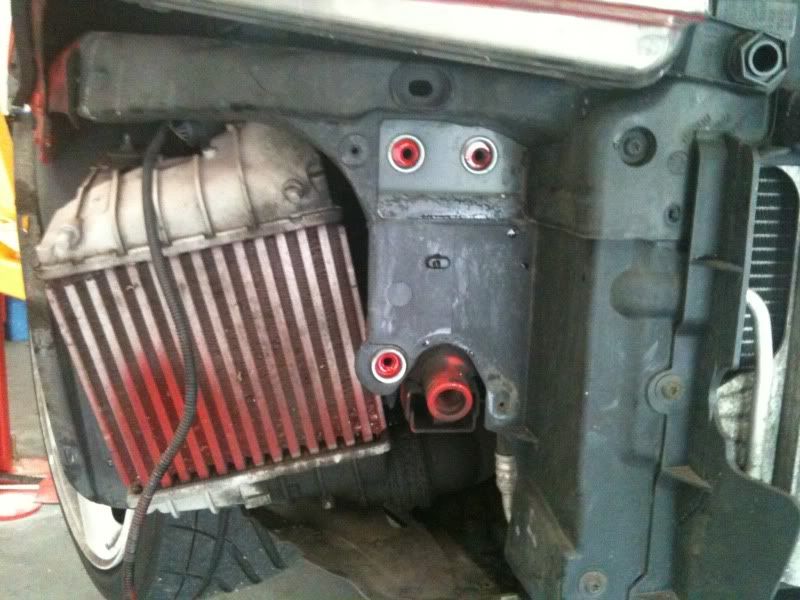
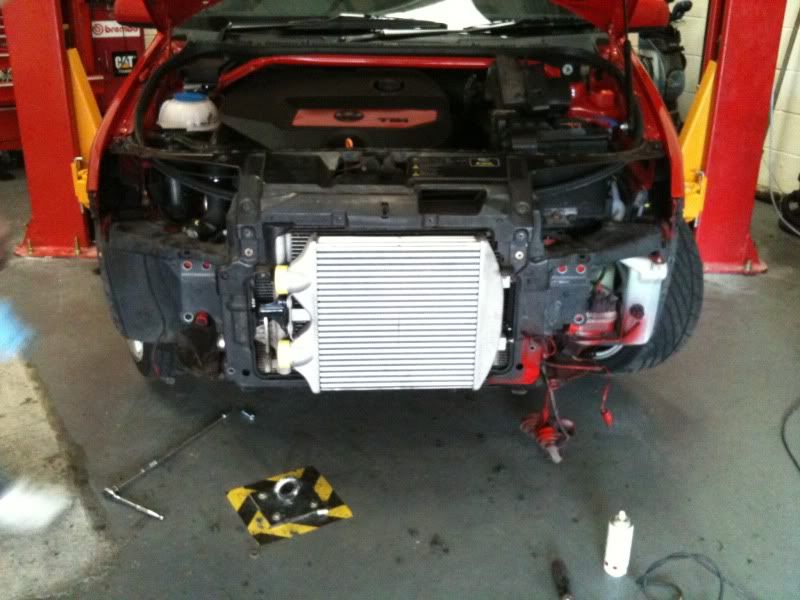
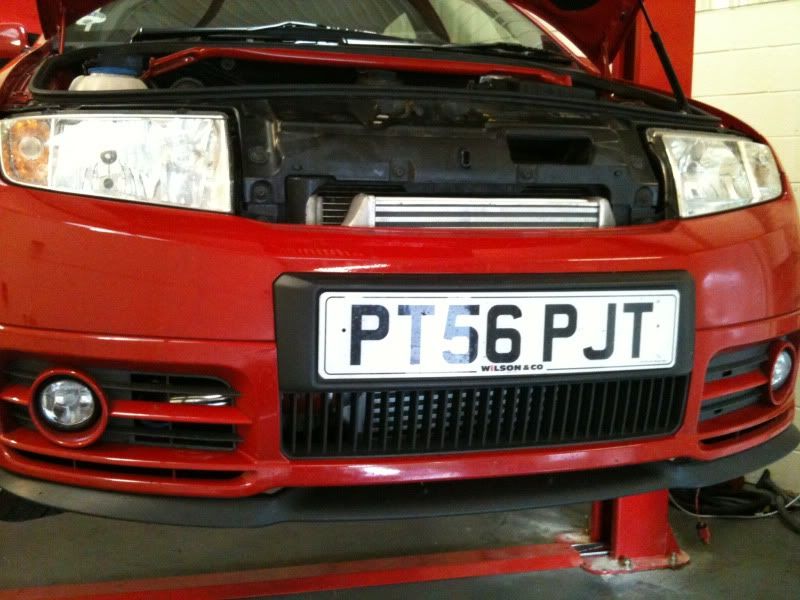
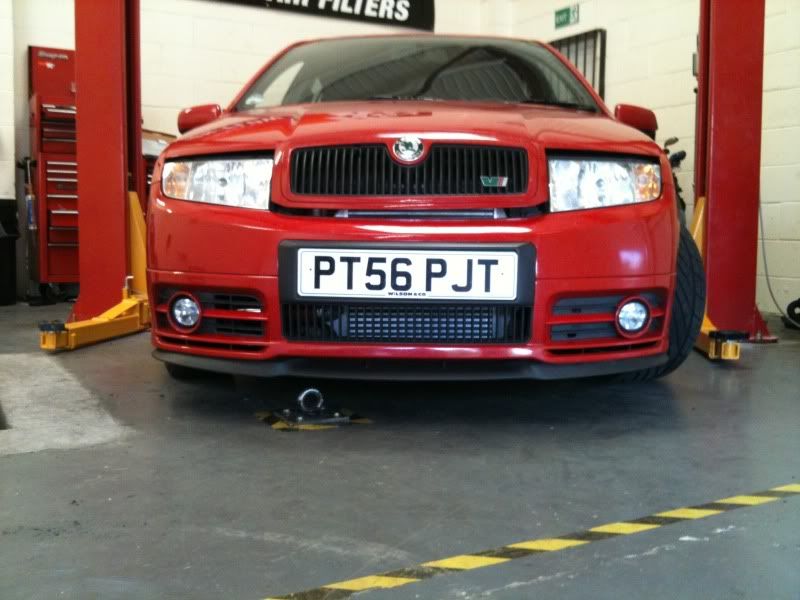
So this is what a Fabia vRS looks like without a FMIC:
First things first, this is how I carried out the install and is only a guide. If you manage to kill yourself or someone else by following this.. You’ve done it wrong.
Items needed:
Seat sport FMIC
Mounting brackets
Pipe work
Tools:
Selection of different Torque screwdriver attachments. (The star shaped ones)
Selection of different sockets
Screwdrivers
Sharp knife
Angle grinder
Hammer
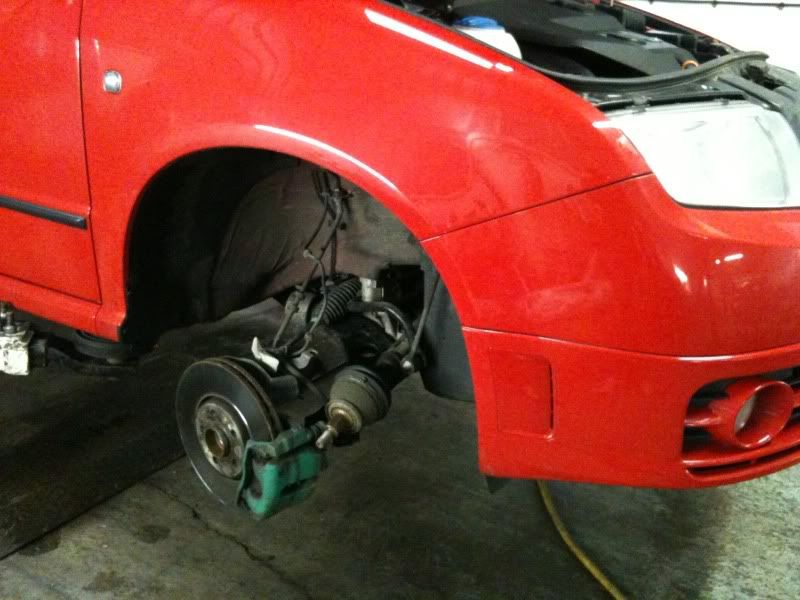
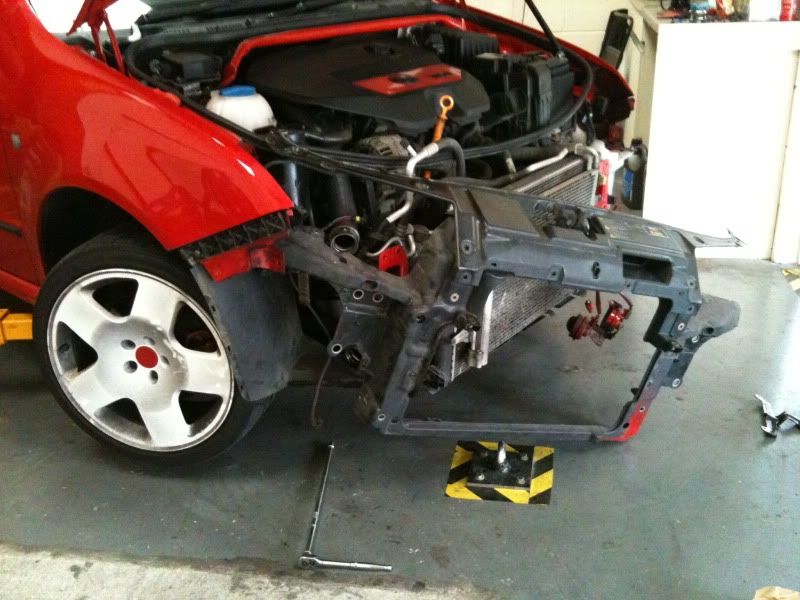
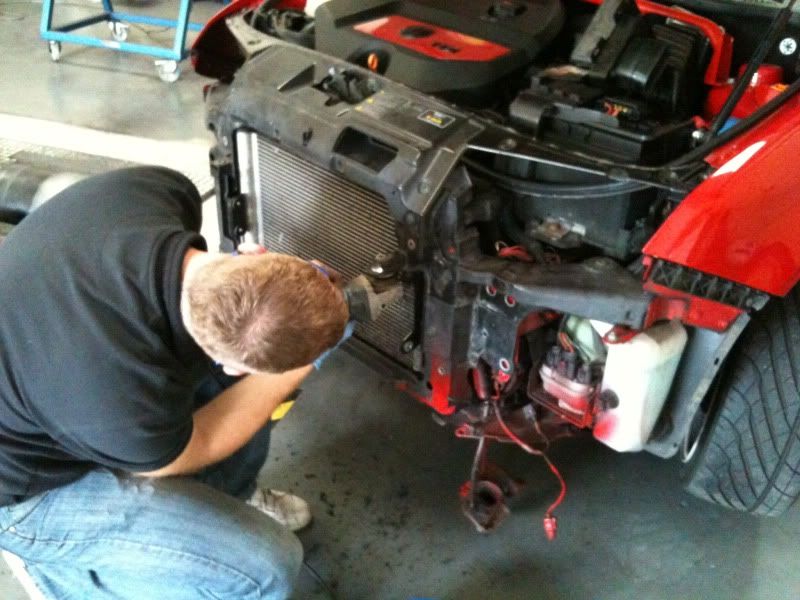
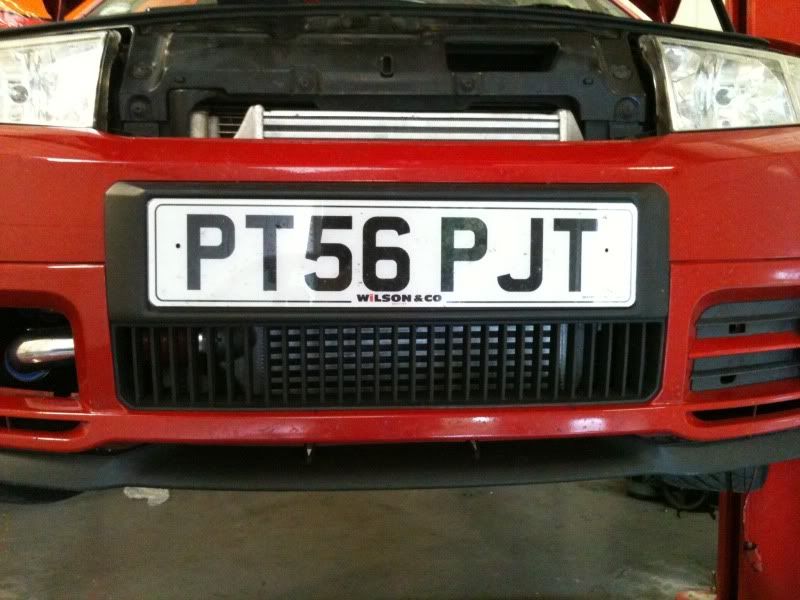
Get the bumper off.
In this picture I have done a yellow dot for screws, which are in the arch, on top of the bumper and underneath. The three orange dots show where there are three plastic clips, which I just cut away. The fog lights and temperature need to be disconnected too.

Take off the crash bar.
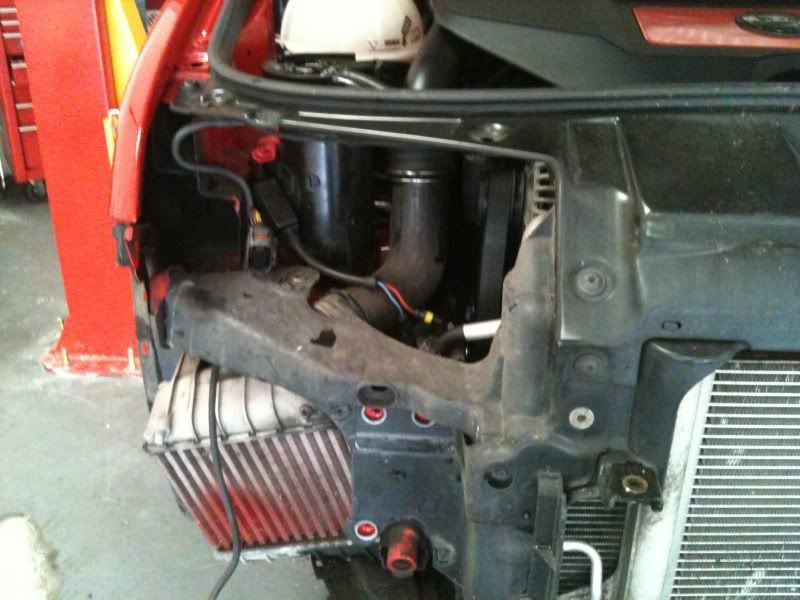
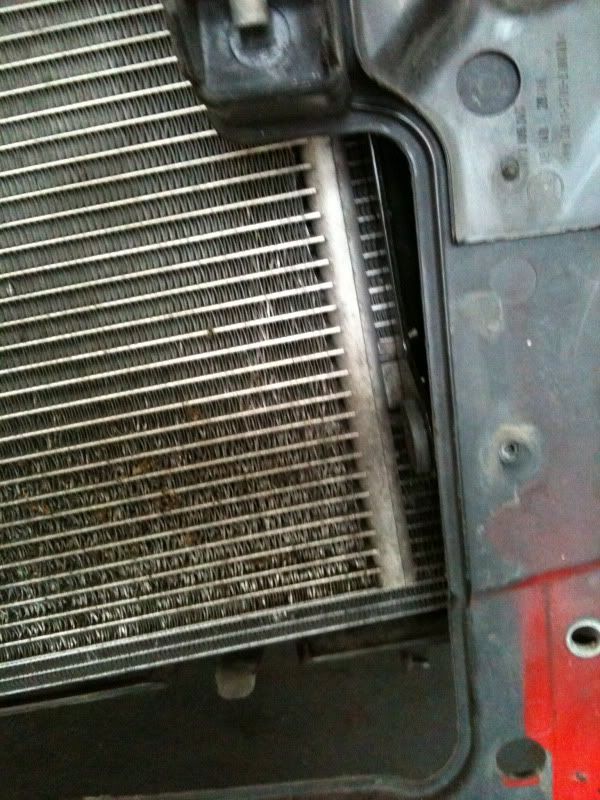
Once the bumper is off you can see the Torque screws which need to be removed. This picture shows where the screws came from and also the SMIC which is to be removed.
We decided for ease to remove the headlights, this will become clear later.
There are two torque screws and a bolt to hold the headlight in place then unclip the wiring.
[
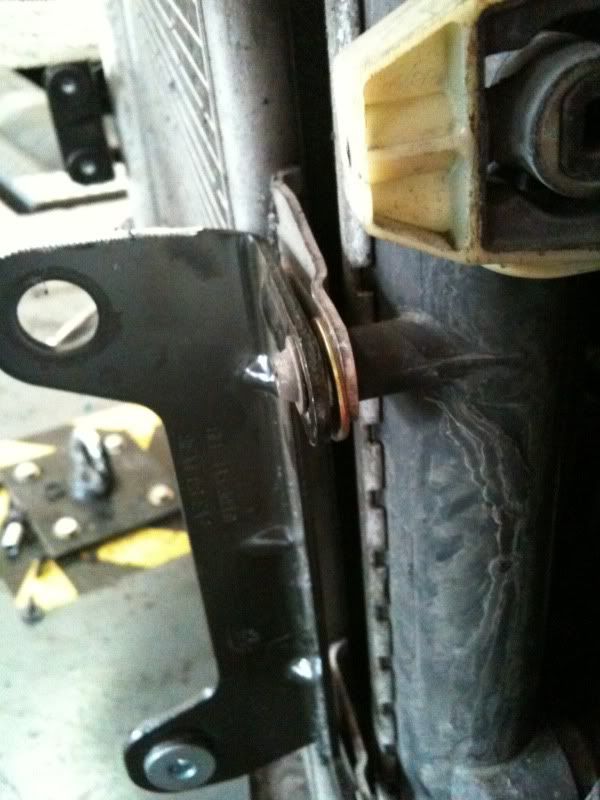
The next step is to remove the old SMIC, This is held in place with a few bolts and clips, once you can see it, it’s obvious what needs to be done here. The pipes are removed using a flat screwdriver to pop off the metal clips, and then they just pull apart.

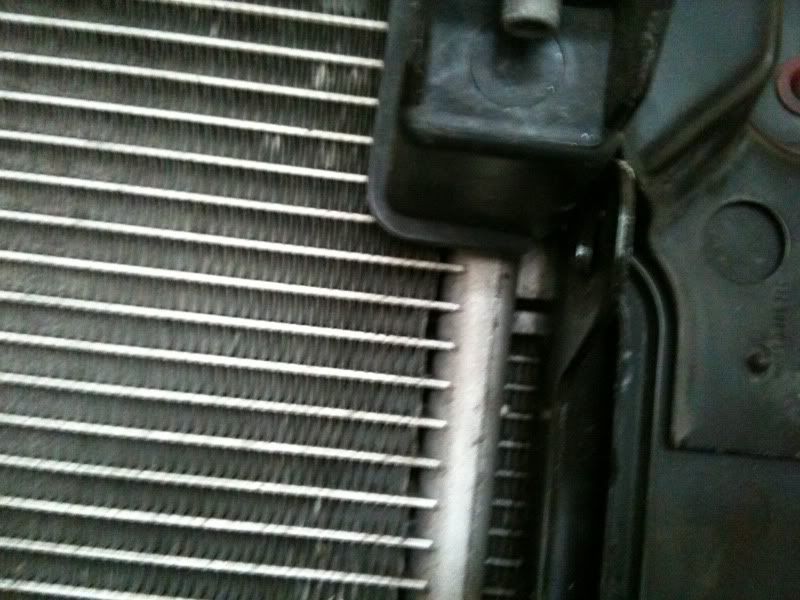
This step is different to what I have seen done before as I wanted to try and make the FMIC look as standard as possible, so I removed all the plastic which holds on the radiator etc. This is held in place with lots of torque screws and some clip things, once again it’s simple to see where the screws are once in front of you.
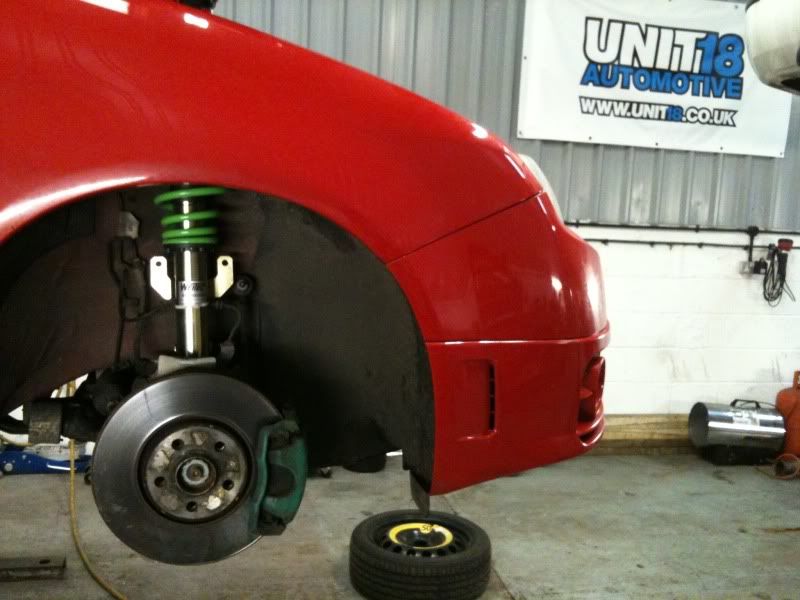
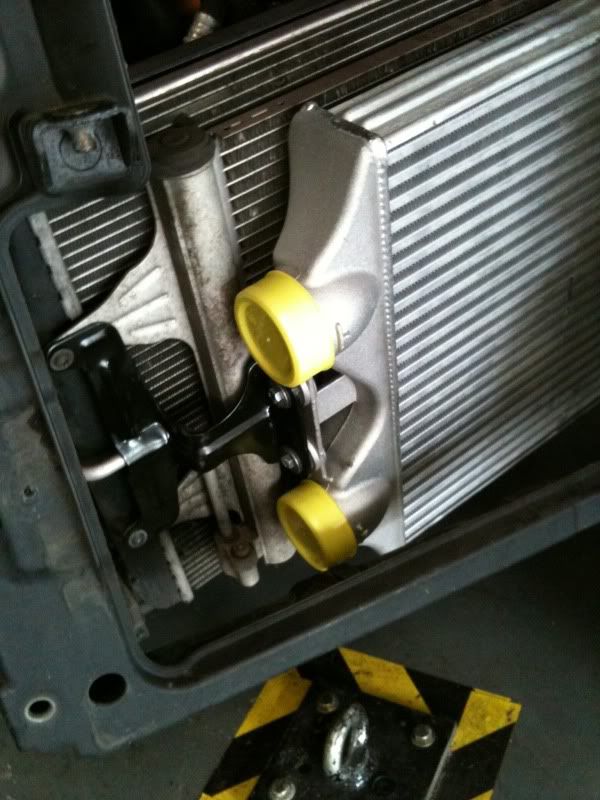
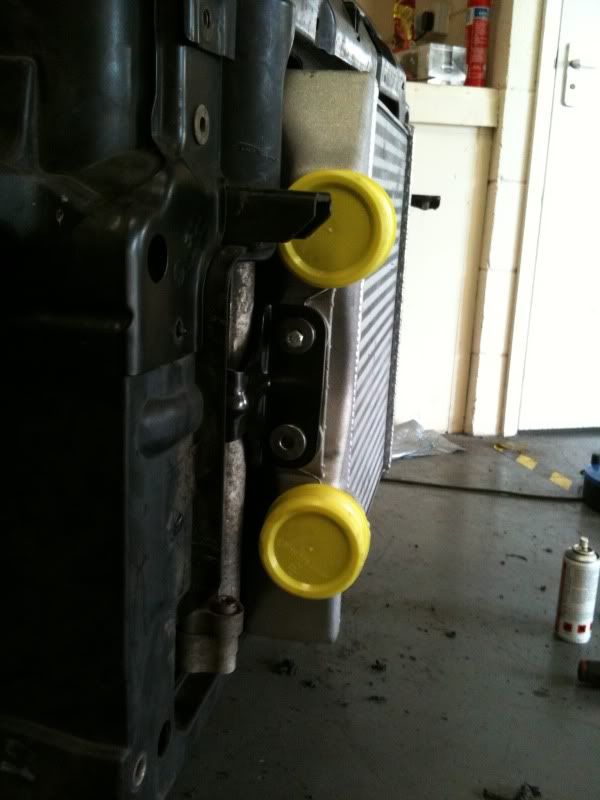
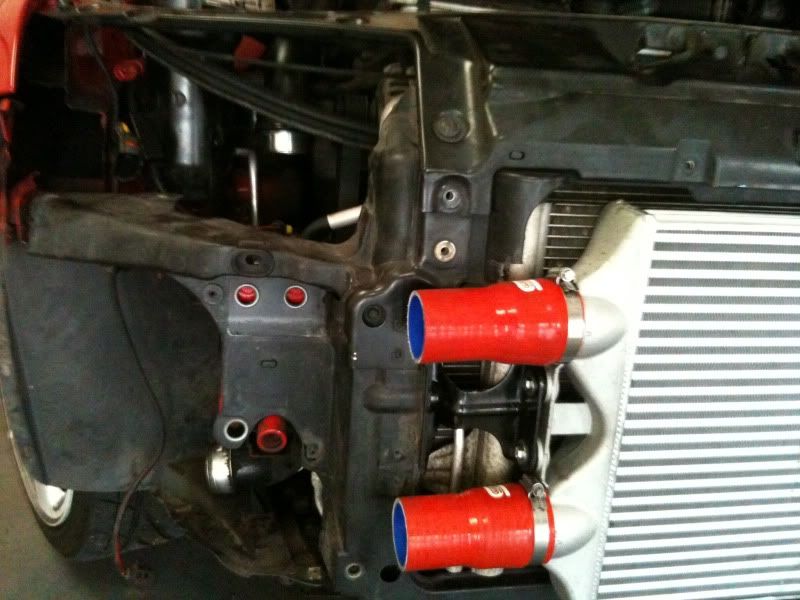
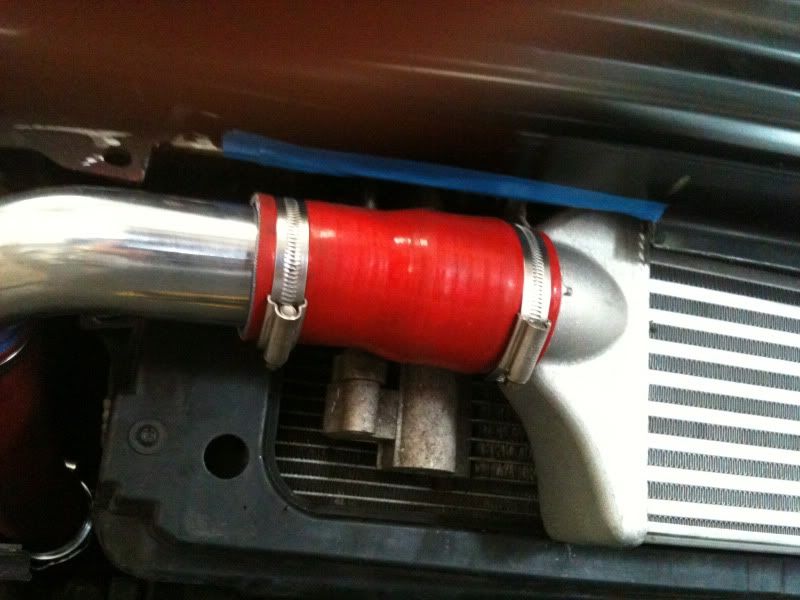
We test fitted the FMIC with the brackets and found it could do with been about 2mm further forward away from the radiator, so we put in some washers to space it a bit.
Once both brackets were secured in place, they bolt directly to the mounting holes of the radiator, so the same screws are used. We attached the FMIC.
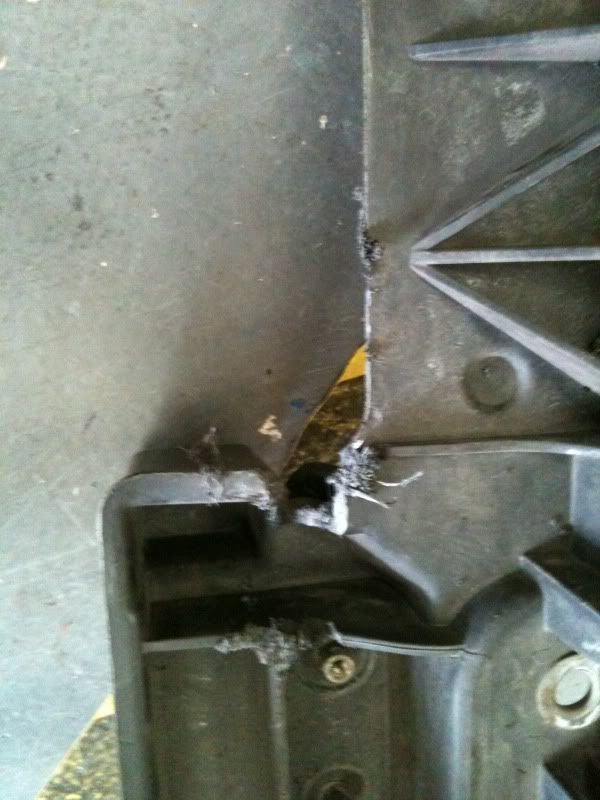
Now the FMIC is in place the hard parts, or more frustrating. Cutting the black surround so that it doesn’t foul on the intercooler. This part will need to be done without guidance, as I cannot say how much/little needs removing. Just offer up the plastic and see where it fouls and cut away the plastic as you need, we used an angle grinder as it was easy.
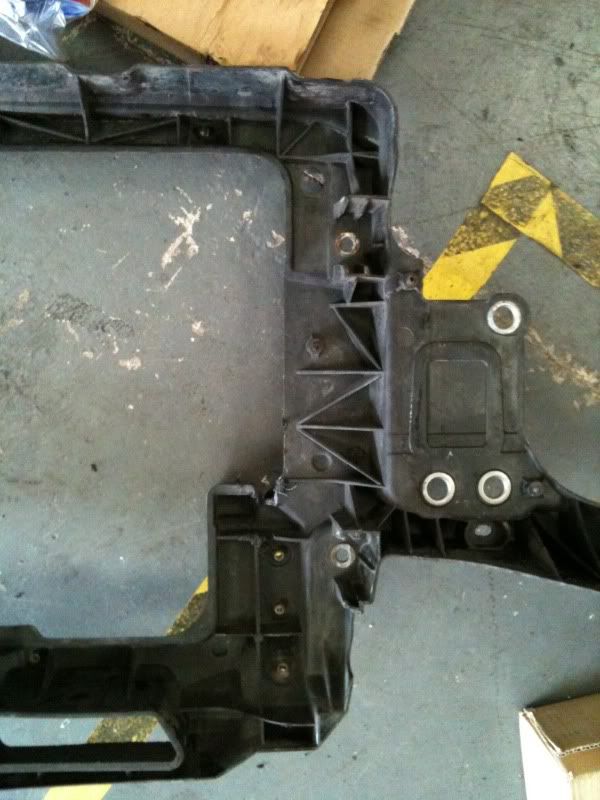
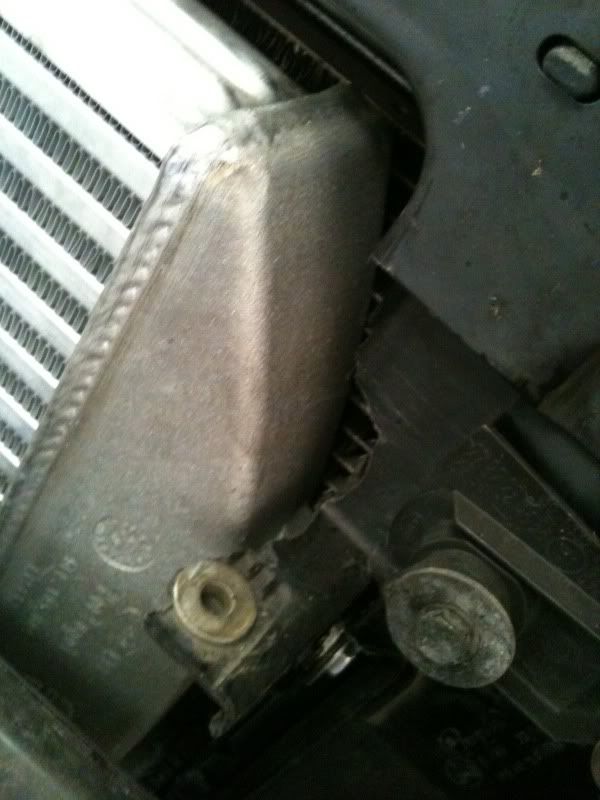
This shows how the whole bumper bracket needs to be chopped off.
Picture of all the plastic trimmed and back together with the small FMIC snug inside
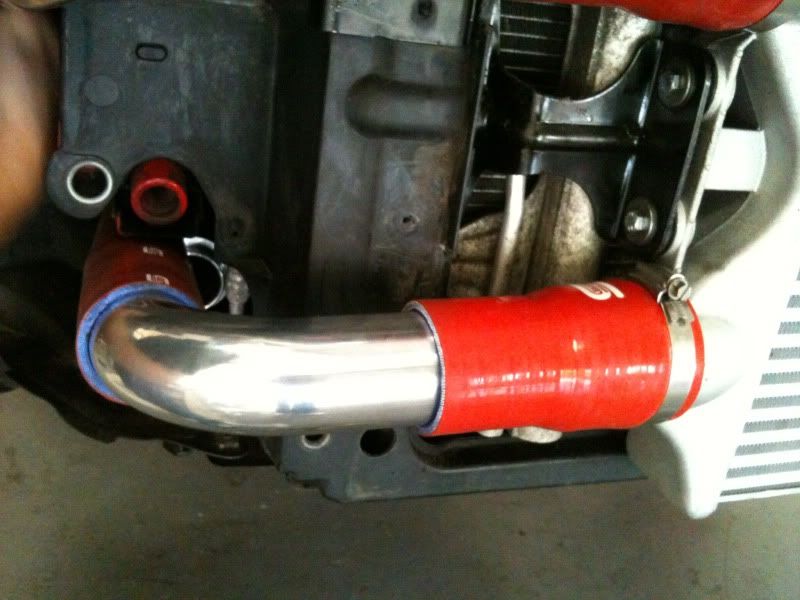
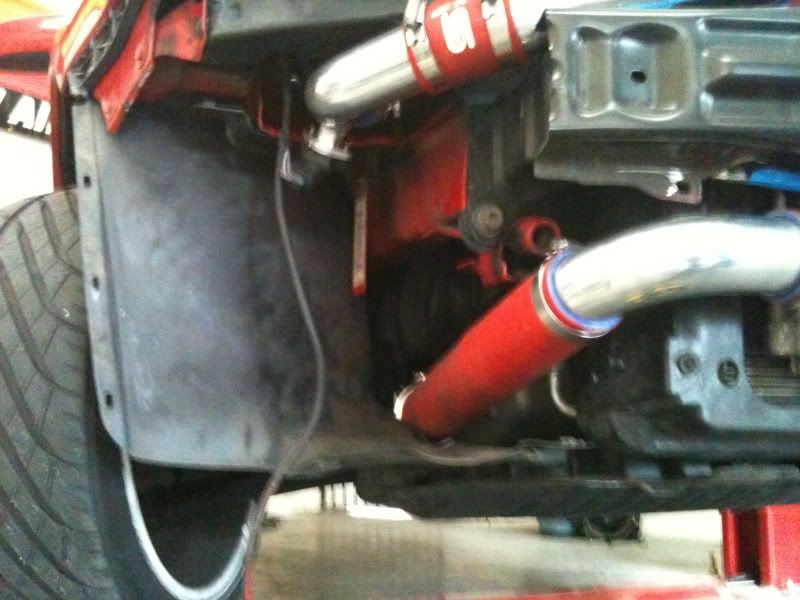
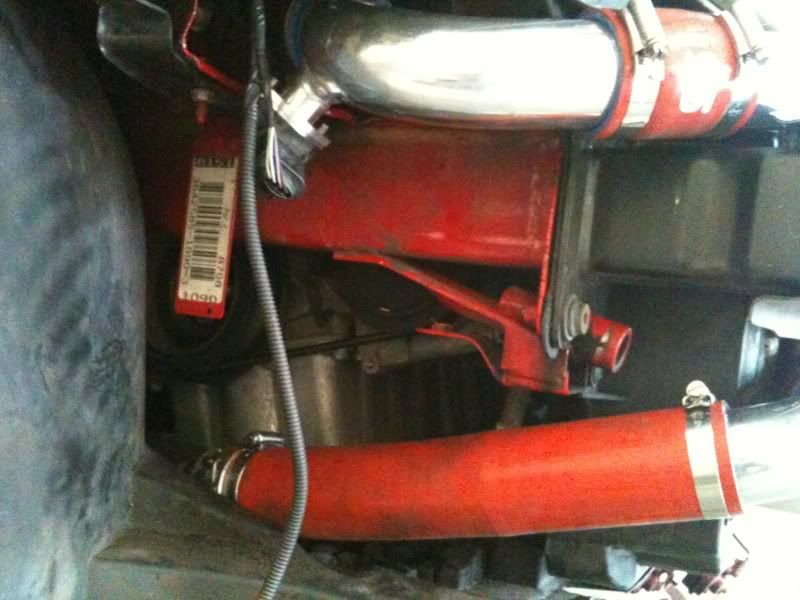
Then time for the piping, making sure it all fits. No need to tighten it all yet as it will need to come apart to see where the crash bar needs to be altered. (REMEMBER to remove the old seals from your original pipe work and fit them in the joints that connect the new pipe work to the old, I forgot and by god did the car smoke ha-ha)
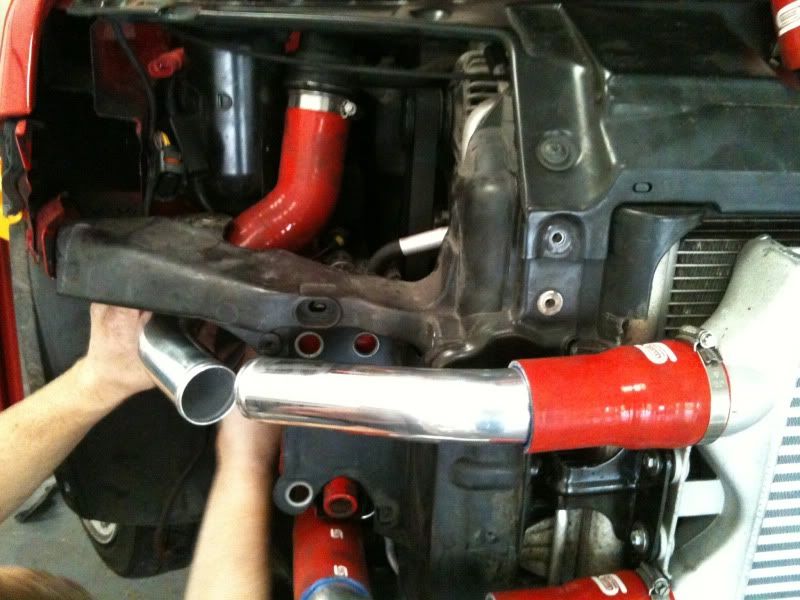
We decided to remove the whole of the lip so that there was no way it could foul on the pipe work. Put some blue tap on it to show what was cut. Then tightened the crash bar back onto the car.
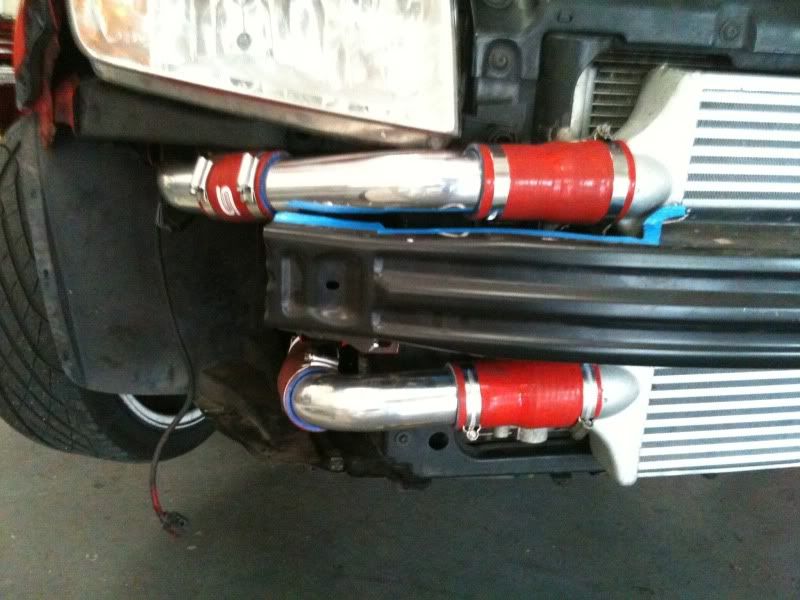


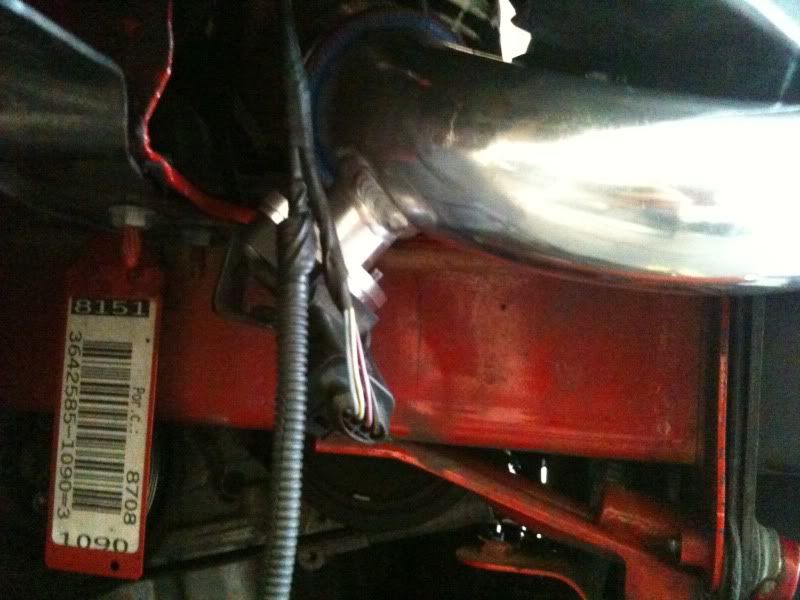
Then fitting the MAP sensor, this needs to be taken from your old SMIC and put onto the pipe work, I managed to get the plug to fit inside the sensor by removing a few cable clips to give me that extra inch.
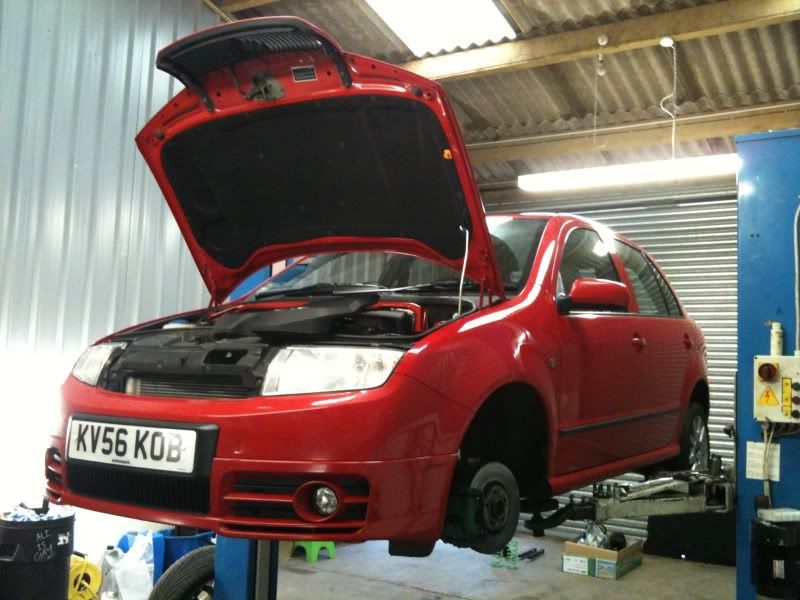
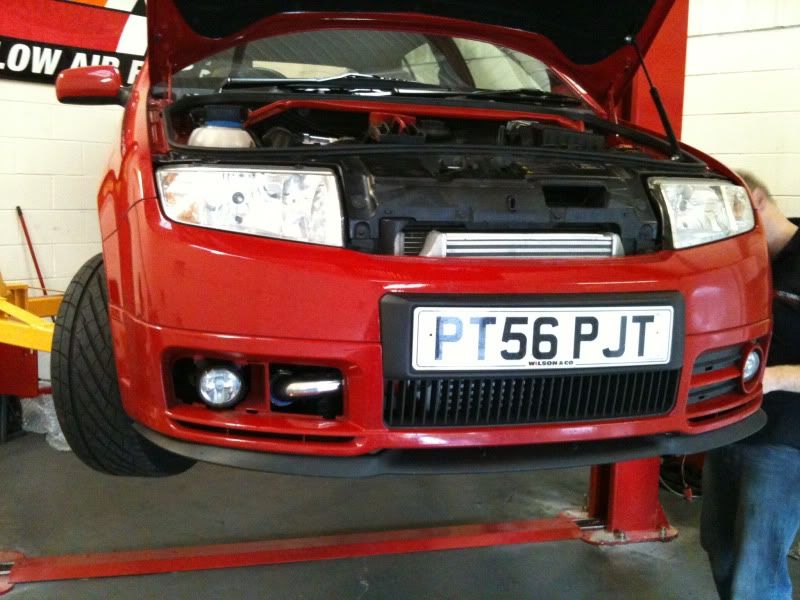
Then fitting the bumper back in place and putting in the lights, the lights just bolt straight back in (make sure you clip in the wiring).
The bumper needs some of the black inner plastic removing; again I just used the angle grinder and chopped off what wasn’t needed to make sure it wasn’t touching any of the pipes.
We did a before and after rolling road to see what the difference was in having the FMIC fitted.
Before: 158bhp
After: 185bhp
Remap: 195bhp
(other modifications done too)
Will post the rolling road graph once I get an electronic version.