Ad blocker detected: Our website is made possible by displaying online advertisements to our visitors. Please consider supporting us by disabling your ad blocker on our website.
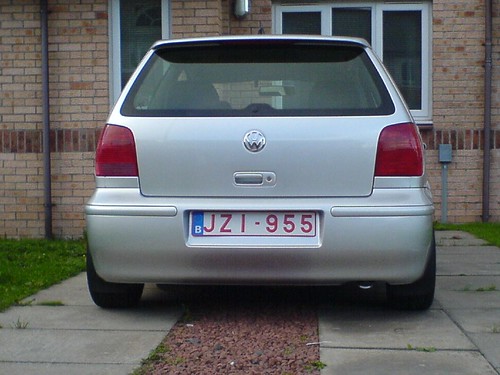
When you remove the old badge, and put the replacement badge on, what is the most foolproof method in which to make sure that you don't apply the new badge at a wonky angle?
Not that i've done this, but i'd draw a little bit of chalk on the tailgate in line with some of the points on the badge, then when the new one goes on line it up. Cant see why it wouldn't work!
When repositioning my new GTI badge to the left i used pencil very very lightly. When putting on my black badge I just used my eyes and hoped I got it right
I've only ever just positioned my head as far back as I can while still being able to stick the badge on, that way I'm not looking too closely and can see a bit more
In the end I just lined it up by sight, after removing the old badge and spending 15 minutes with the autoglym tar remover to get all of the old glue off! Front one of course just clips in.
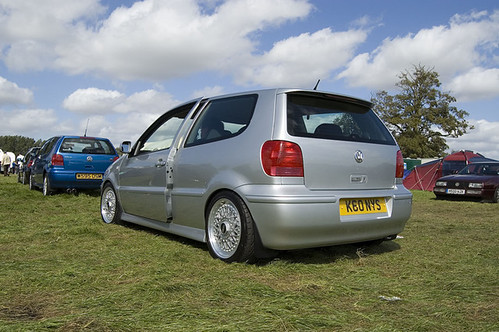
you don't need a rear wiper on the tailgate , just put rain-x on the rear window , plus it make the the polo ass alot cleaner aswell without the wiper . will need to get some new pics of my polo up as i had done a few mods since last time i posted pics of it
ModifiedMadness wrote:Is that a 9n rear badge Kenny?
I had trouble getting mine to stay on propely, looked like it was going to fall off.
How did you get it to stay on?
nope it not a 9n badge it off a passat it just stuck on to the paintwork , has to split the badge in two so i could paint it , If you want to see it ,the car will will inside UD show in march next year