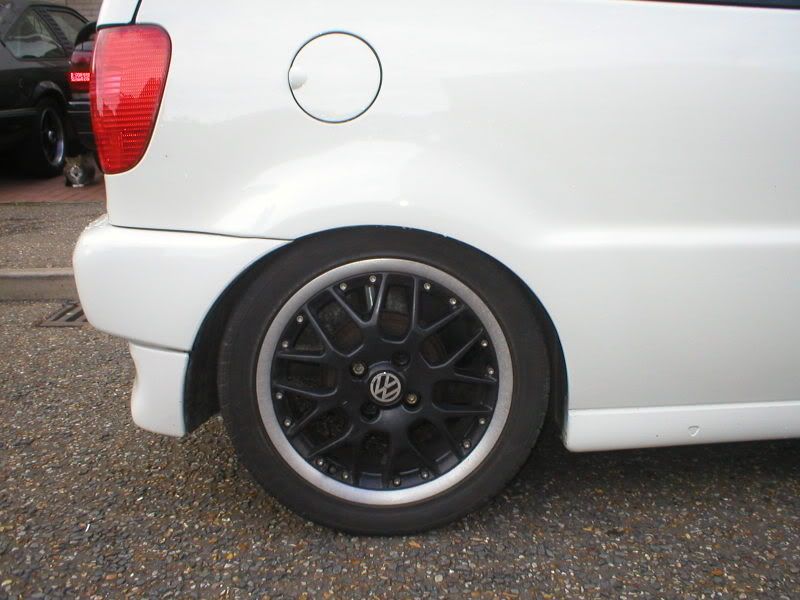
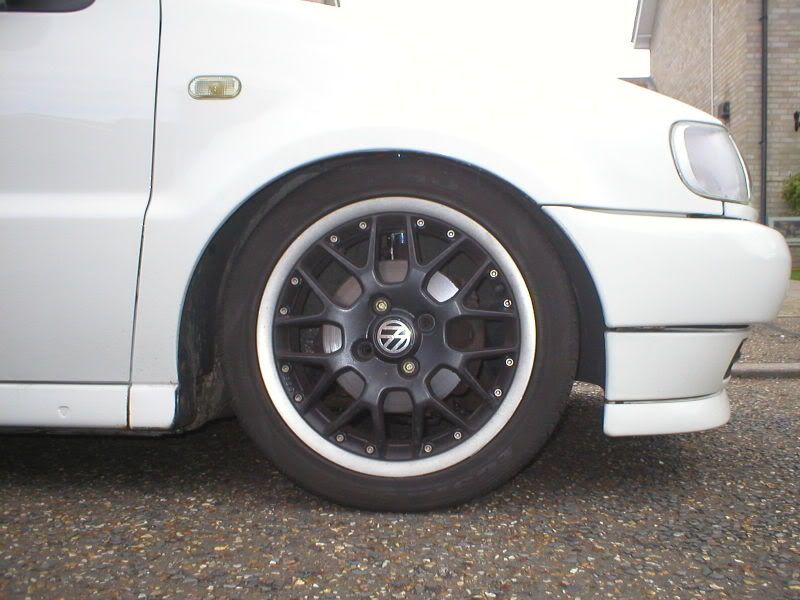
I bought these from Kam Racing following an offer in the MKIV section
Thanks Jon for all your help
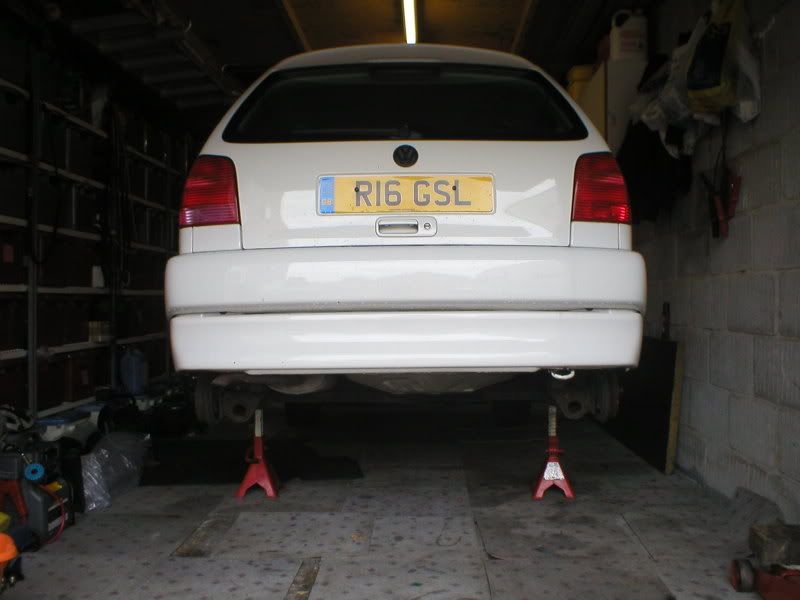
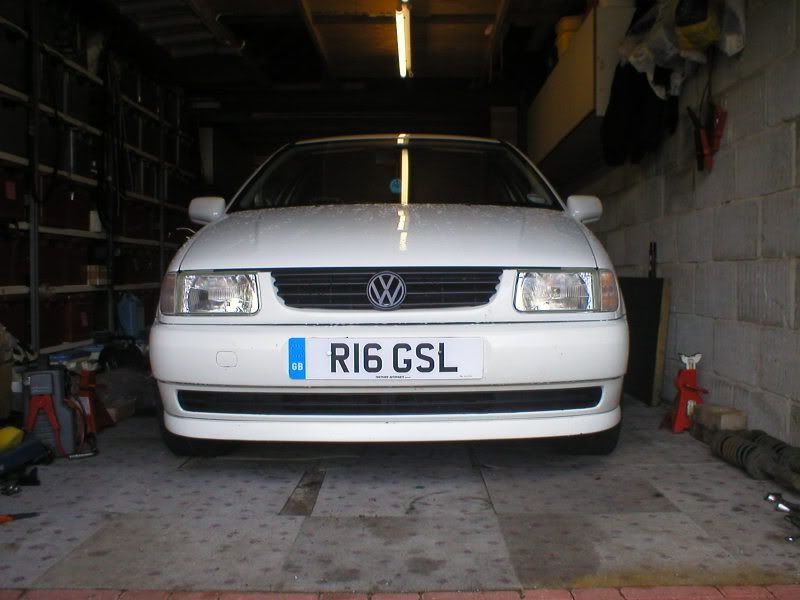
Firstly I had to kick this out of the garage as I’ve been waiting for a nice day and today wasn’t looking promising dark clouds above and getting wet underneath a car is never much fun so although a garage enviroment is less than ideal it's better than being wet!!

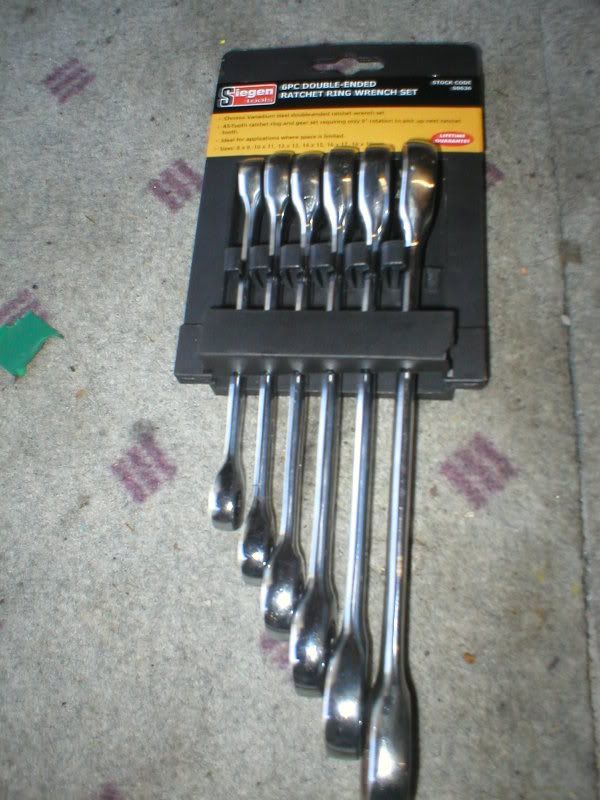
Second I get to use a new set of spanners (thanks to a letter to PPC which was awarded the star letter and published this month – it wasn’t about the polo so I’ll leave it at that but it's hiding behind the LC
Measured the height from ground to the highest point of the arches before I put the car in the garage
Front
Nearside - 57cm
Offside - 57cm
Rear
Nearside - 57cm
Offside - 57cm
Get the polo in the garage - front end first – loosen the wheel bolts and get it into the air on nice solid axle stands
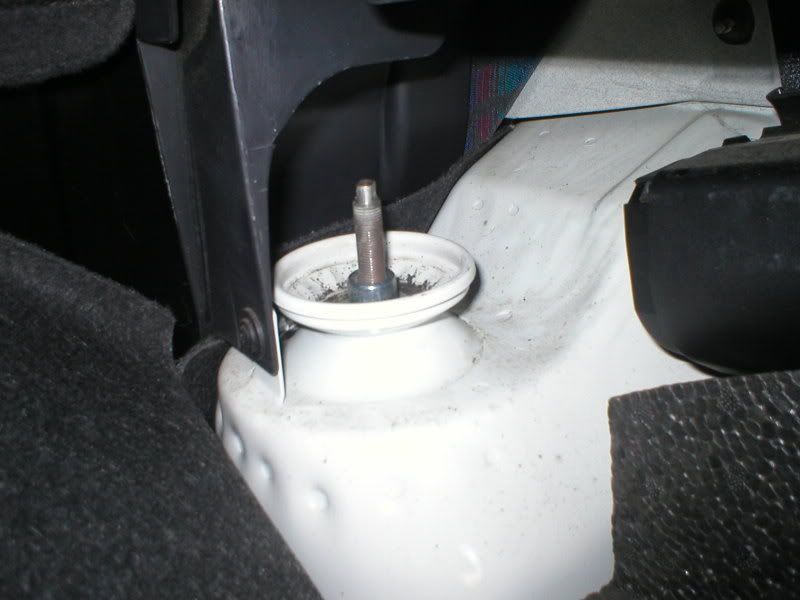
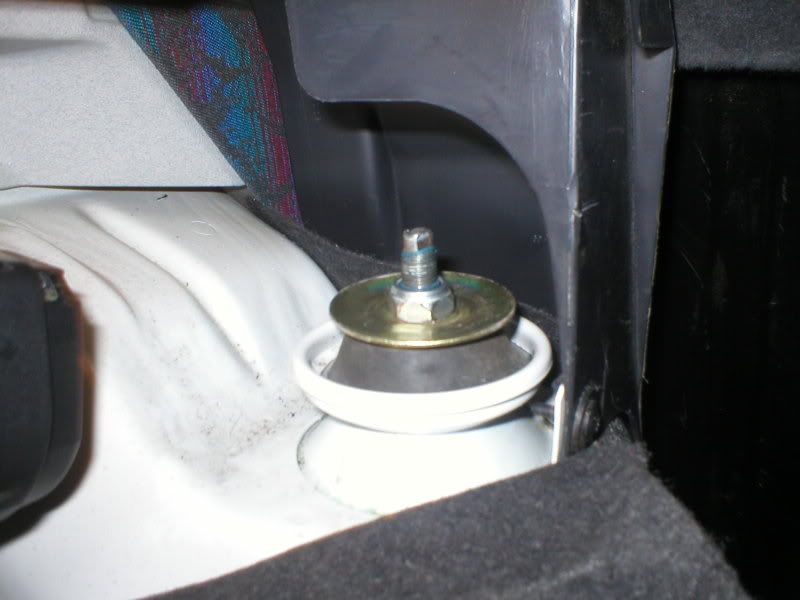
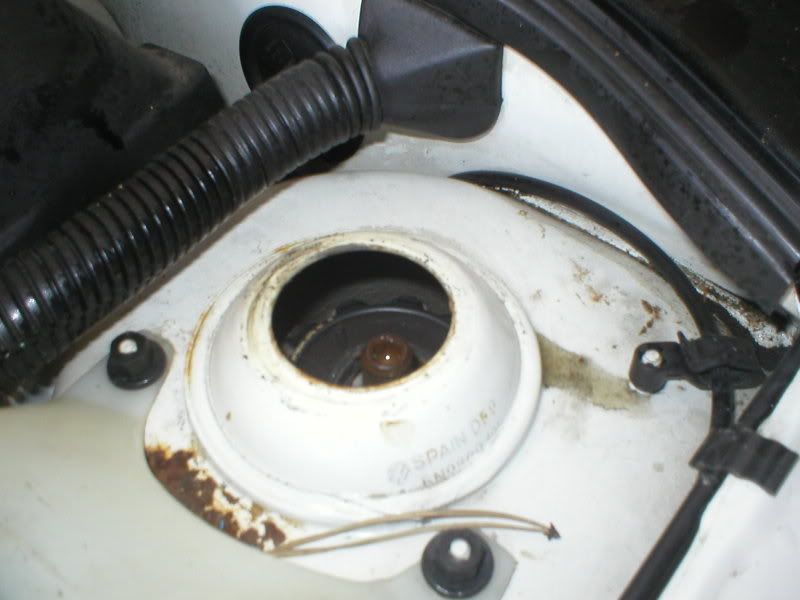
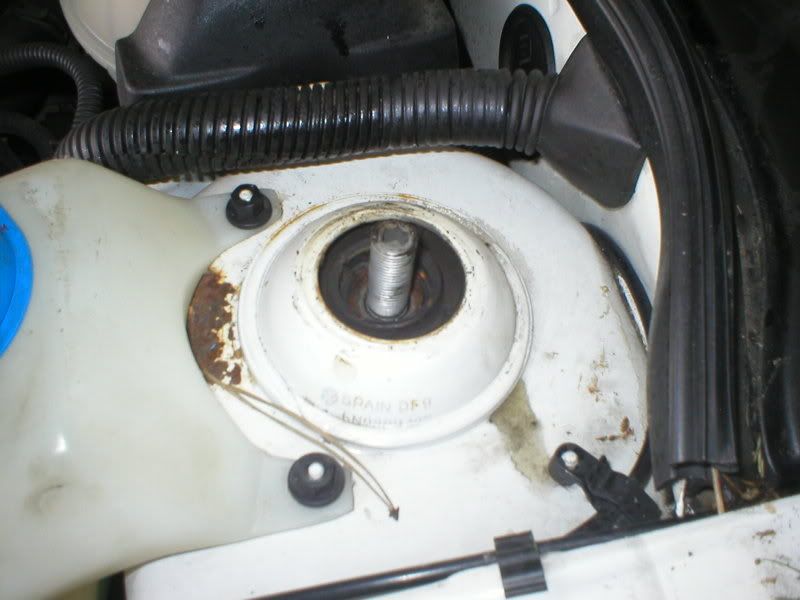
Take the plastic covers off the rear damper mounts – right hand side is easy the flap opens up – left hand side you have to pull the carpet trim away
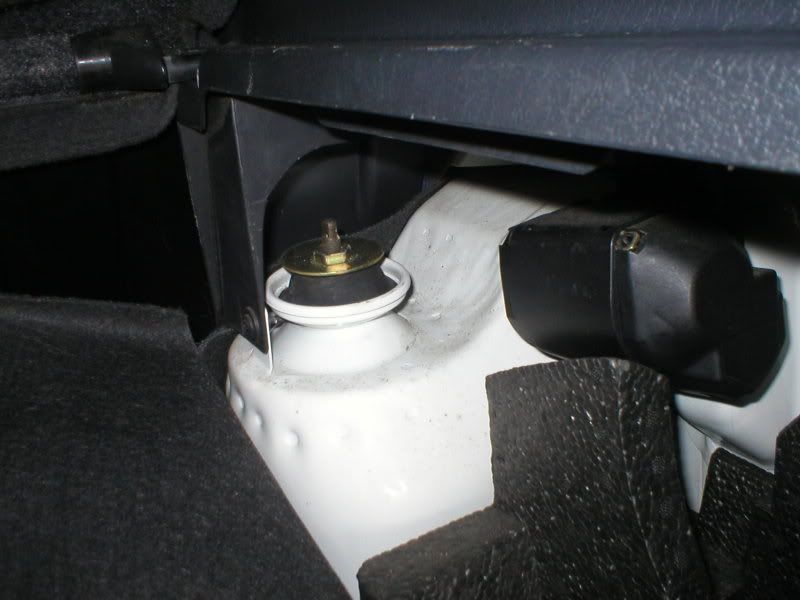
Undo the top nut and then remove the large washer undo the next nut and remove the smaller washer (note orientation) finally remove the top rubber section and lay all the parts out so you can put them back in the same order
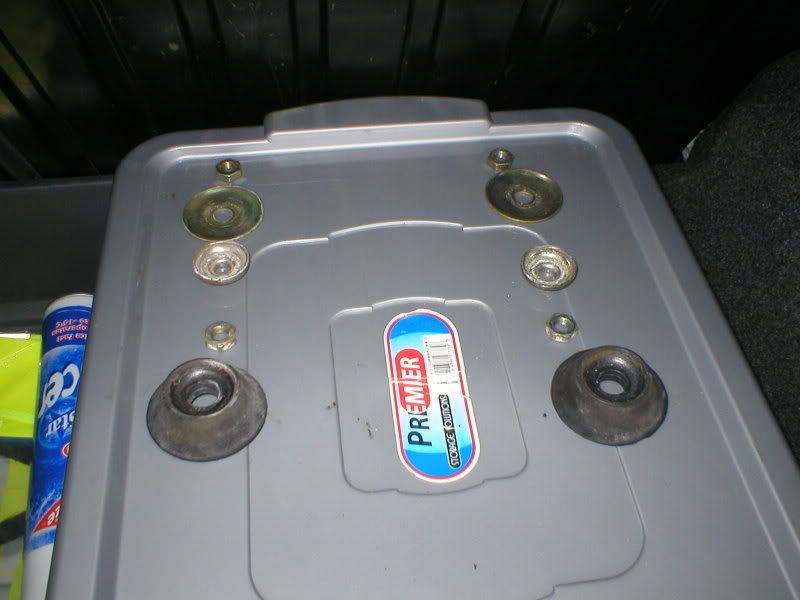
Now the top of the std dampers will drop down out of the shell

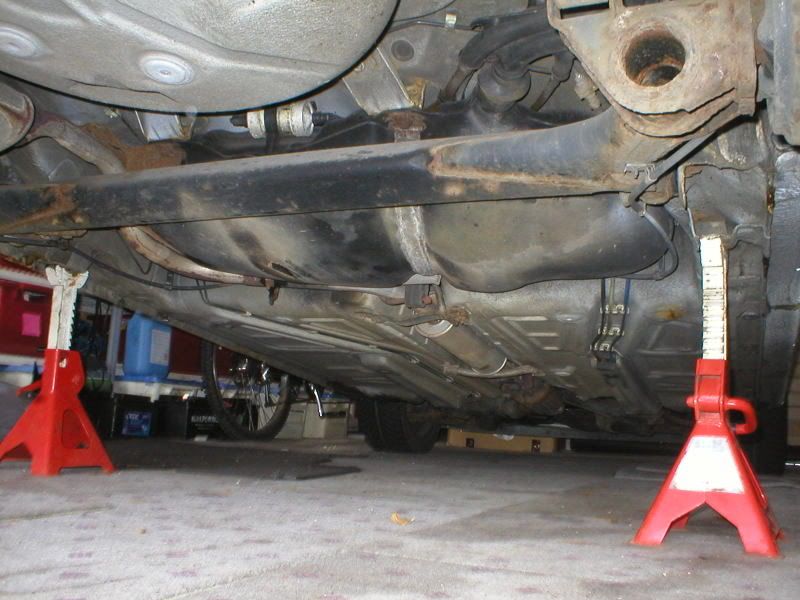
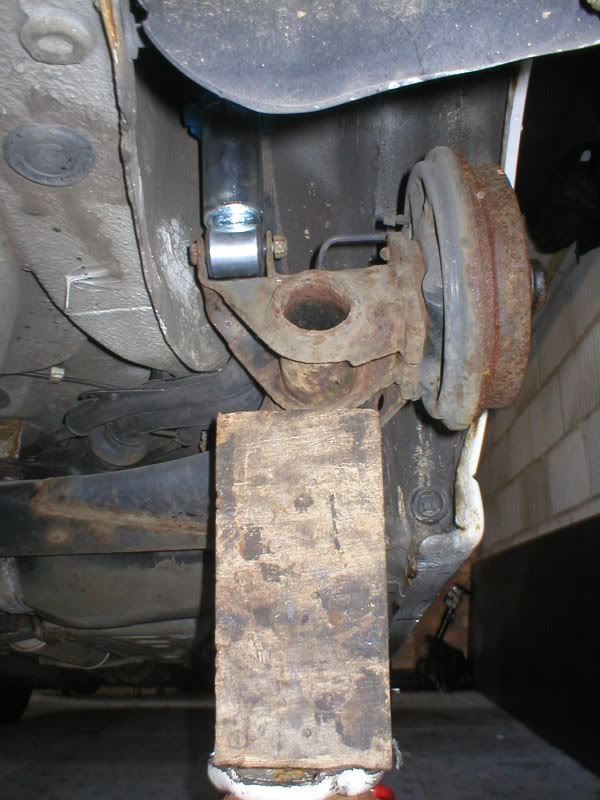
next step undo the lower shock fixing
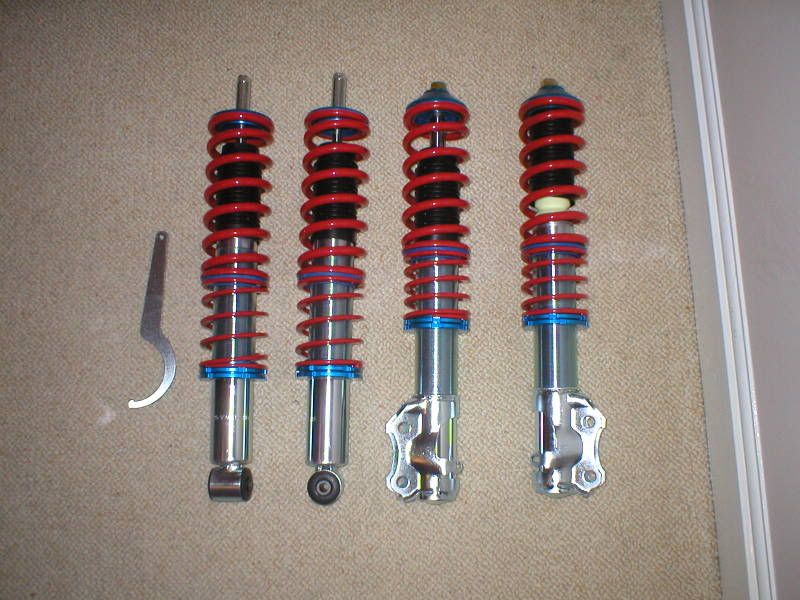
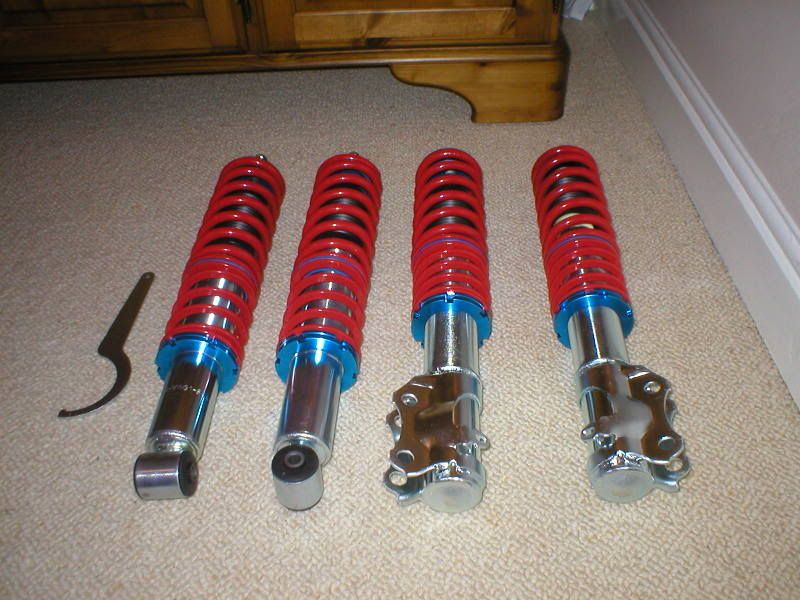
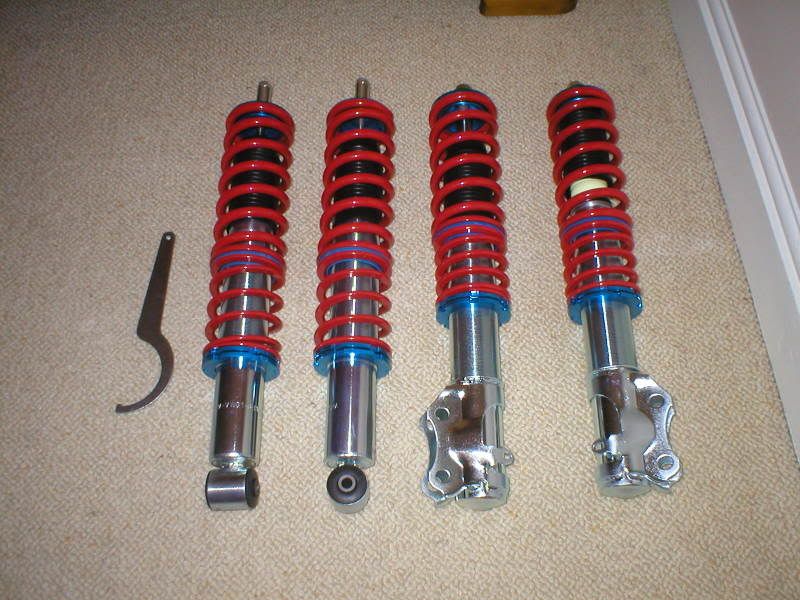
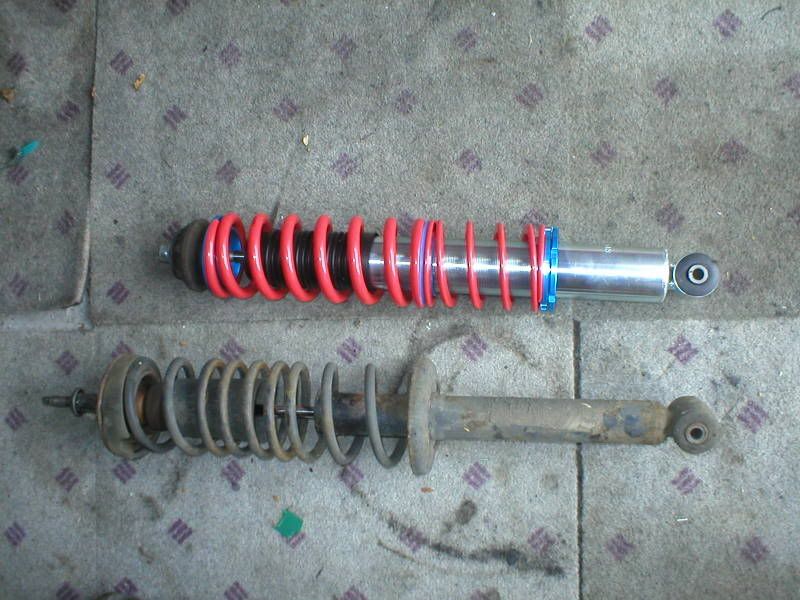
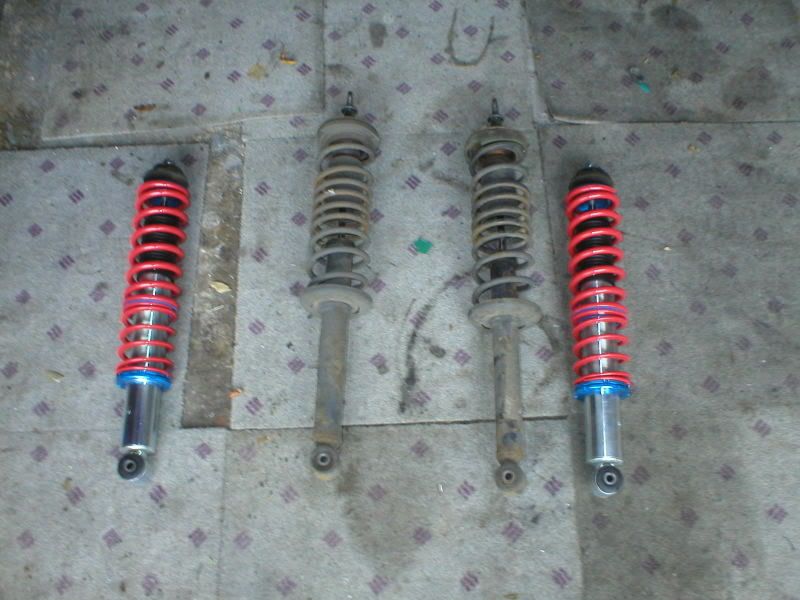
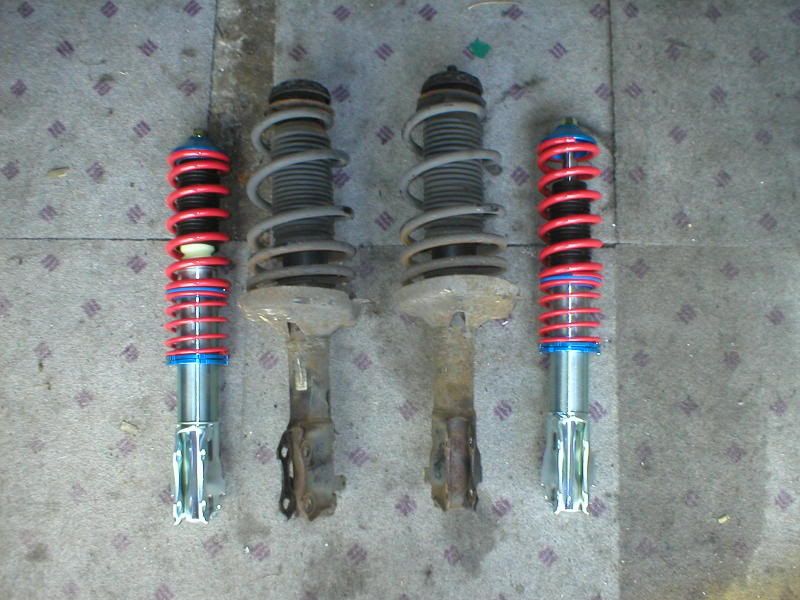
Once undone it should come out really easily (new and old laid side by side for comparison purposes – they are much shorter!!)
Repeat with the other side and now the rear end is stripped and ready to start assembly
Something still needed for the coilovers
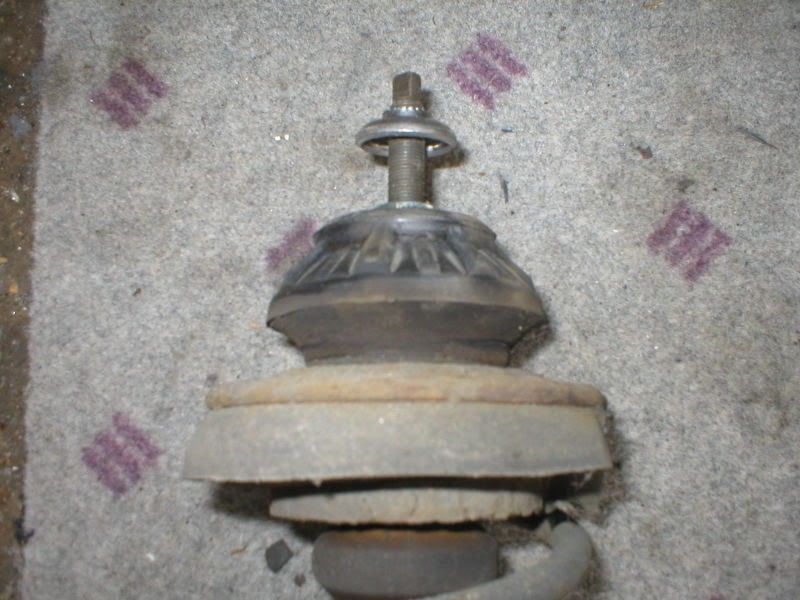
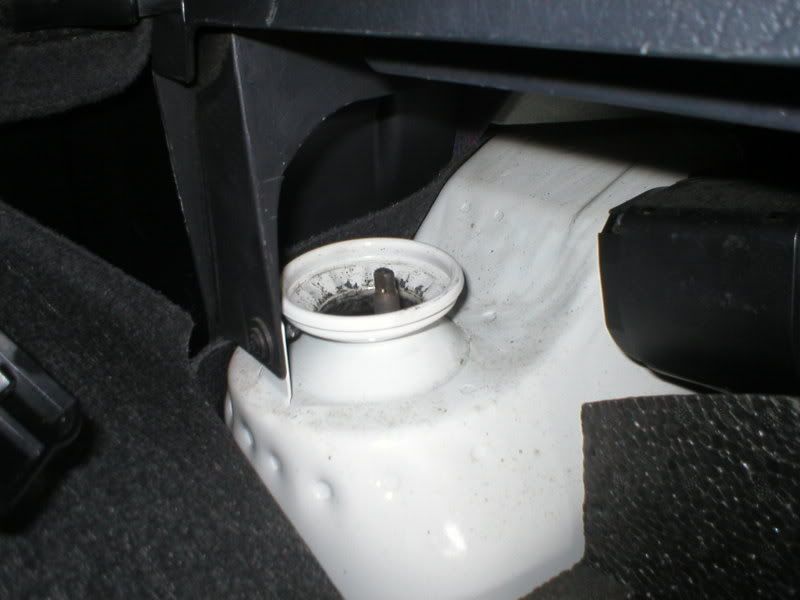
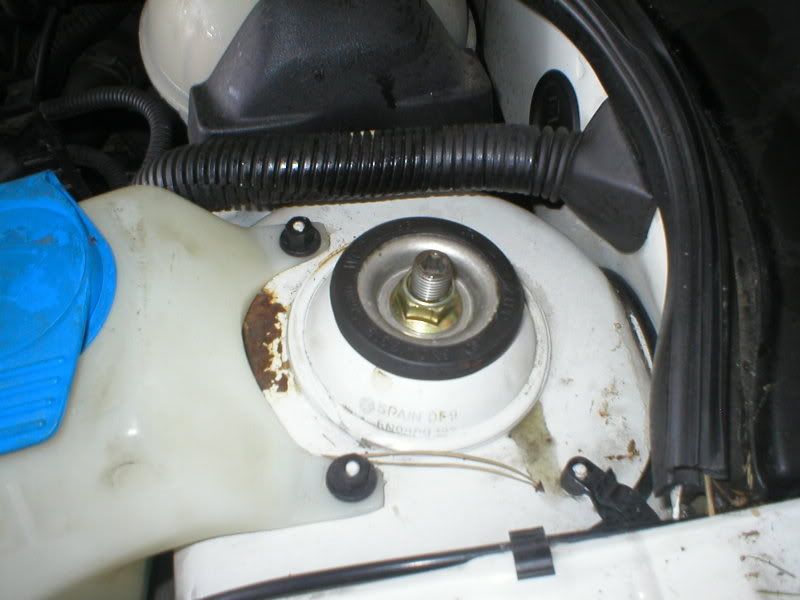
Lower rubber mount removed (it just pulls off once the nut and washer are removed)
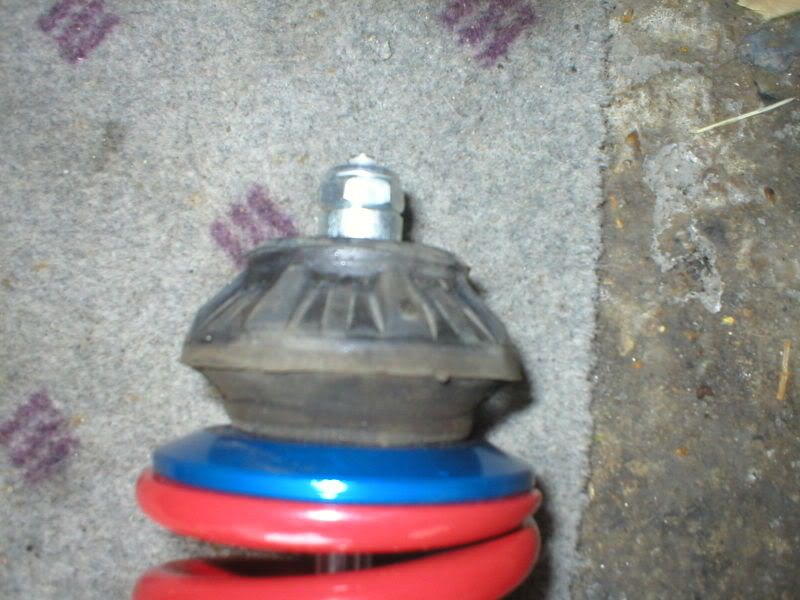
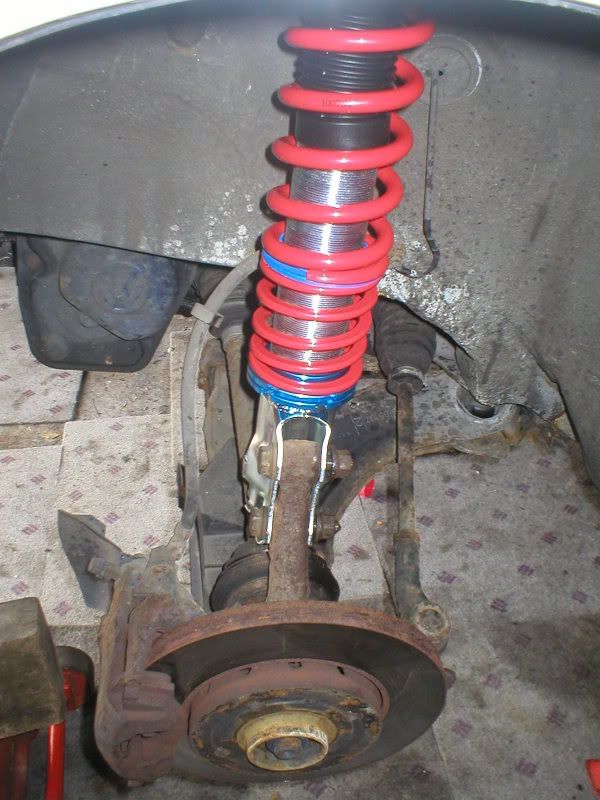
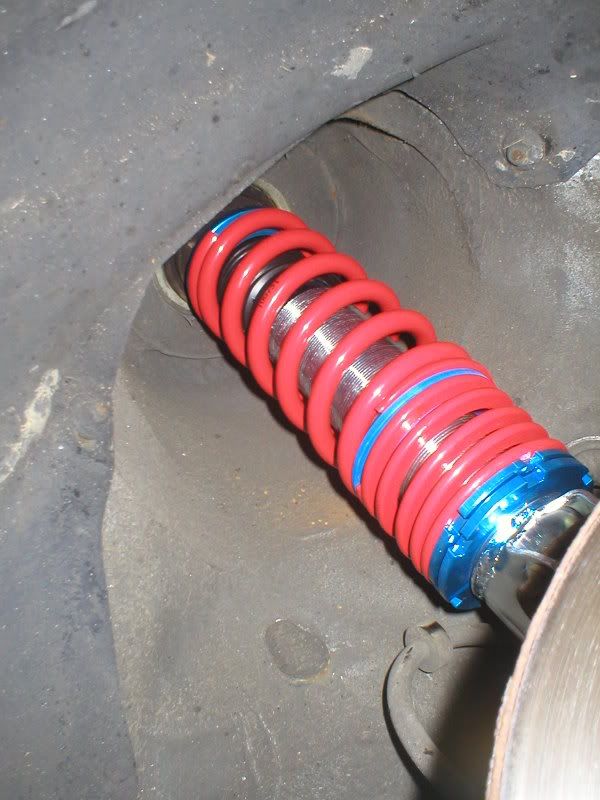
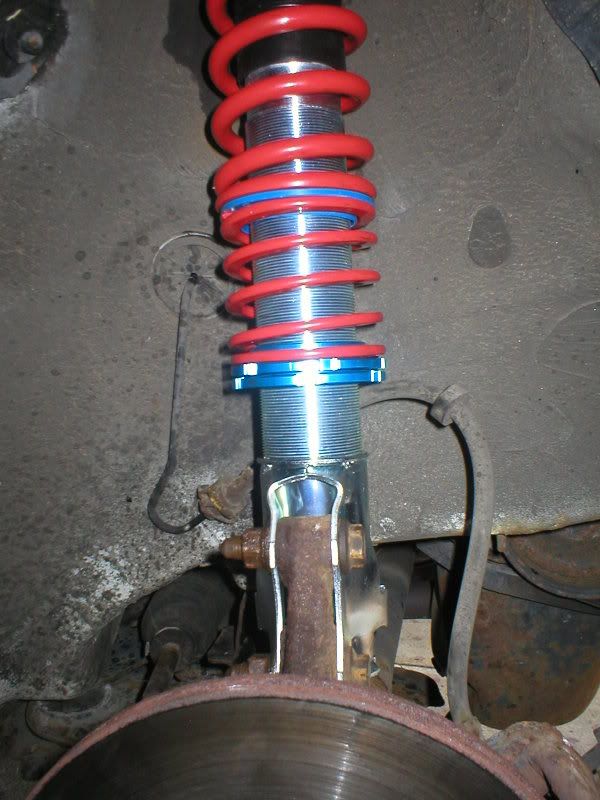
Now refitted to the new coilovers
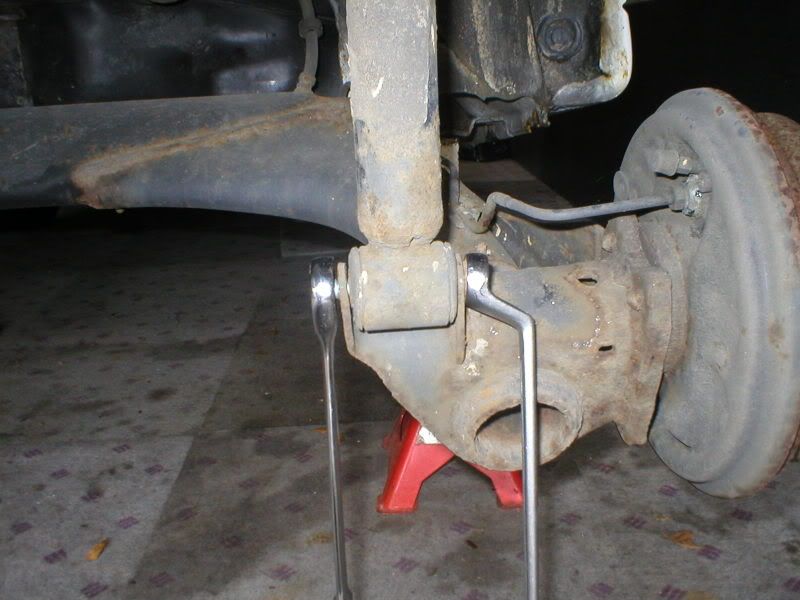
So fix the lower part of the coilover to the rear beam (note orientation of the bolt)
With the assistance of a jack - lift the rear beam up to get the shock into position
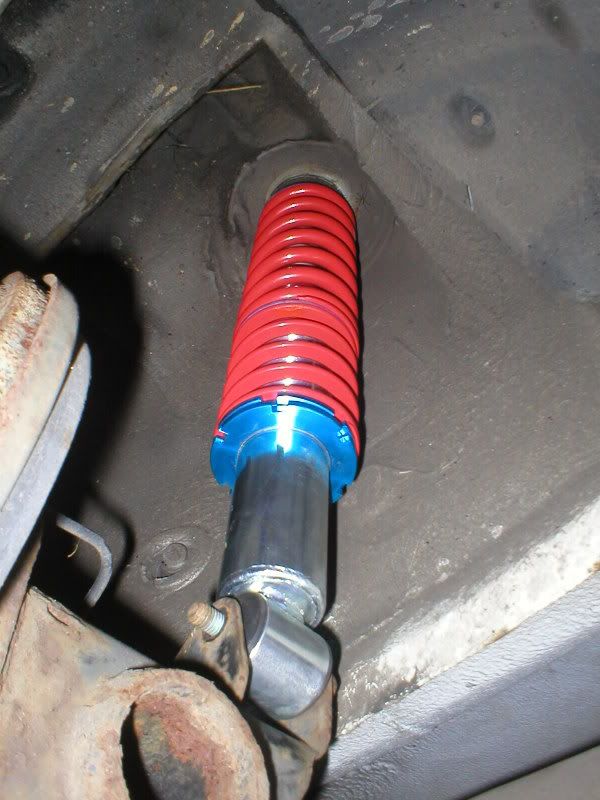
As it's raised up make sure that the upper part is centred in the hole
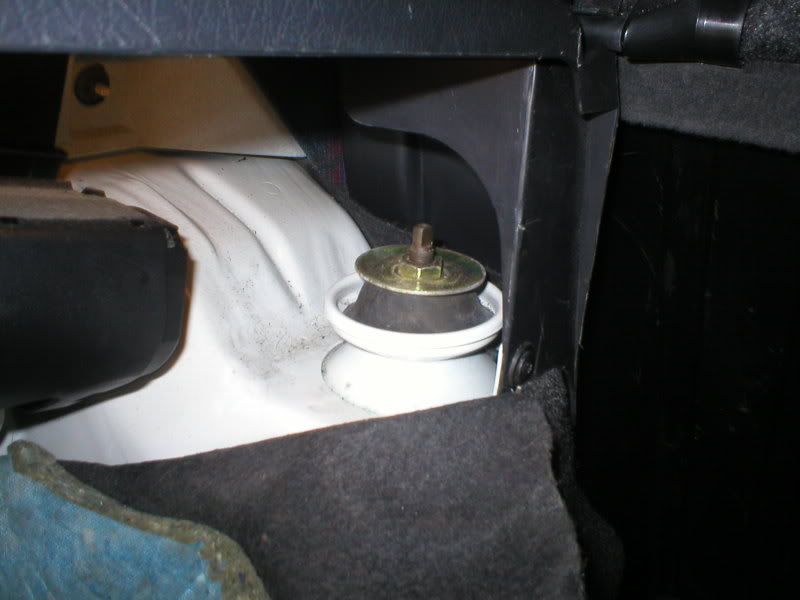
All those parts I laid out in order can now be added to finish the assembly process (top half of the rubber mount and the small cup washer tightened down with the original nut)
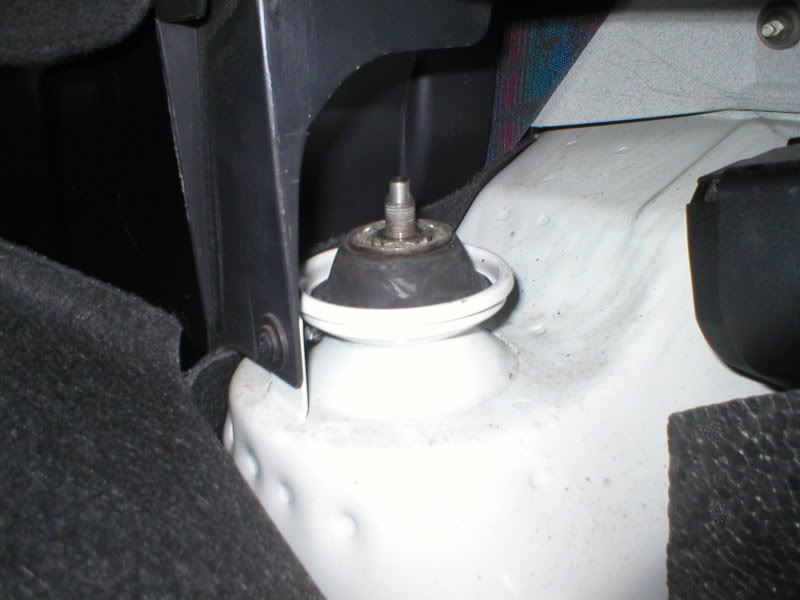
Then the large cup washer and the new nylock nut tightened down and same with the other side
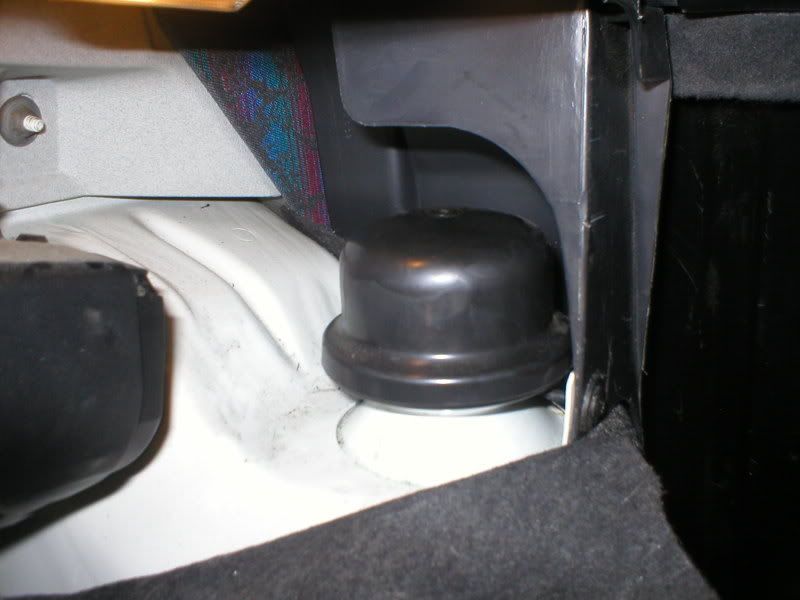
Then press the rubber cover back on top
Jack the car up and remove the axle stands and lower the car down to the floor
So car out of the garage to turn it round is an opportunity to see what the ride height is like at the rear - at this point the rear shocks are on the bottom of the threads - it's a lot lower that the original lowering springs


NOTE - I know there are only two bolts holding each wheel on.
I did this because
- I knew once the front was done I was going to be adjusting the coilover heights all round
- I was not going to be driving anywhere on the car untill the heights were set
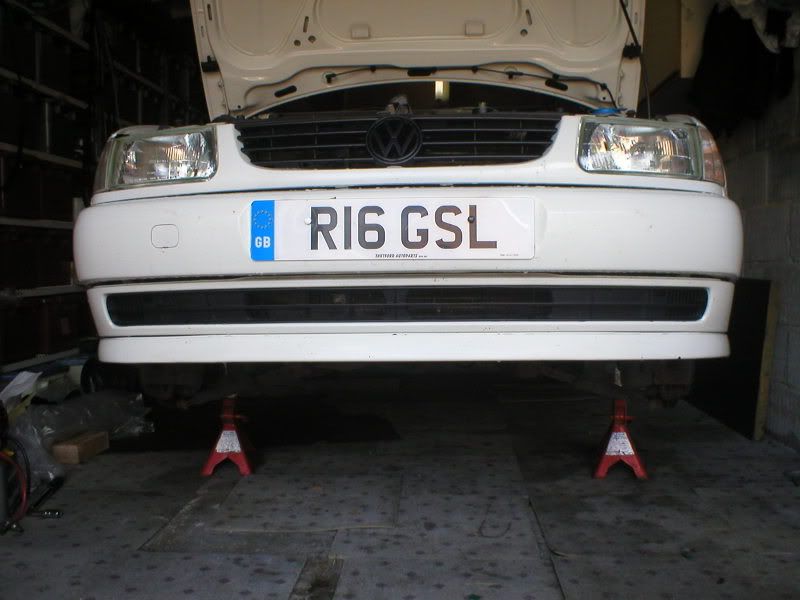
So back the car in the garage and start on the front end
First job get it up in the air and on some axle stands
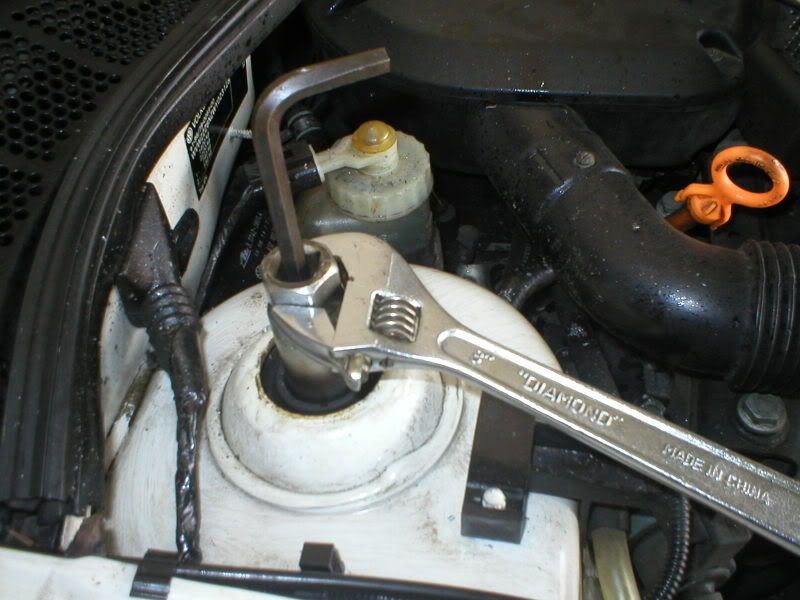
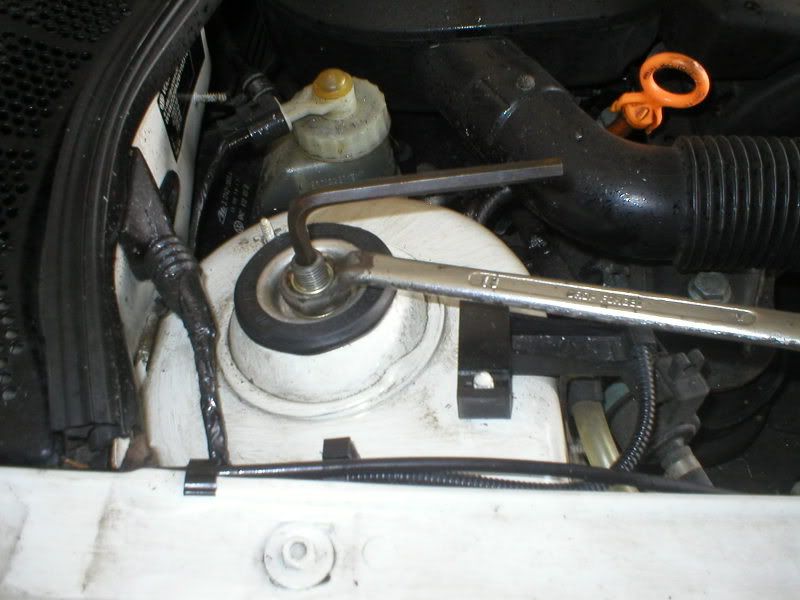
Passenger side strut top mount removal went easily - tools required 7mm Allen key and a 21mm deep socket or cranked ring spanner
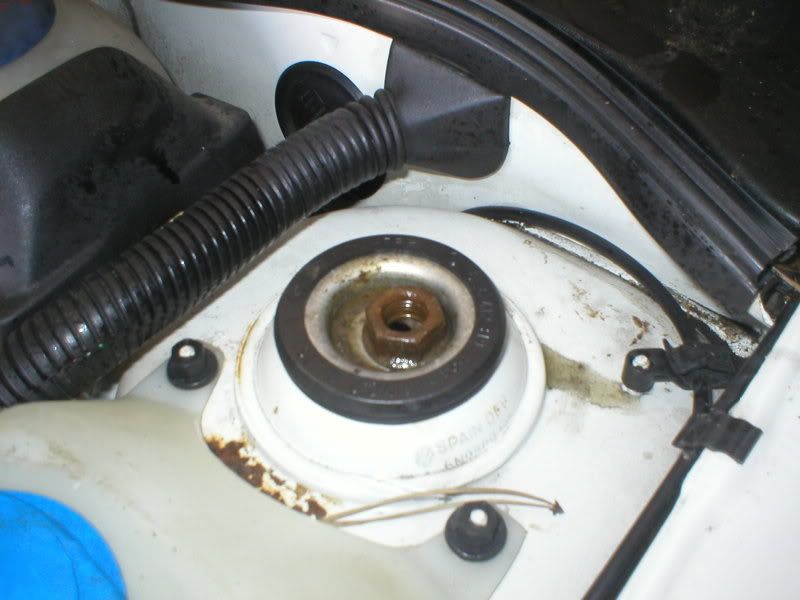
Dropped down nicely ready for the next stage
Unfortunately at this point I had a problem
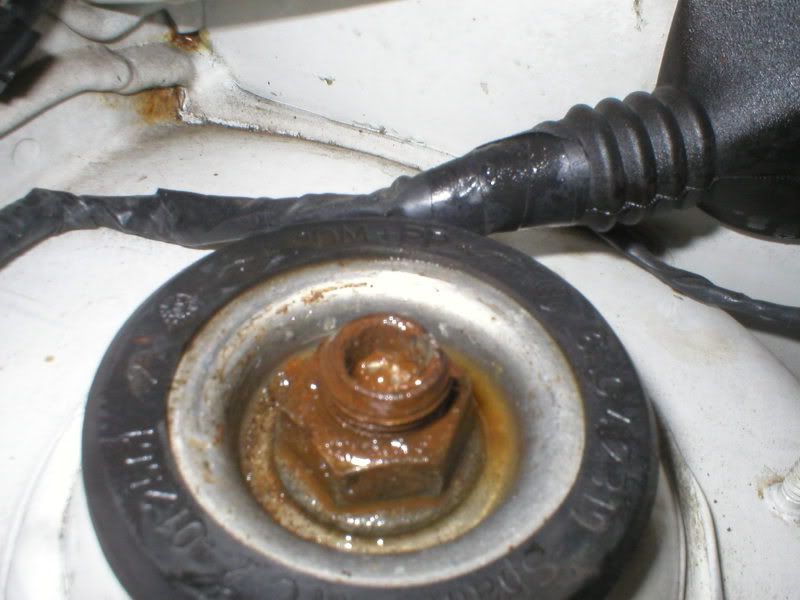
The allen key recess split and that kinda rained on my parade. It's hard to stop the damper rod turning when the allen key just jumps round in the hole.
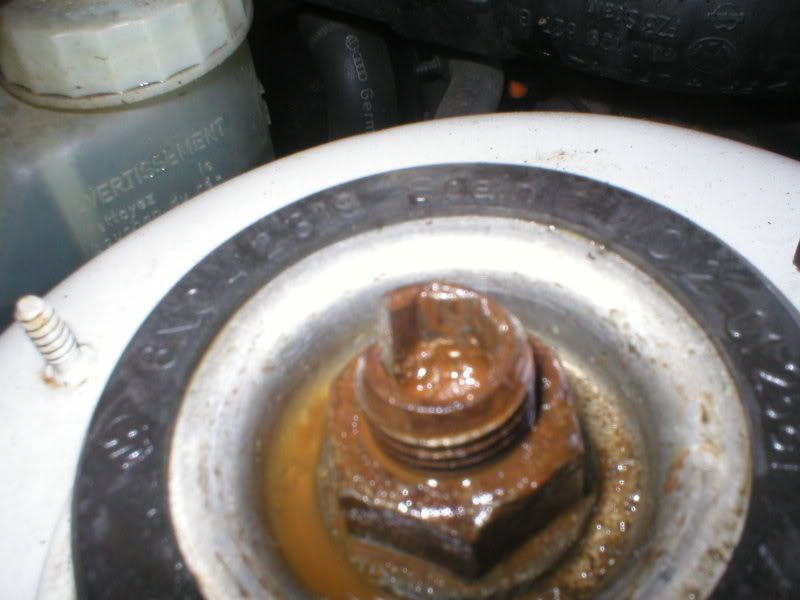
So I guess powertools are needed
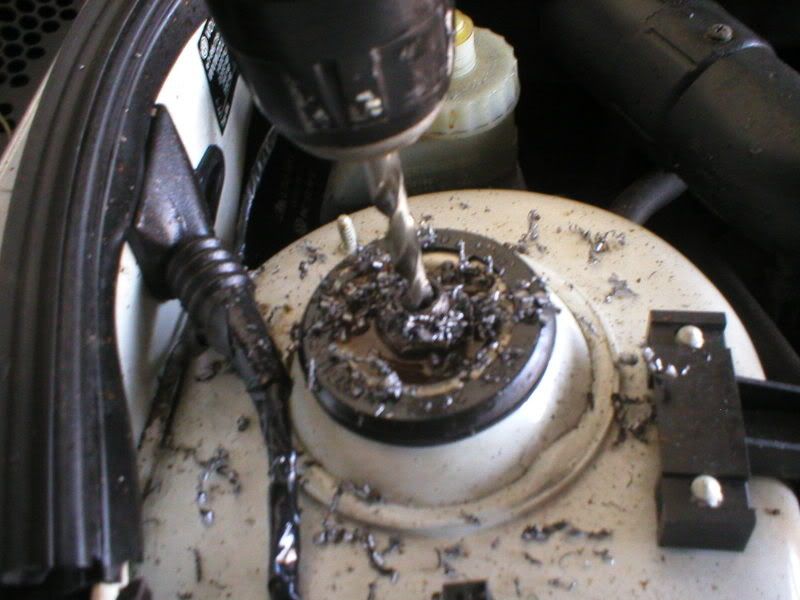
Nice sharp drills - start with a small one and the gradually go up in size - as always fast in bad - slow is good and lubricant is essential to stop the drill bits being ruined - anyway didn't take long
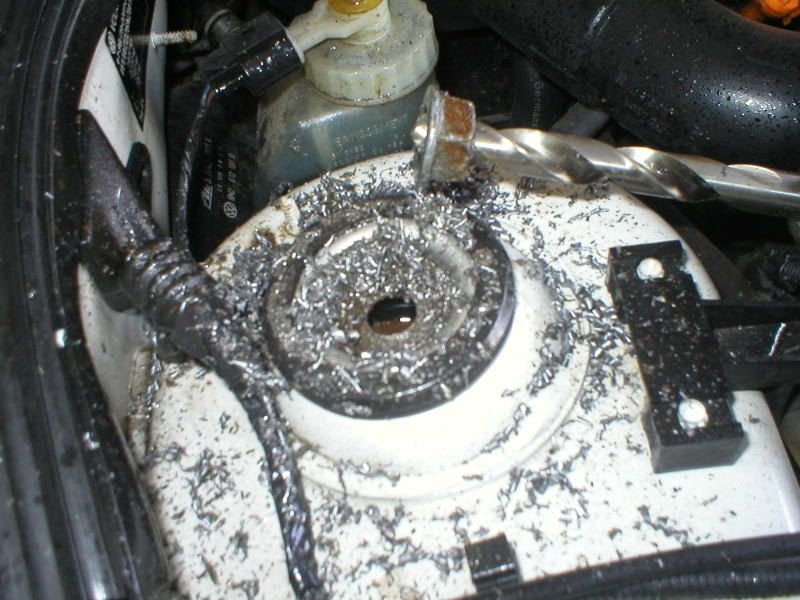
Was proper split......
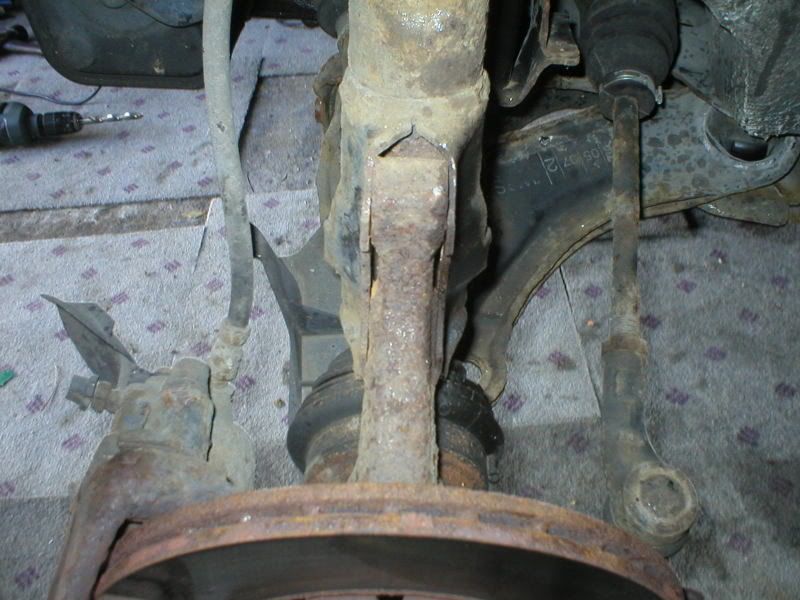
So having freed of the top time to hit the lower mounts (remember orientation of the bolts)
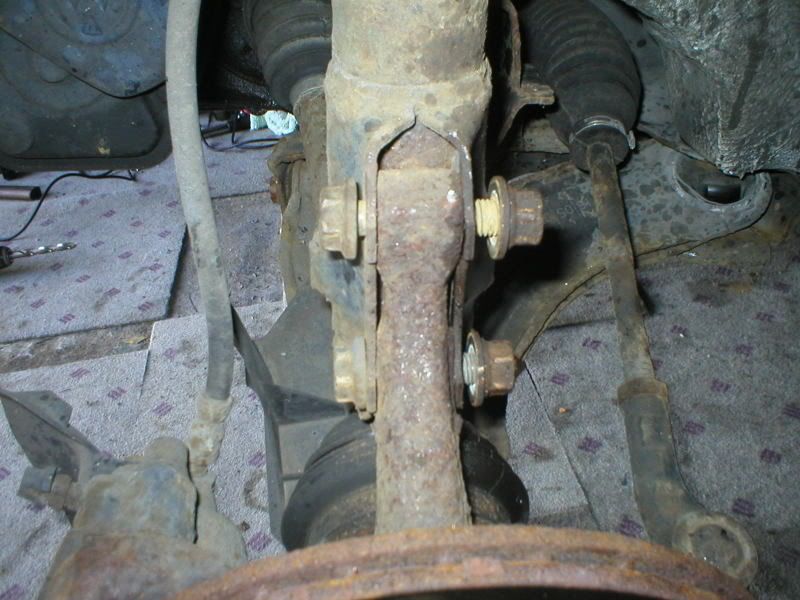
Remove the two lower bolts (18mm spanner size which is unusual)
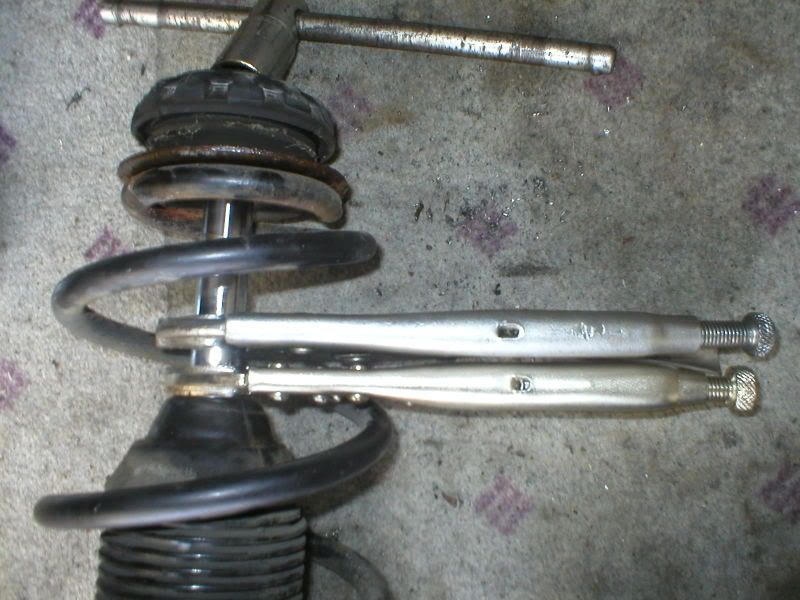
So both sides out time to take a comparison shot (yep these are shorter too)
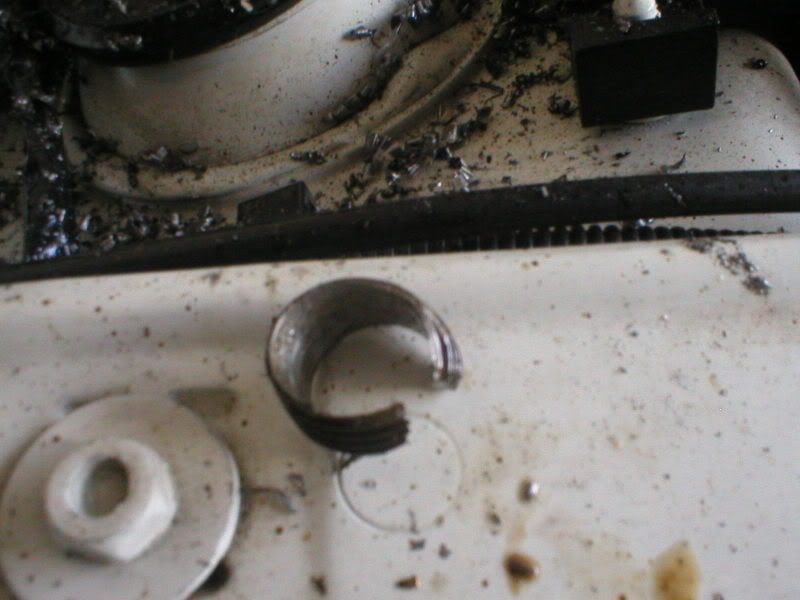
Again there are parts from the old shocks that are required
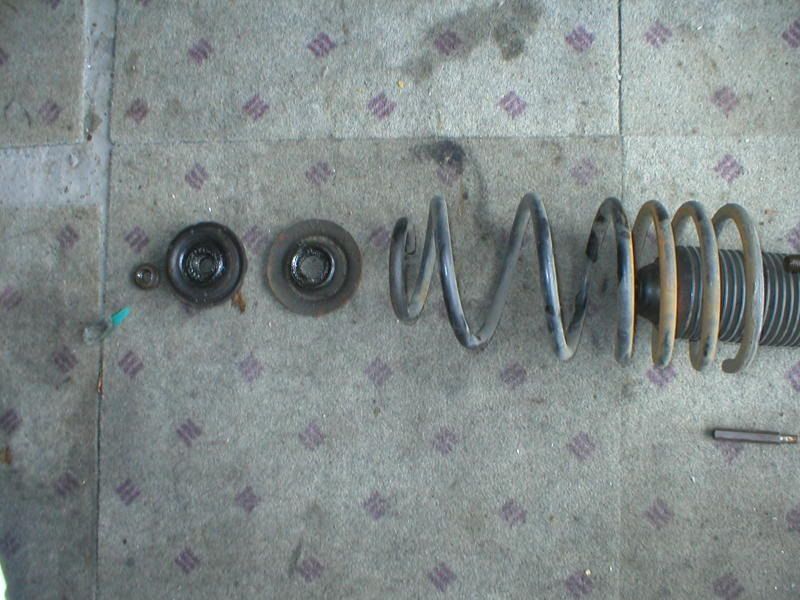
None of these bits tho
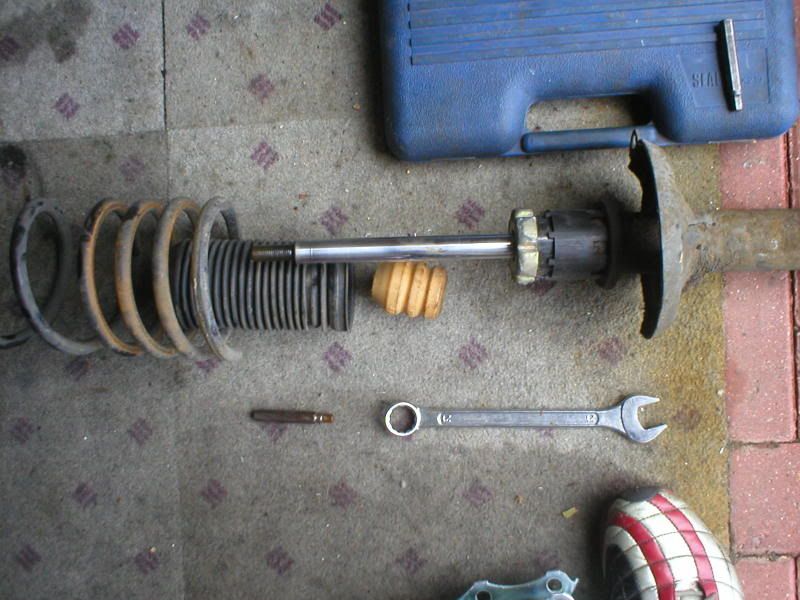
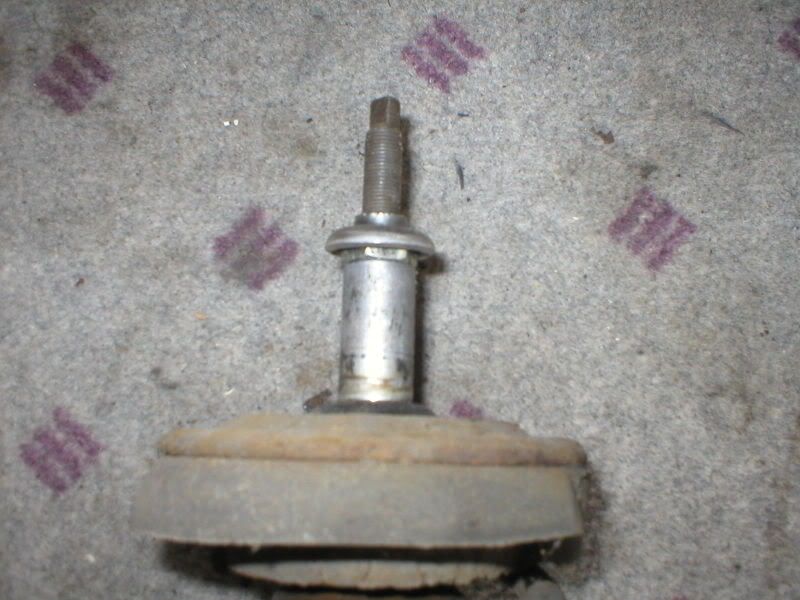
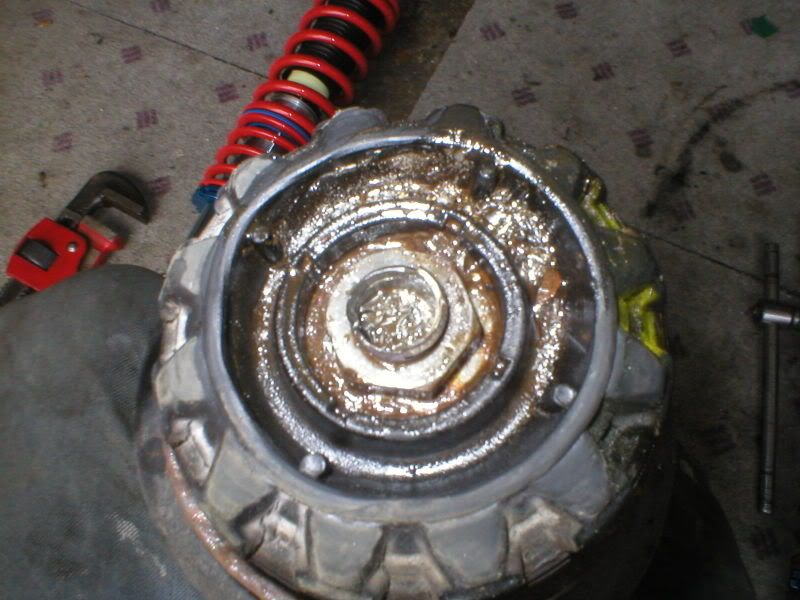
Having got the shock out there was still the problem of removing the remaining parts I needed to fit the coilovers - the top bearing I needed and nothing to hold the damper rod while I undid the second nut
Time to break out the mole grips - I'm binning these shocks anyway so I could have reverted to getting the angle grinder out but mole grips (two sets) would do the job. Never ever use mole grips or stilsons on a damper rod that you want to use
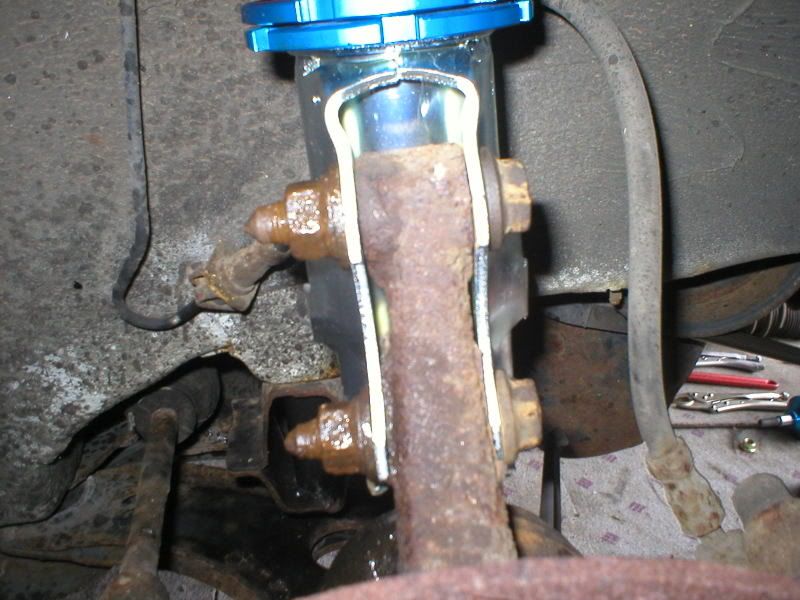
Time to bolt up the bottom section
Time to bring the jack into play again
Use the jack to get the shock top up to the right place
So time to tighten it all up
On to the other side
Jack time
Nicely seated
Top washer and nut and it's all back together again
At this point the springs were very slack so I wound the adjusters up to take the slack up in the springs - once the slack was taken out I knew that this was as low as it would go and still pass an MOT (Loose springs on a car when lifted off the wheels are an MOT failure)
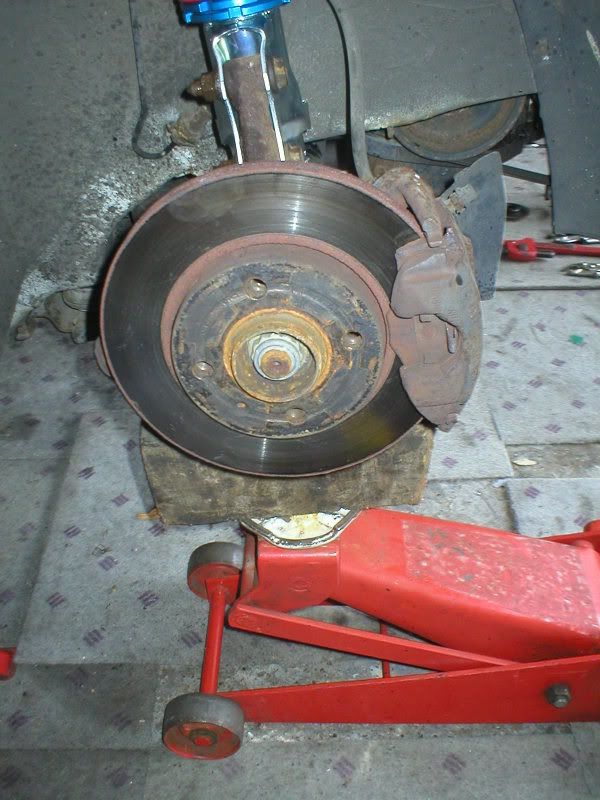
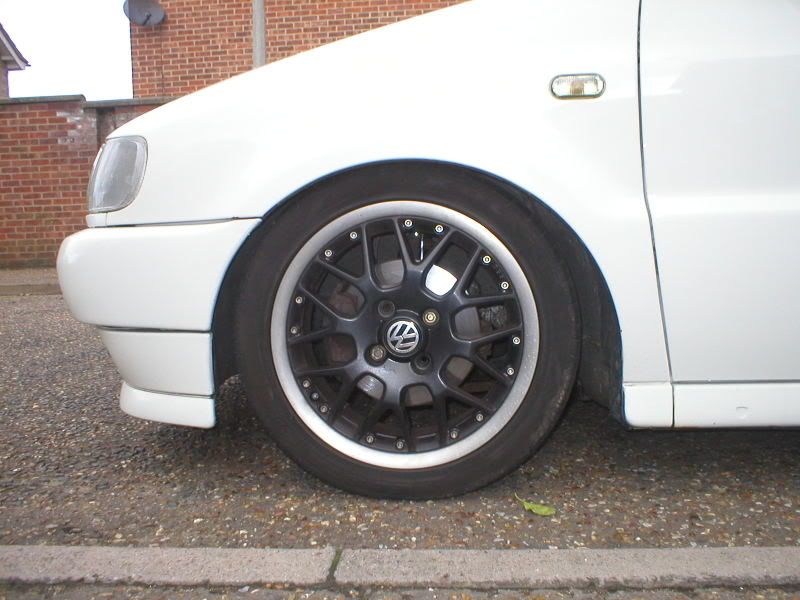
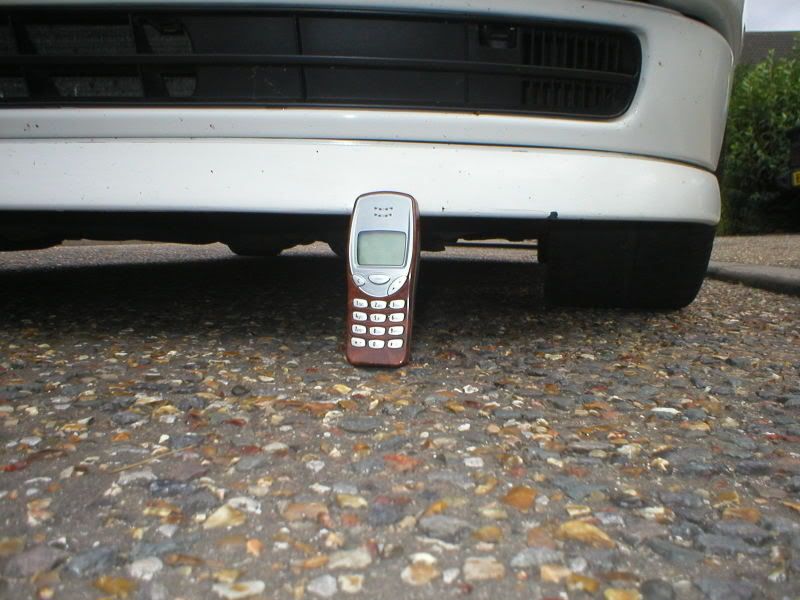
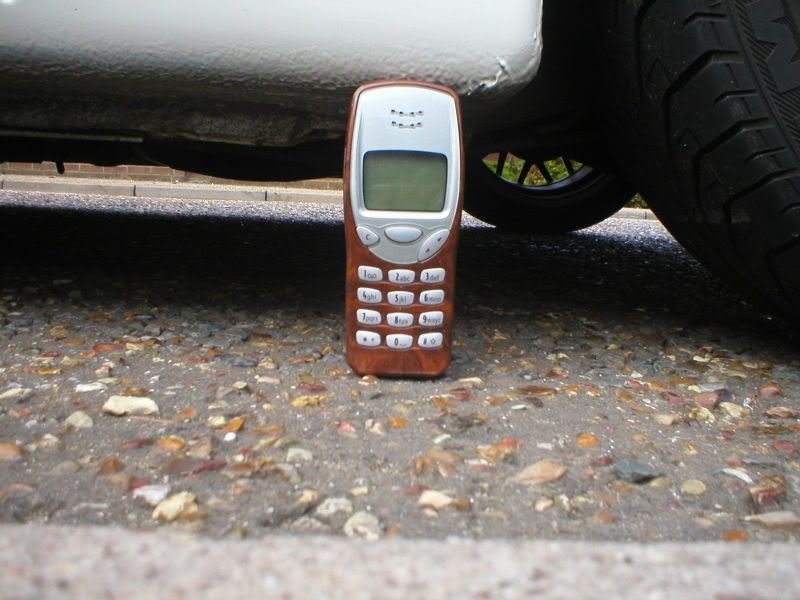
Down on the deck and onto a nice level surface again - front doesn't look high now


But it's way too low for my tastes
For interest I measured it at this point
Front
Nearside - 52.5cm
Offside - 52.5cm
Rear
Nearside - 52cm
Offside - 52cm
Time for one of those mobile phone shots (OK so it's a 3210 and regarded as a bit of a brick but it does at least illustrate the point)
So that's pretty much it except for jacking it up to the height I want (same height as it was before) and once that's sorted out bolt the wheels on properly and fit the bolt covers back
