Well made good progress today!
So first job of the day was to solder the bulkhead loom to the dash loom.

After this, the head unit came out and I took a feed from the ignition live (brown with red stripe) wire and fed this under the dash onto the above loom. Soldered that in, then wrapped it.
Next was to do the ECU side of it..
This photo shows the gromet I used:

I decided against using the usual driver's side entry (cutting into the loom, feeding it through the hole and back along the scuttle) and fed it in through a tiny gromet behind what I think was the ABS pump:

I found this in the pollen filter!

Ok, so onto the ECU wiring.. what a pain in the arse!! I tried to use part of the connectors that came with my VW bulkhead loom, which was a big mistake. I would have been better off just soldering bare wire onto the terminals.
First pull the slider to the left to release the connector, then remove the little ring clamp from where the loom ends and the plug starts. You release the connector cap by prising it off like so..

Then slide the pink clip out, after pushing down in between the connectors with a small screwdriver to release it:

And remove the pink clip from the other side of the plug. This one just lifts out rather than sliding. You can release the two connector blocks now.

So to know which pins to use, there is possibly the tiniest writing ever on the connectors! Took me some time in the sun to make out the numbers fully! It's then just a case of releasing the rubber protector, sticking a tiny flathead screwdriver in the hole nearest to the end of the connectors and centering the metal bits, then pulling the connector out. Being able to solder these out of the connectors is lovely. I was dreading having to solder them in-situ!
Keep in mind that everything has to go back in really nice and flush and the rubber thing has to sit well, to seperate the terminals from eachother. I had a problem with my connectors being bulky the first time round, so had to remove them all, slim them down and do it again.
End result:

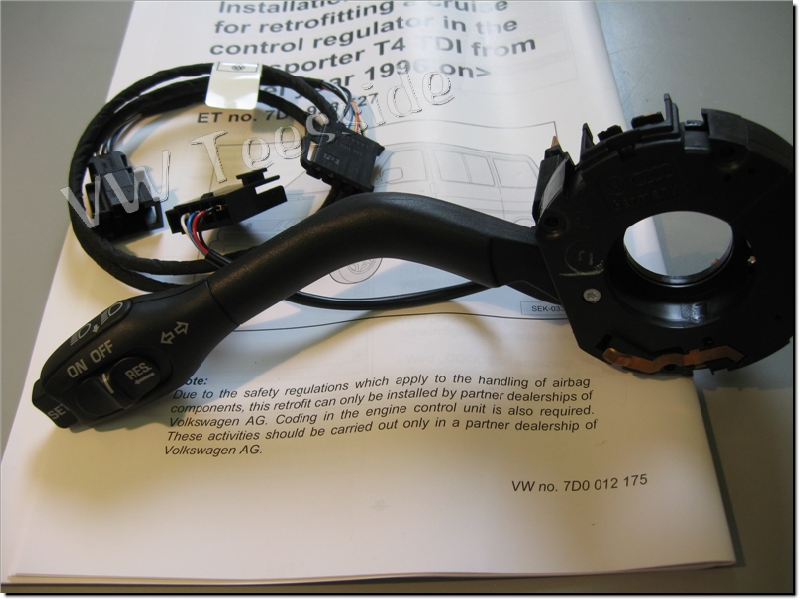
The T4 stalk also catches slightly on the cowling, which means the headlight flasher doesn't return to its place properly. A 30 seconds with a junior hacksaw and it's sorted! I chose to cut the cowling rather than the indicator for obvious reasons.. I'm not cutting up a brand new indicator!!
Before:

After:

Then onto testing with vagcom! You have to enable cruise control in VAGCOM first. Go to Select, then Engine, then Login, enter 11463 then click Do It! You should see a letter G appear in the component field. Mine was somewhere in the middle.
Next, go to Engine, then measuring blocks and measure block 022.
Here's a video showing the readouts I was receiving when playing with the cruise control:
click me:

So now that I was happy, I could put everything back together with my new slip ring! Disaster, I've lost one of the bloody slip ring screws (silver torx ones). There's 3 of them that attaches it to the steering wheel. It has to be in the car somewhere but I can't for the life of me find it!!
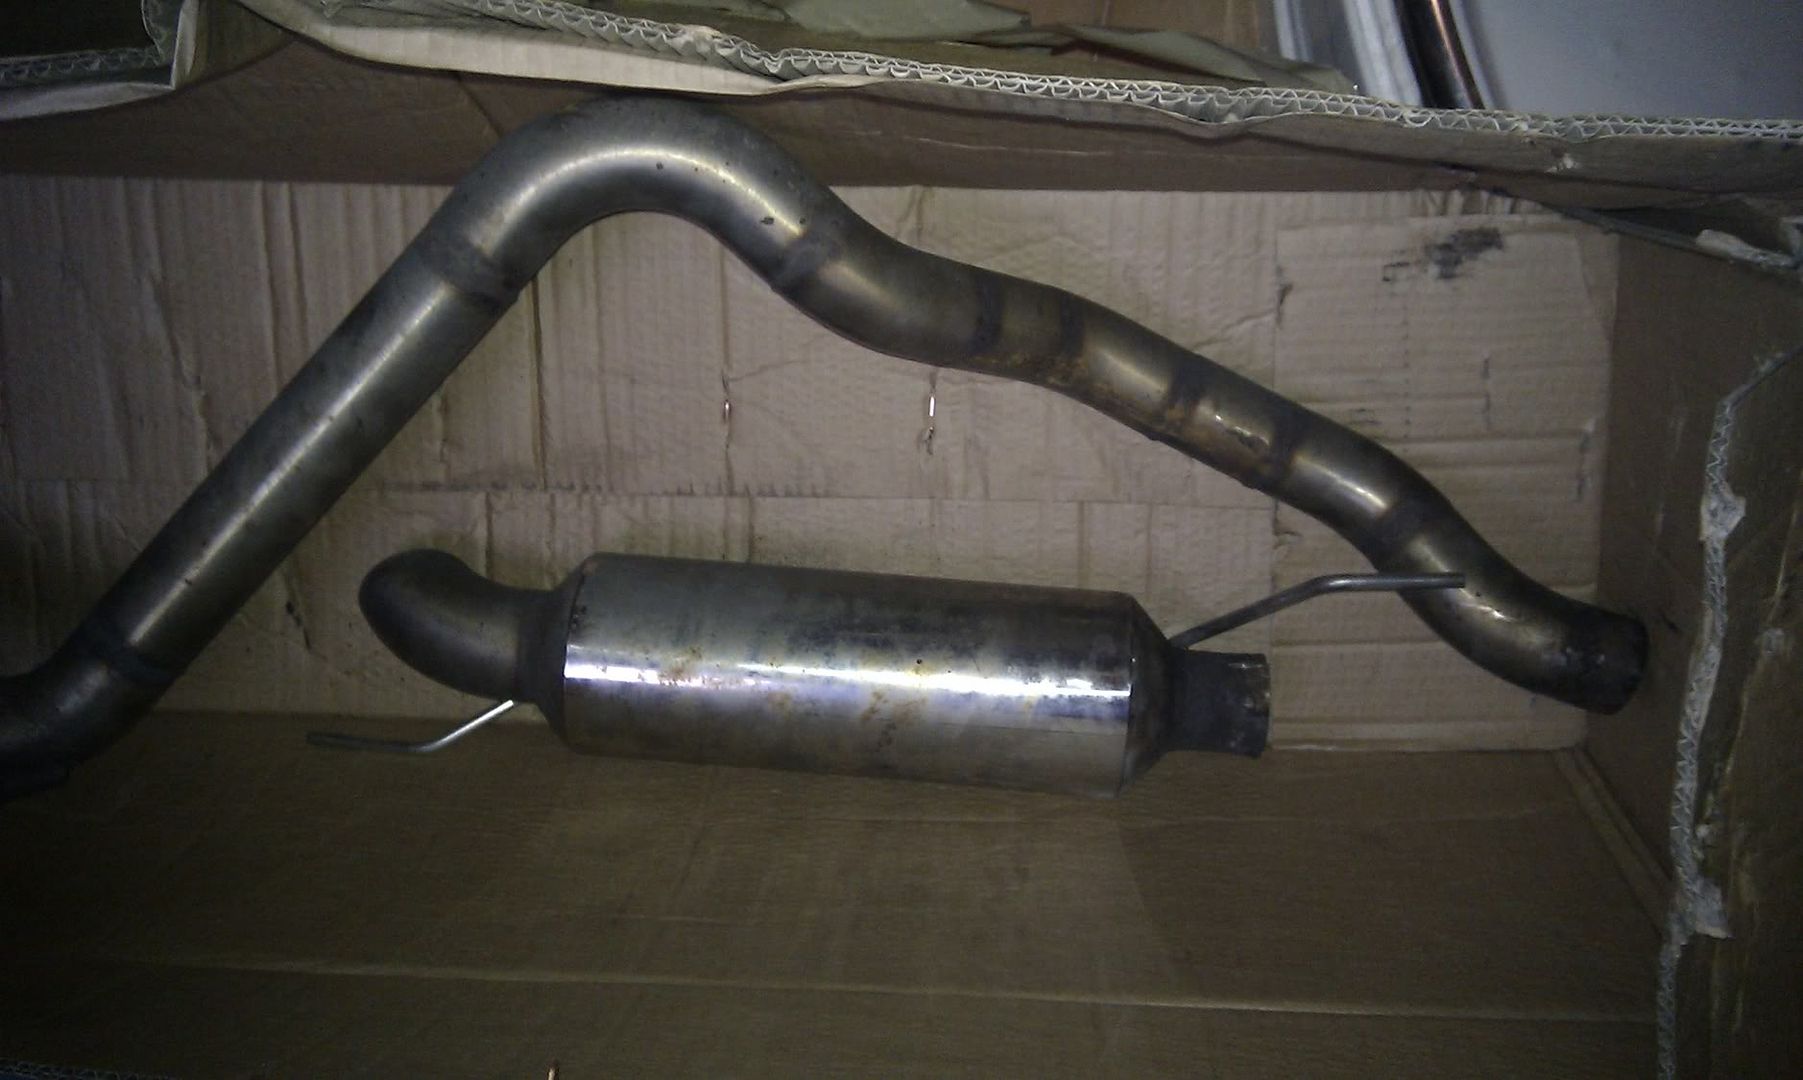
I've also lost a spring clip for one of the engine pipes that I removed for better access. It pinged off somewhere down the back of the bay. :-/
So tomorrow's job is to find the missing bits, stick the steering wheel back on, put the interior bits back together and test it out! The airbag isn't going back on until I'm 100% happy. Can anyone confirm if I'm in danger of the passenger airbag going off if I drive with my slip ring connected but no steering wheel airbag?