So yesterday was the day !

After three months of spreading its precious 0W30 oil on the roads of France, it was high time to replace that damn oil pan.
I would like to thank my father for offering his help. With two of us, the work went much faster and the extra pair of hands was very welcome.
First step: removal
All the screws came out without any problems, except for one (of course...) which immediately stripped

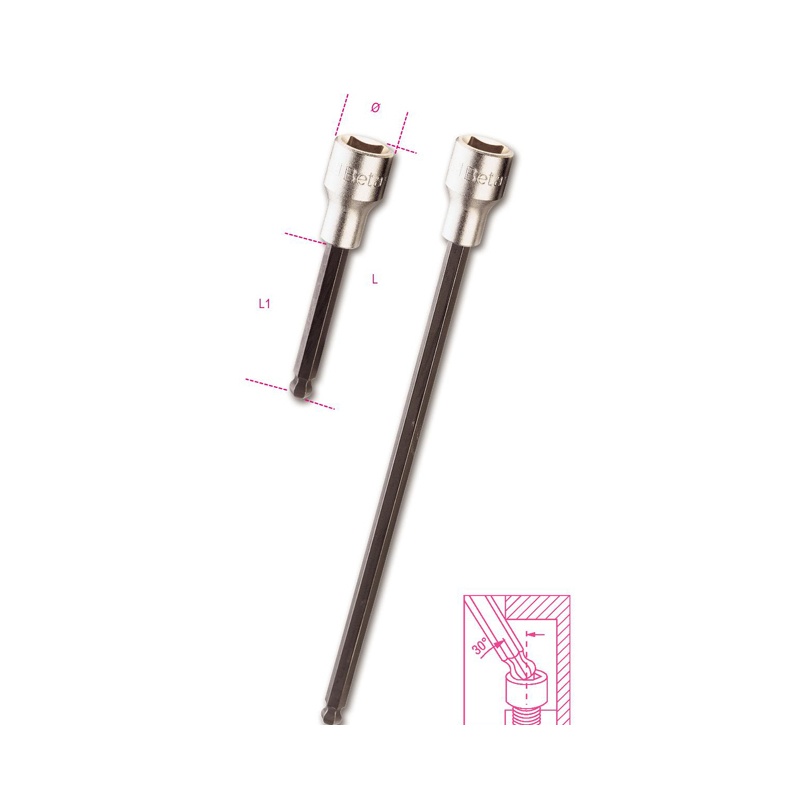
Luckily, I had bought the special VW tool (hex key with rounded tip).
- bk_jAVsB3KPVQS5Ia5J5kgG-1-max.jpg (44.35 KiB) Viewed 1726 times
With that, it came out without any problems.
The screws on the gearbox and air conditioning compressor also came out without any problems.
No matter if there were in good condition, I alway buy new screw.
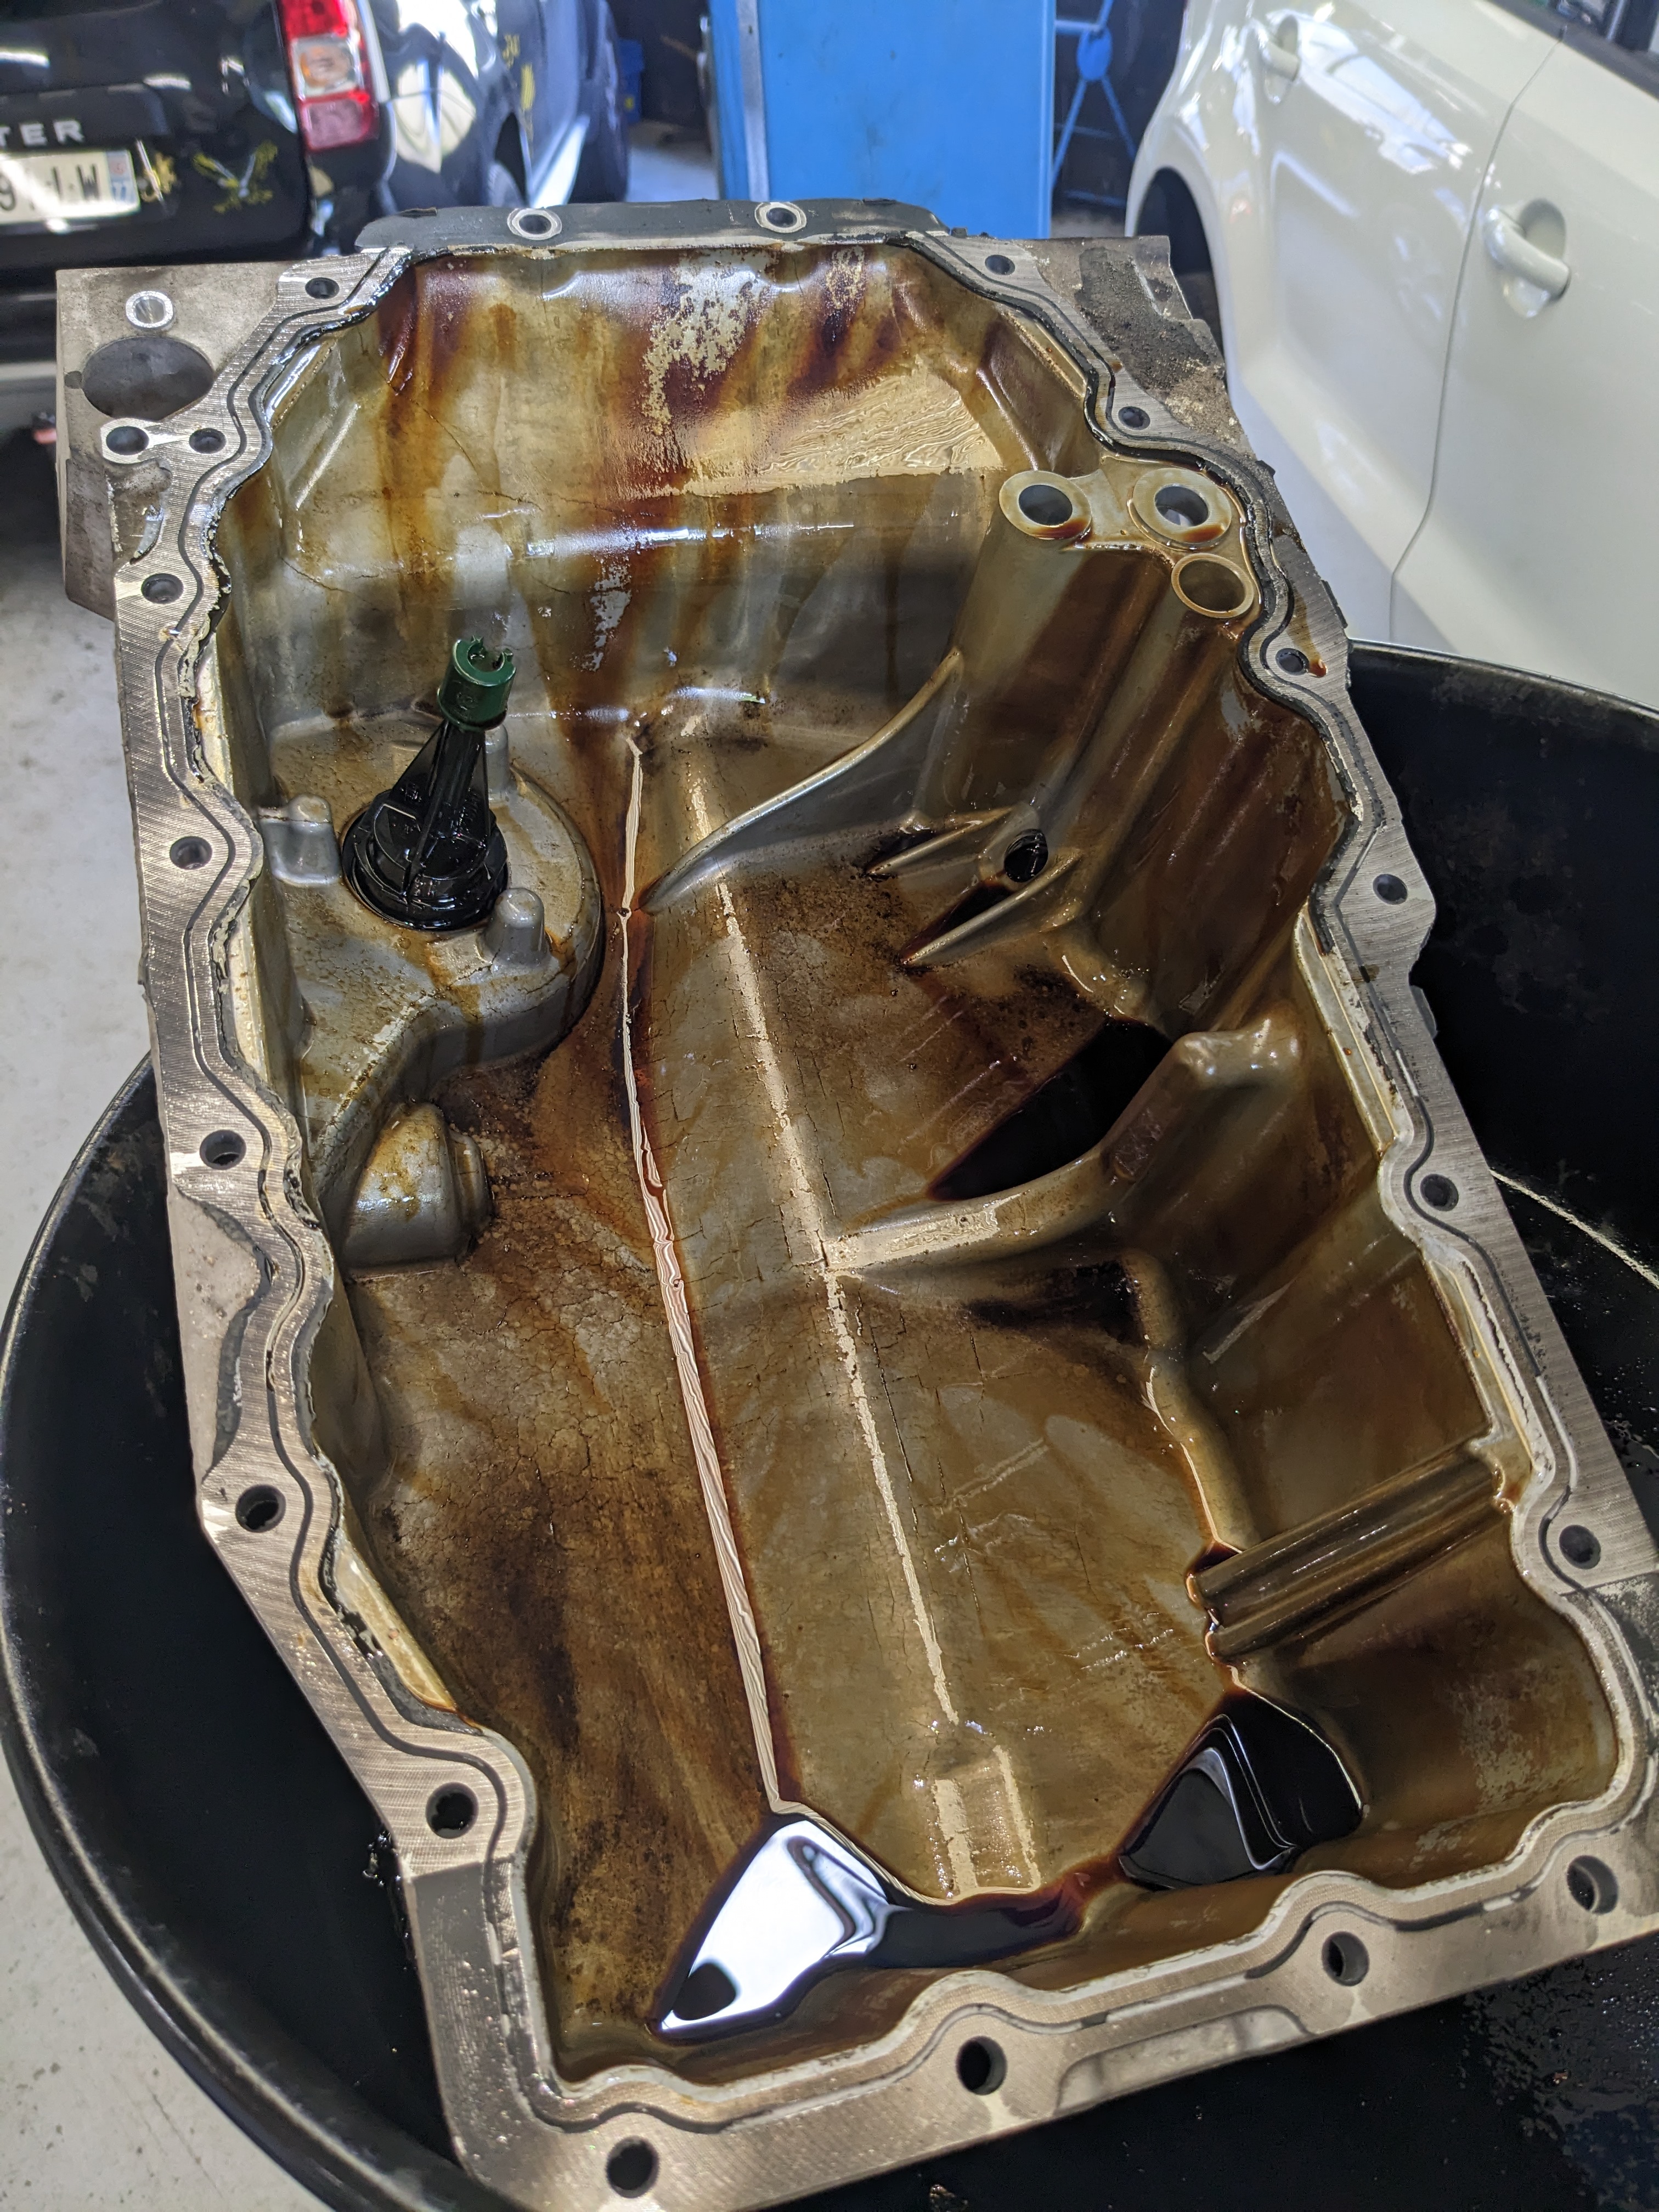
Two kicks with a crowbar and the oil pan is removed.
- PXL_20250929_130027710.jpg (3.08 MiB) Viewed 1726 times
Despite applying tape, the aluminium still left marks where it came into contact. It's incredible how soft this material is.
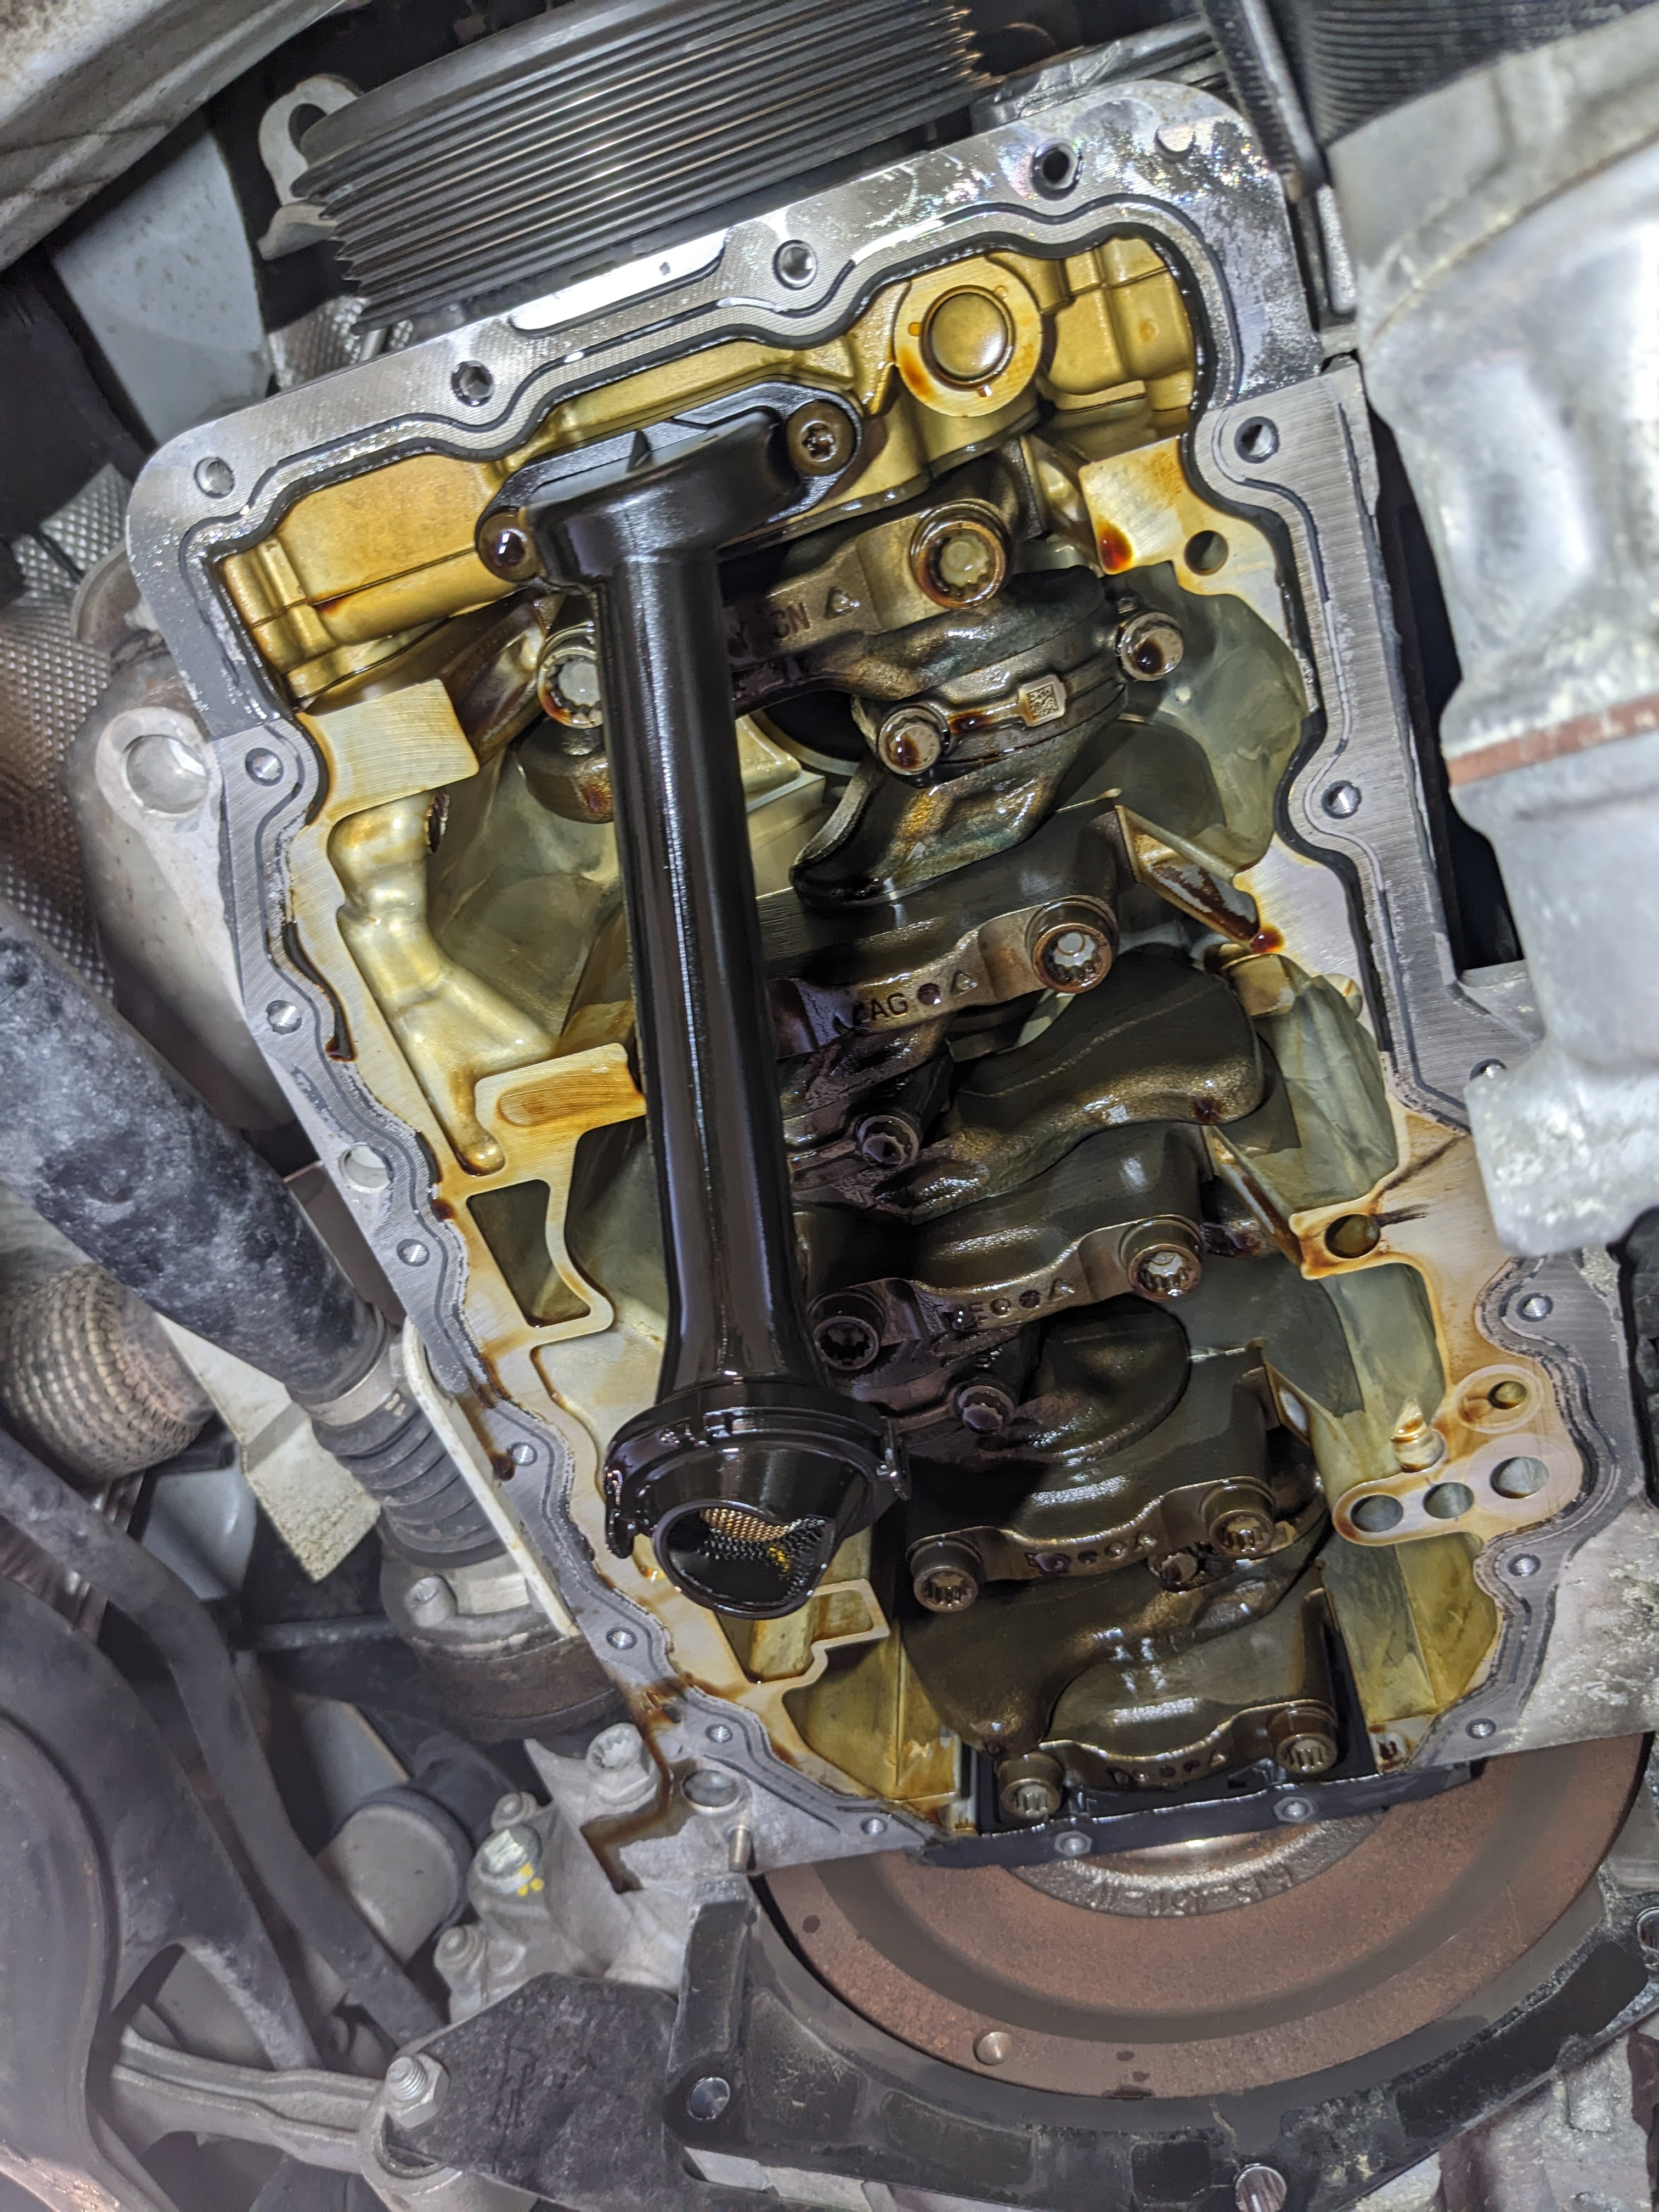
Overall, it's very clean, with no debris or pieces left behind.
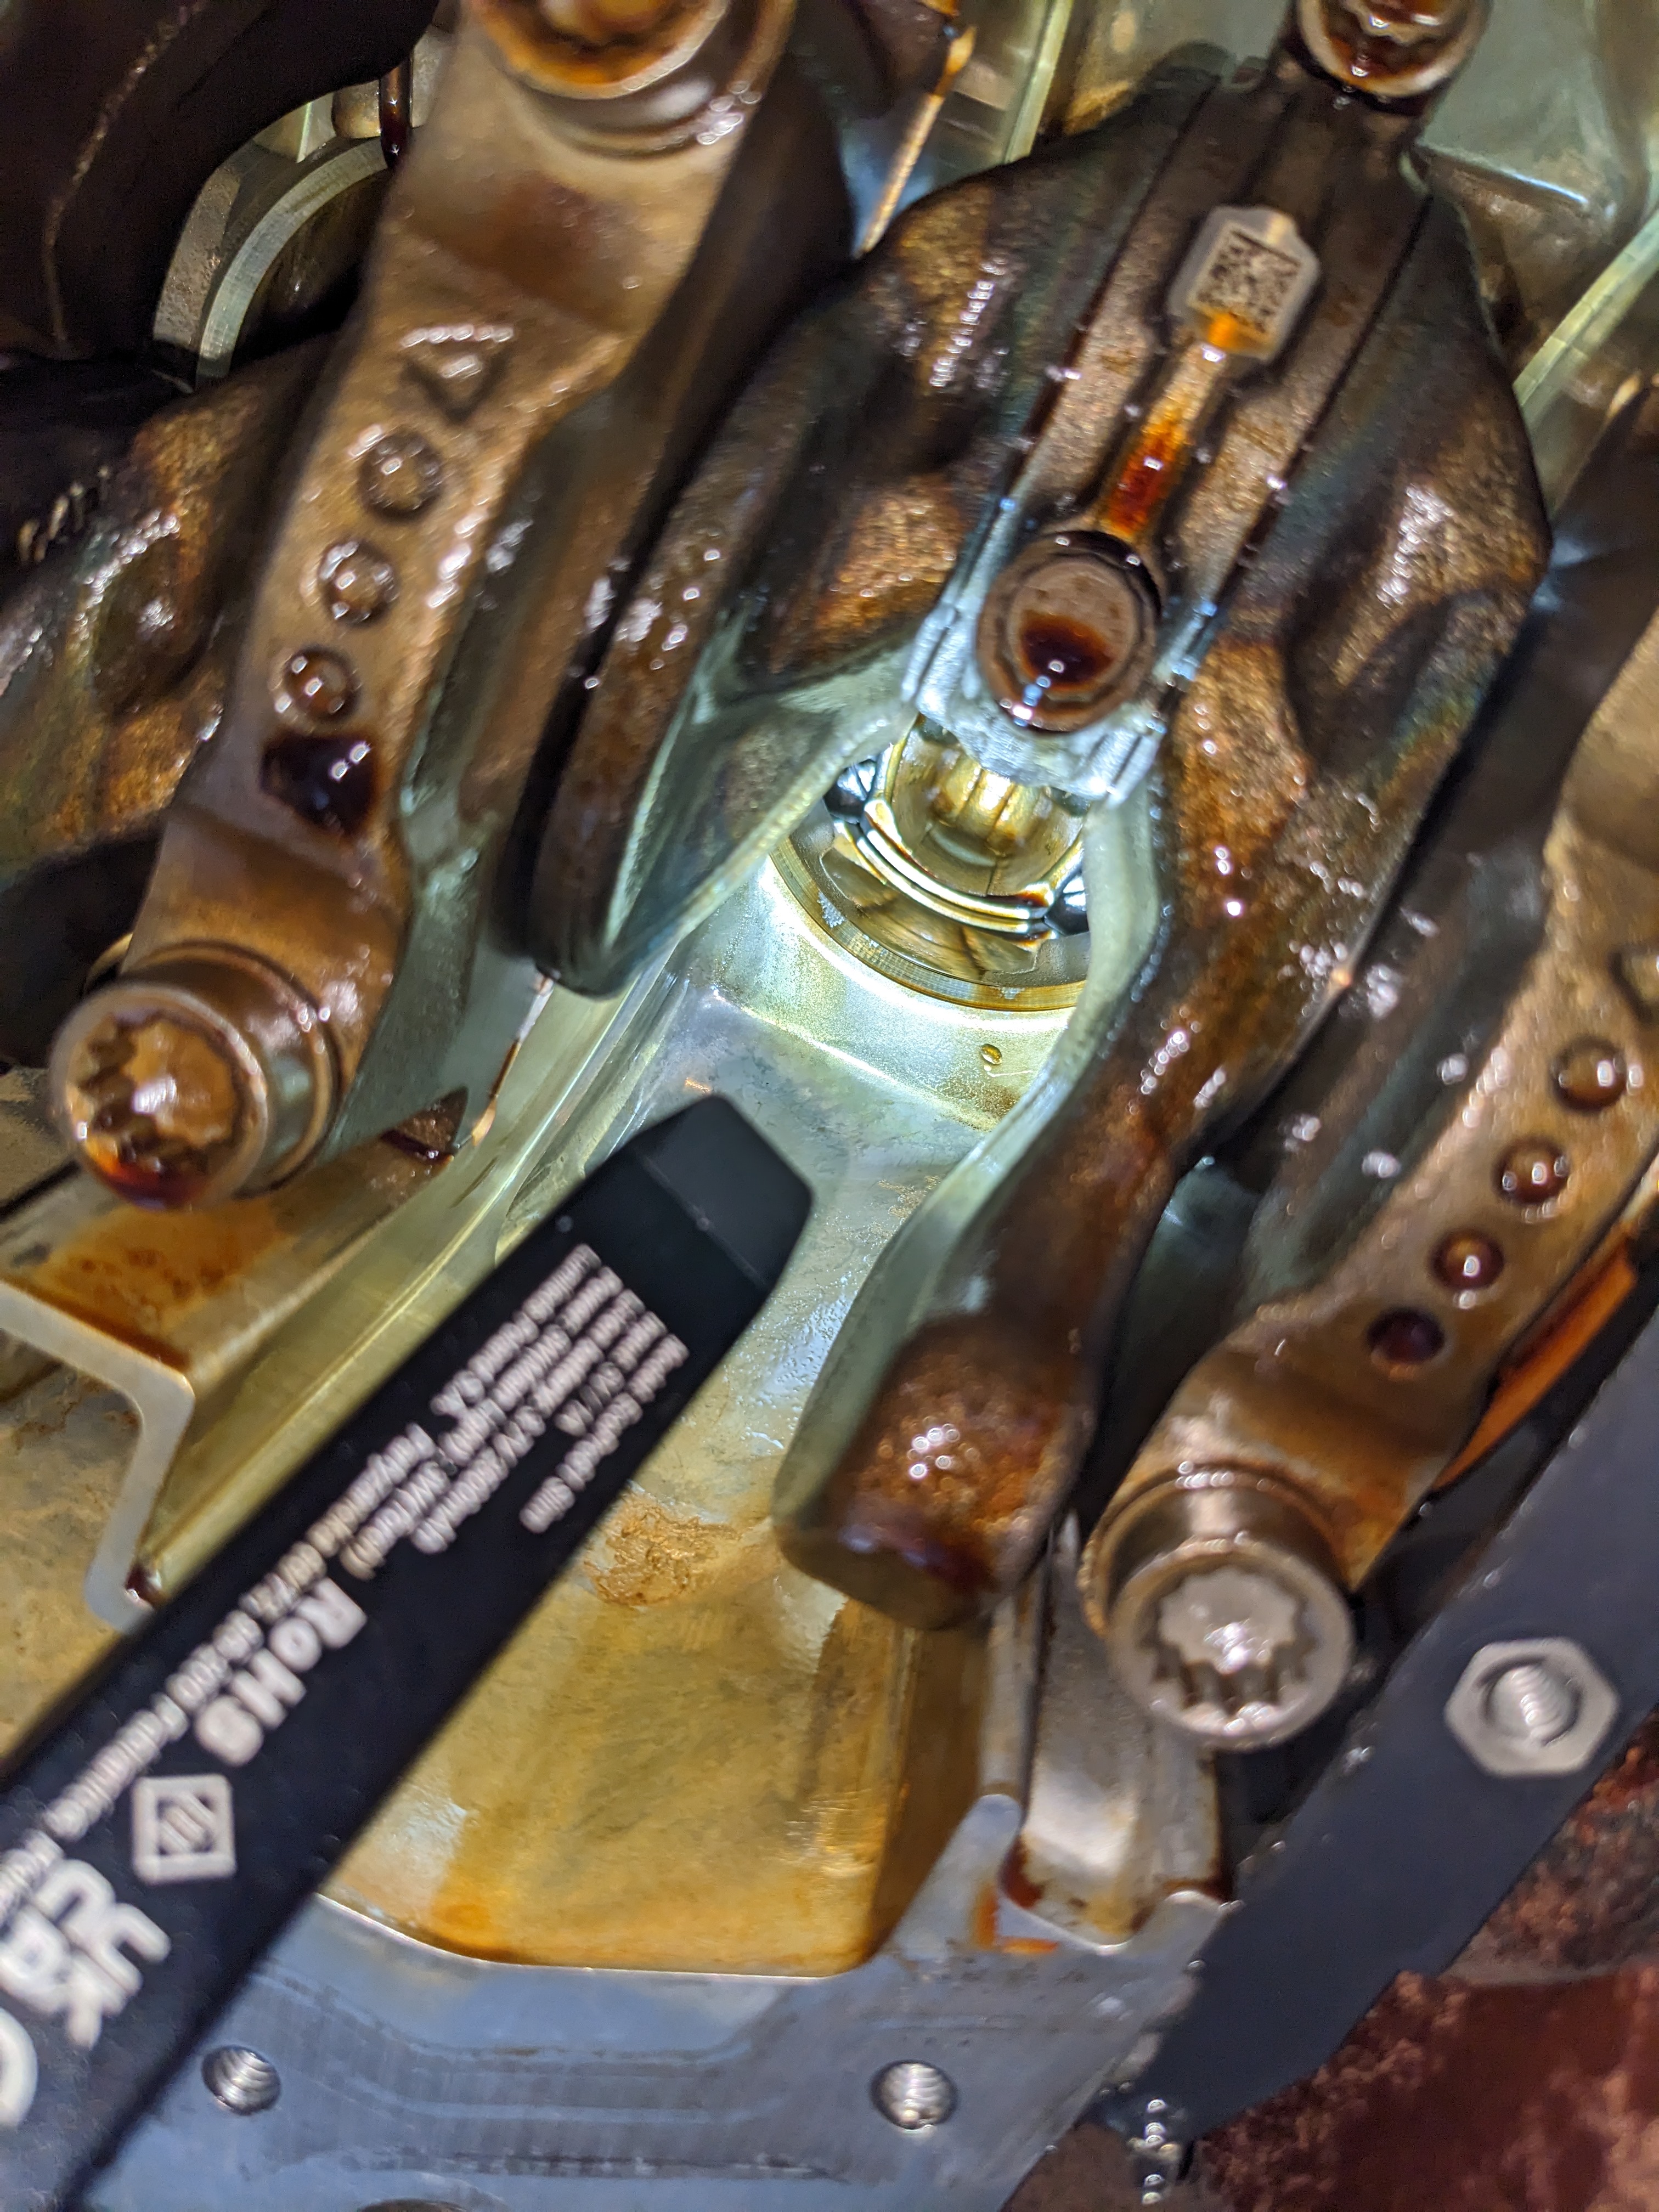
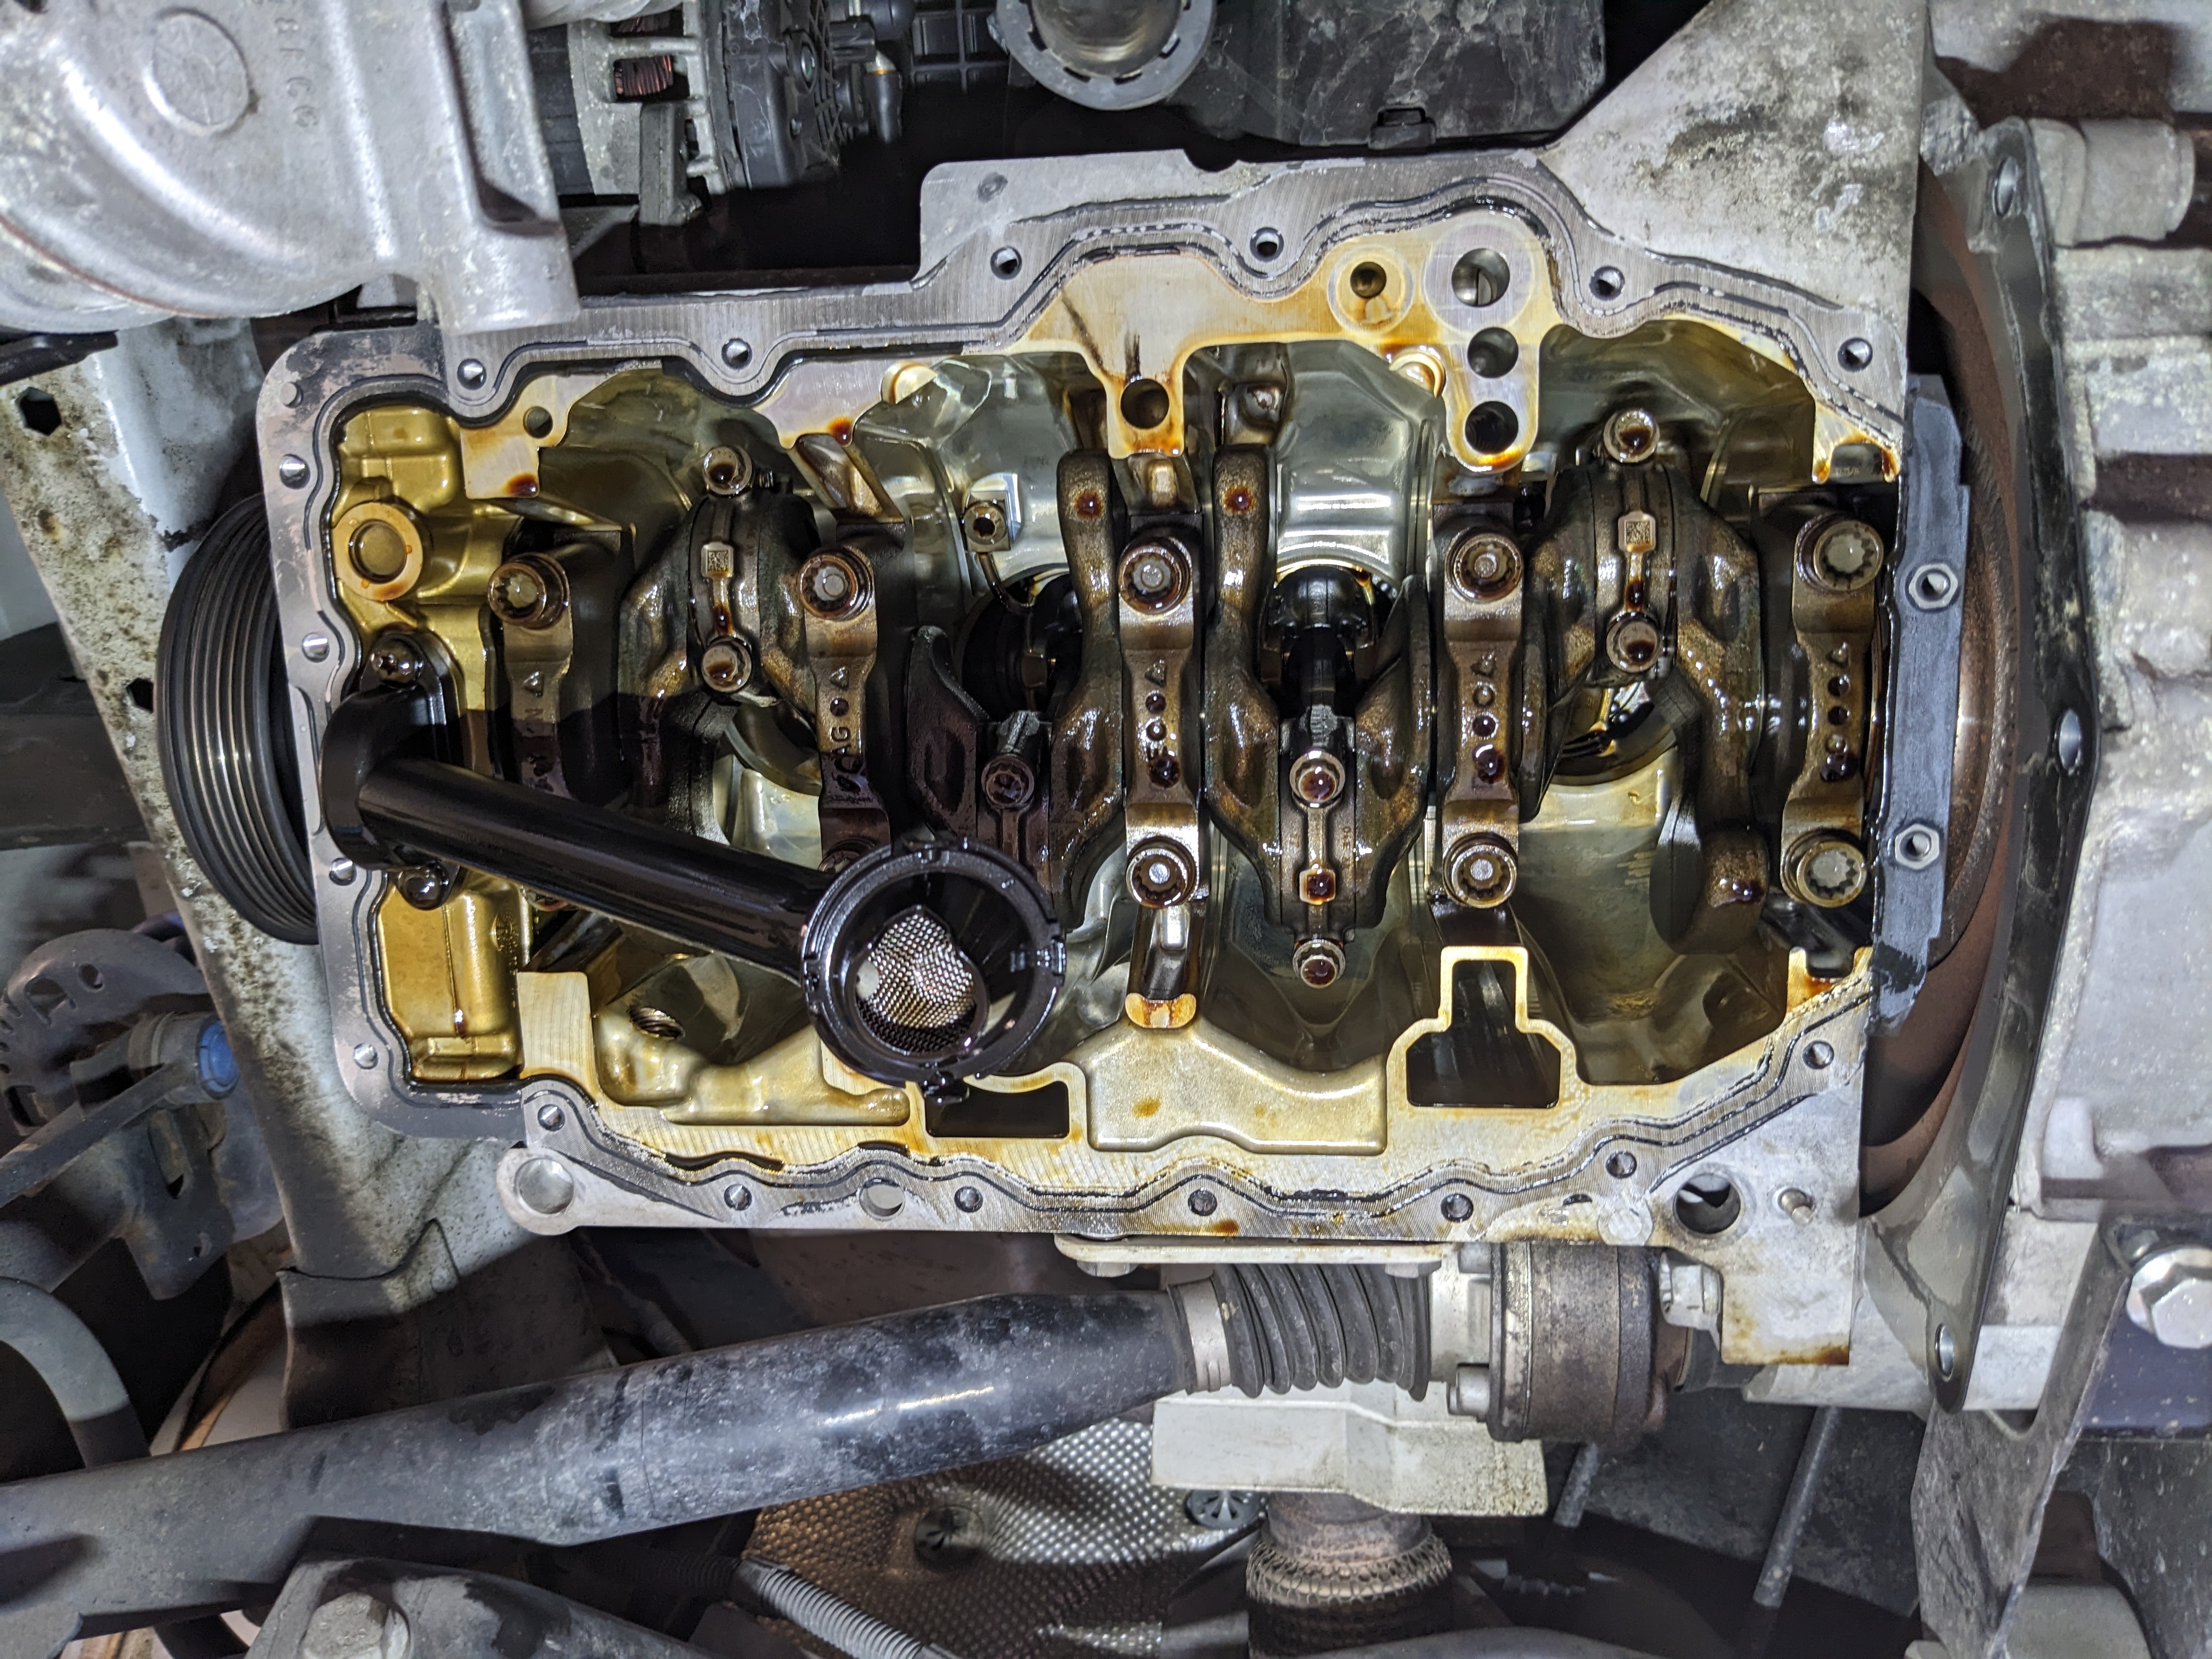
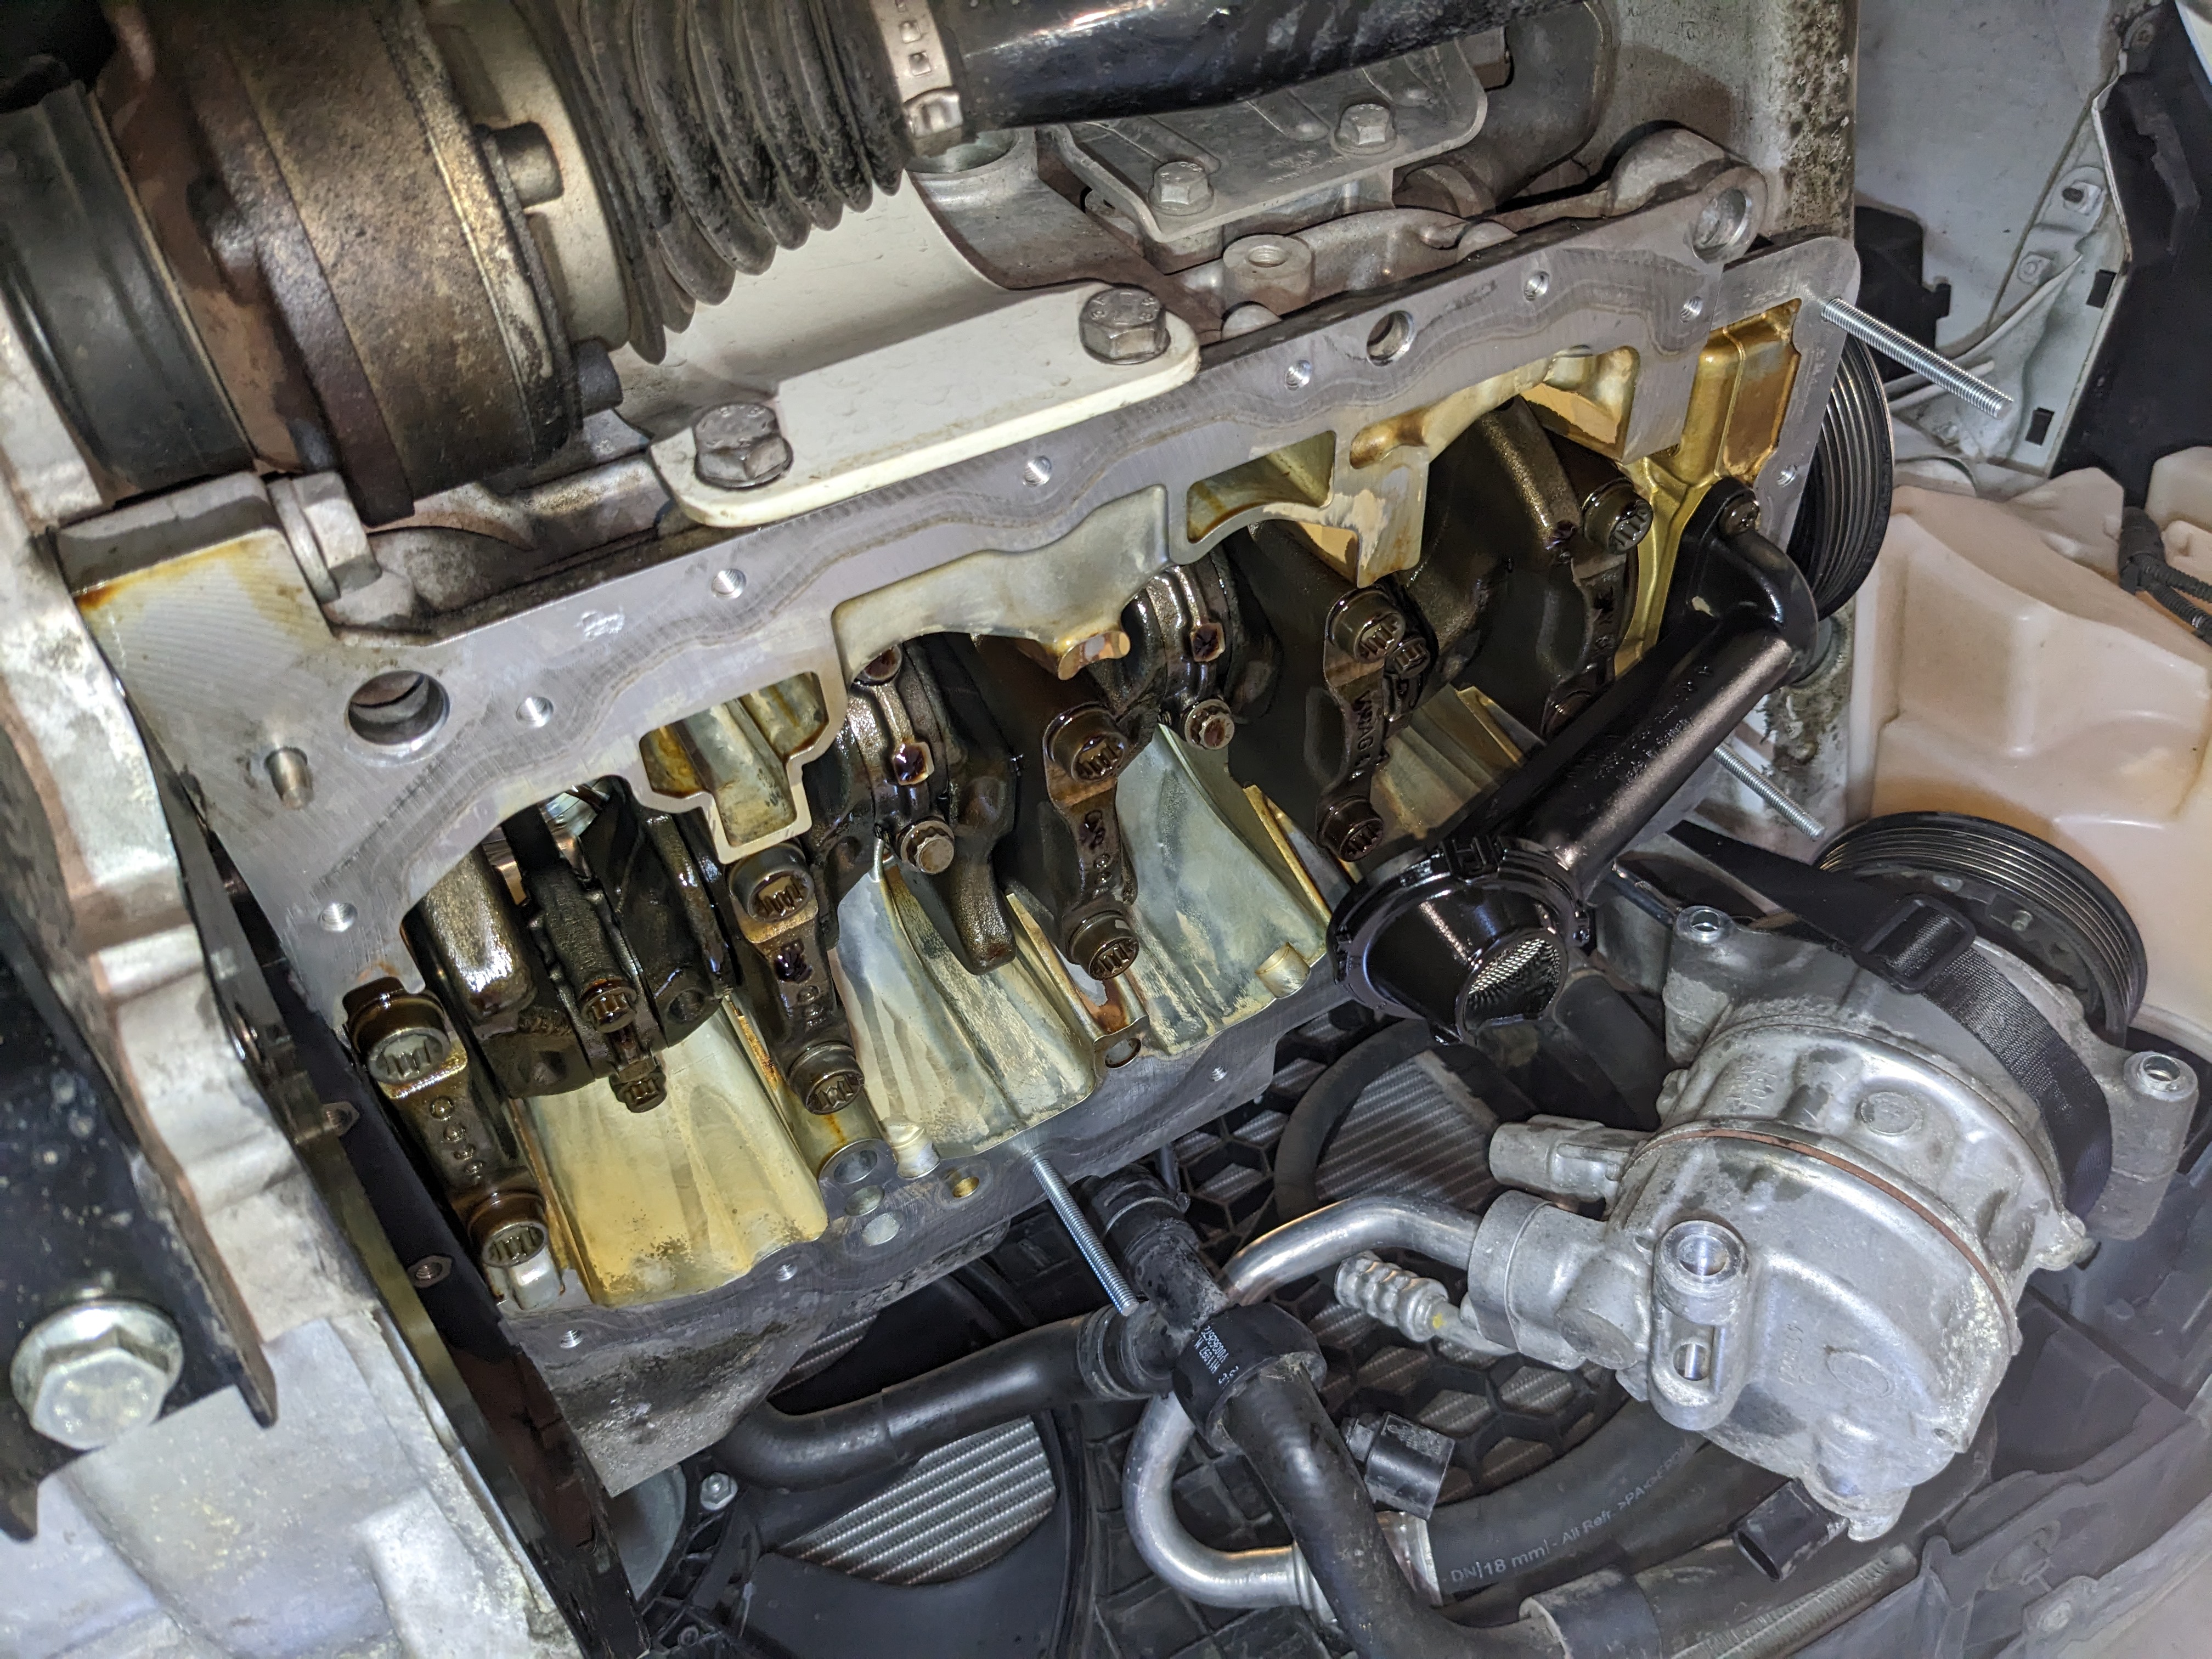
Now for the internals:
- PXL_20250929_133256272.jpg (2.85 MiB) Viewed 1726 times
- PXL_20250929_130209708.jpg (3.34 MiB) Viewed 1726 times
- PXL_20250929_130138998.jpg (3.03 MiB) Viewed 1726 times
Well, same thing: very clean.
I was pleasantly surprised to see that there wasn't too much carbonised deposits (brown colour). There were a few, certainly where the oil tends to stagnate a little.
Overall, the aluminium has taken on a beautiful golden colour.
Second step: cleaning.
This is crucial because it will ensure that the surface is properly prepared to receive the new seal and therefore guarantee a good seal.
And since I don't plan on removing it again (except in cases of force majeure), I might as well do it properly

To do this, I bought Loctite SF7200, a product designed for silicone seals.
Spray it around the edge and leave it to work for 5-10 minutes.
Three passes were necessary with plastic spatulas.
- PXL_20250929_135956530.jpg (3.11 MiB) Viewed 1726 times
It's not as perfect as after machining, but you couldn't feel anything with your fingernail.
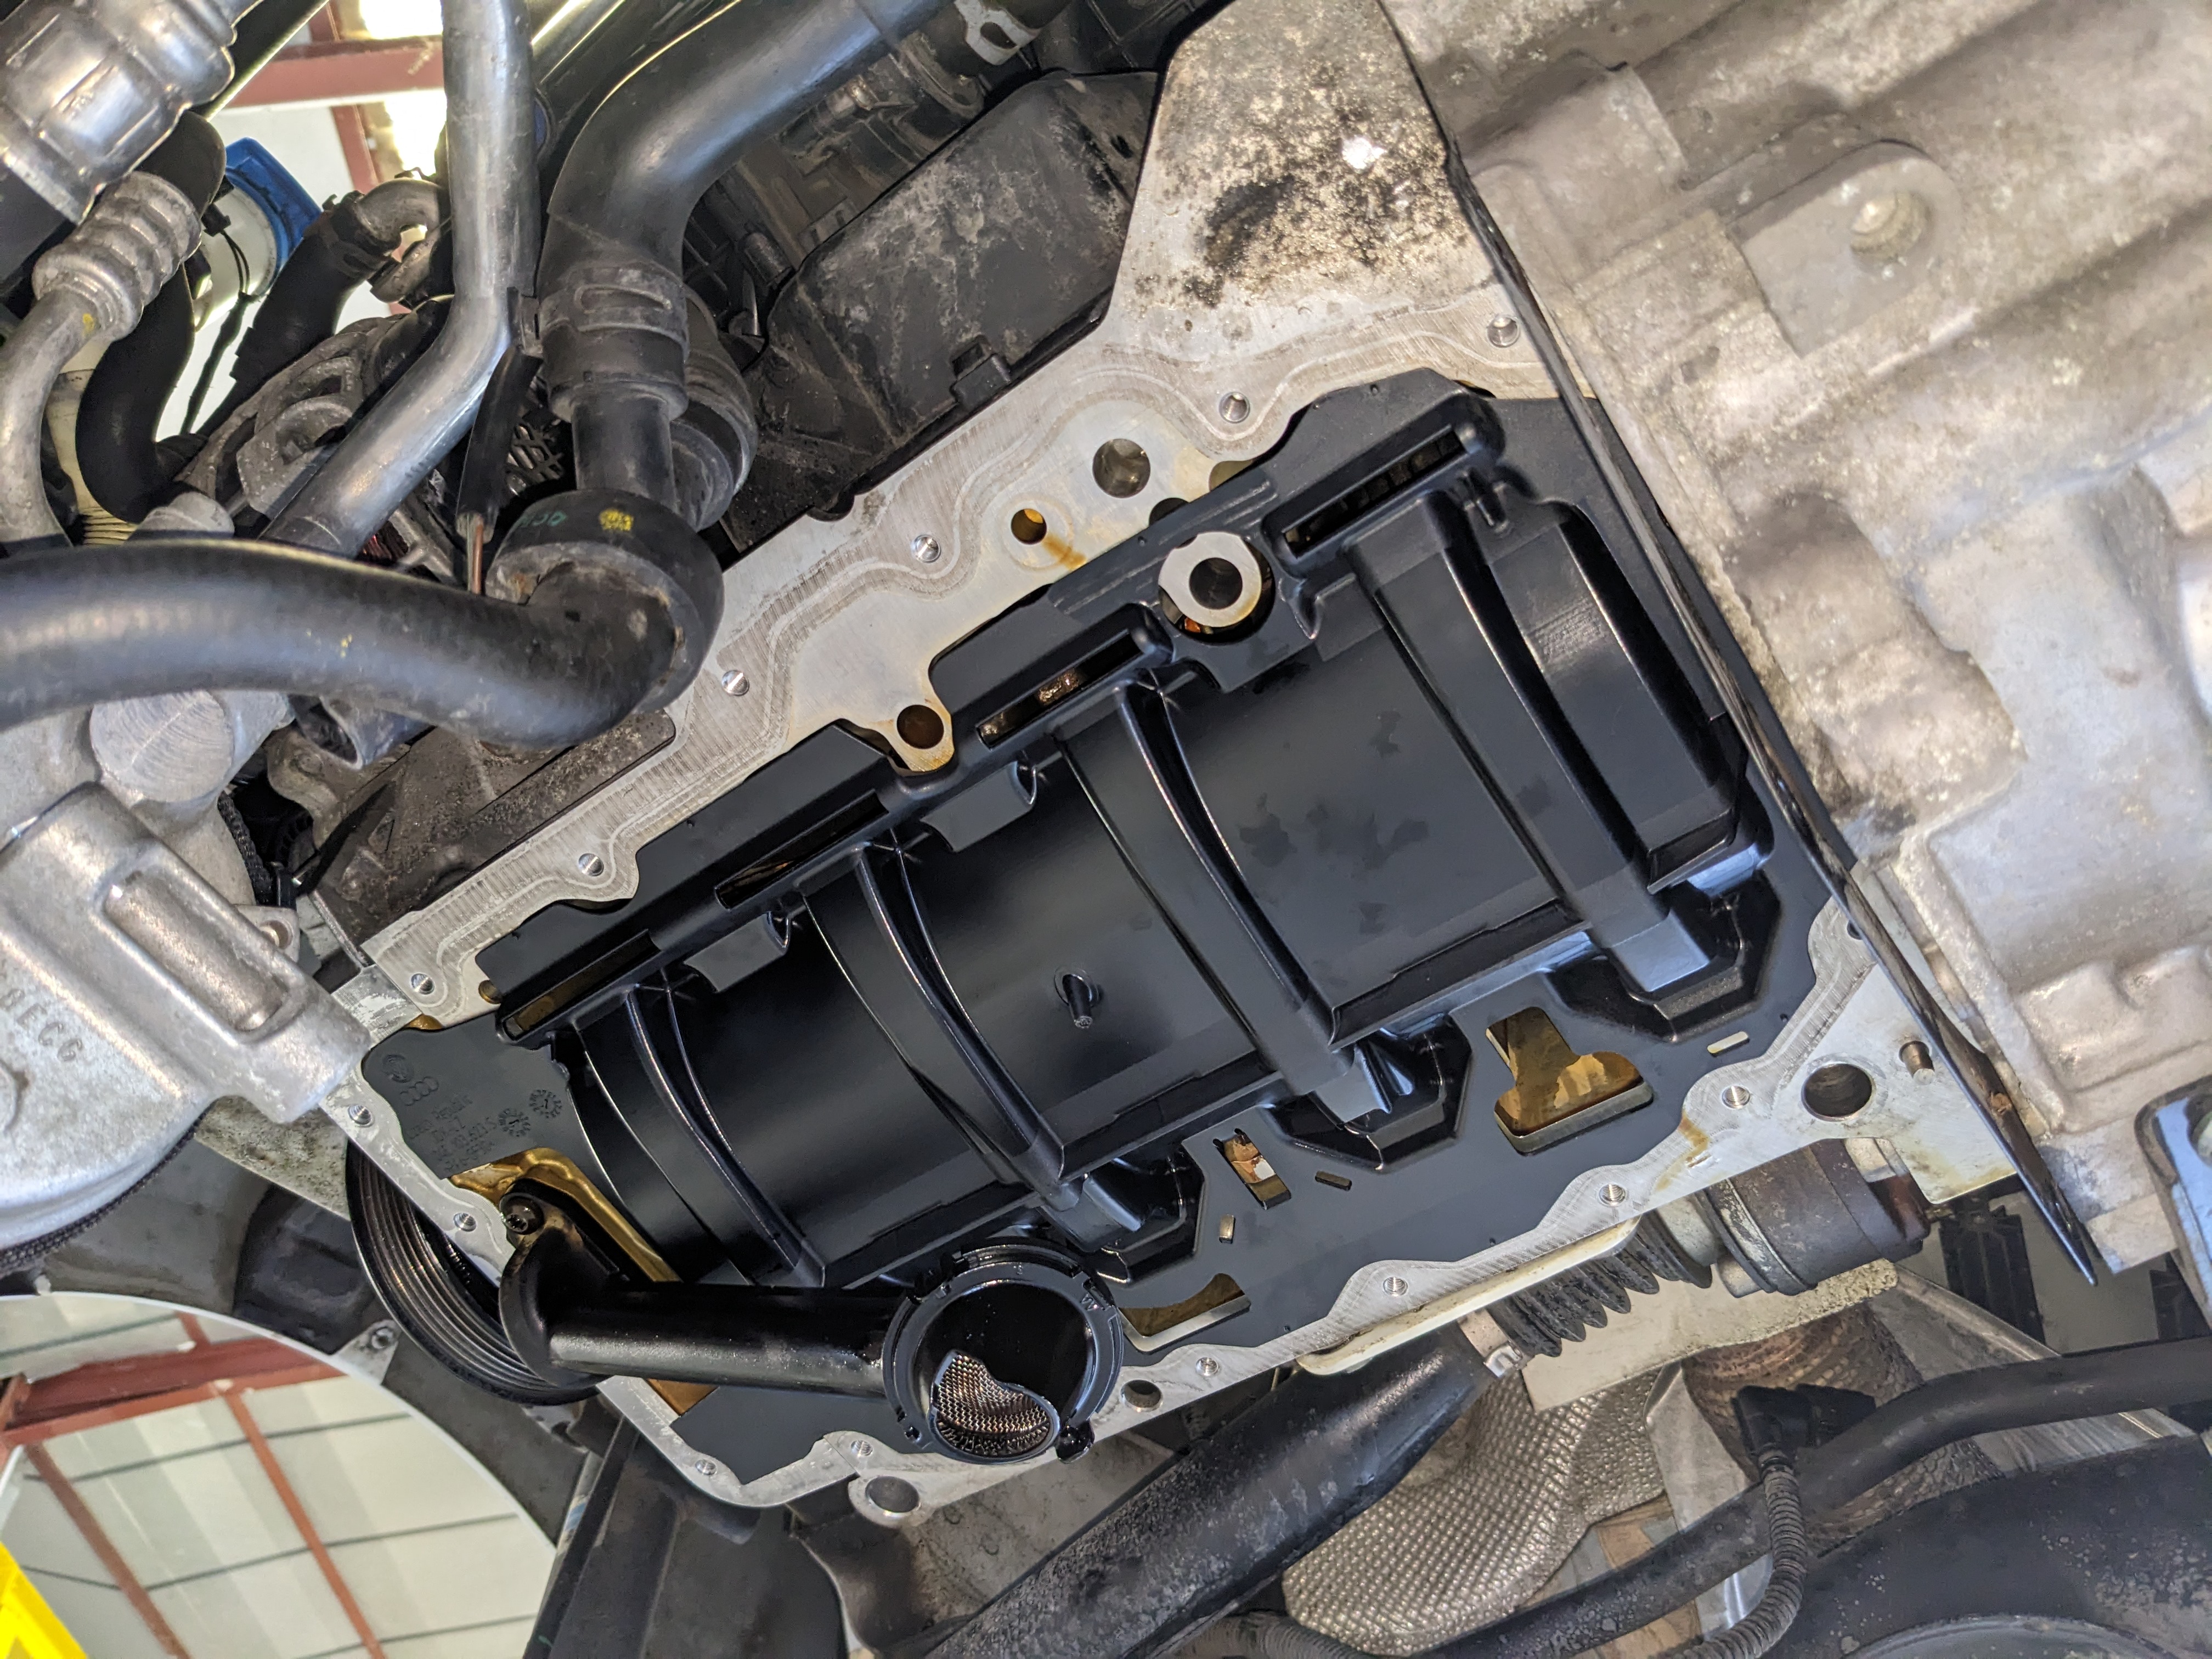
Installation of the new firewall:
- PXL_20250929_141005540.jpg (2.96 MiB) Viewed 1726 times
This part is a bit of a ‘misfit’ in the sense that it is sandwiched between the block and the casing. A slight misalignment is enough for the casing to fit poorly (as seen in the video) and be mounted crookedly.
I did a test with the old oil pan to confirm the position, but even today I still have doubts despite the absence of leaks.
Penultimate step: preparing the new casing
I sprayed brake cleaner as if it were free, paid for by my boss

No, it's not my boss, it's my bank account :scared:
Brake cleaner all over the area and a blast with an air gun to remove all the dirt.
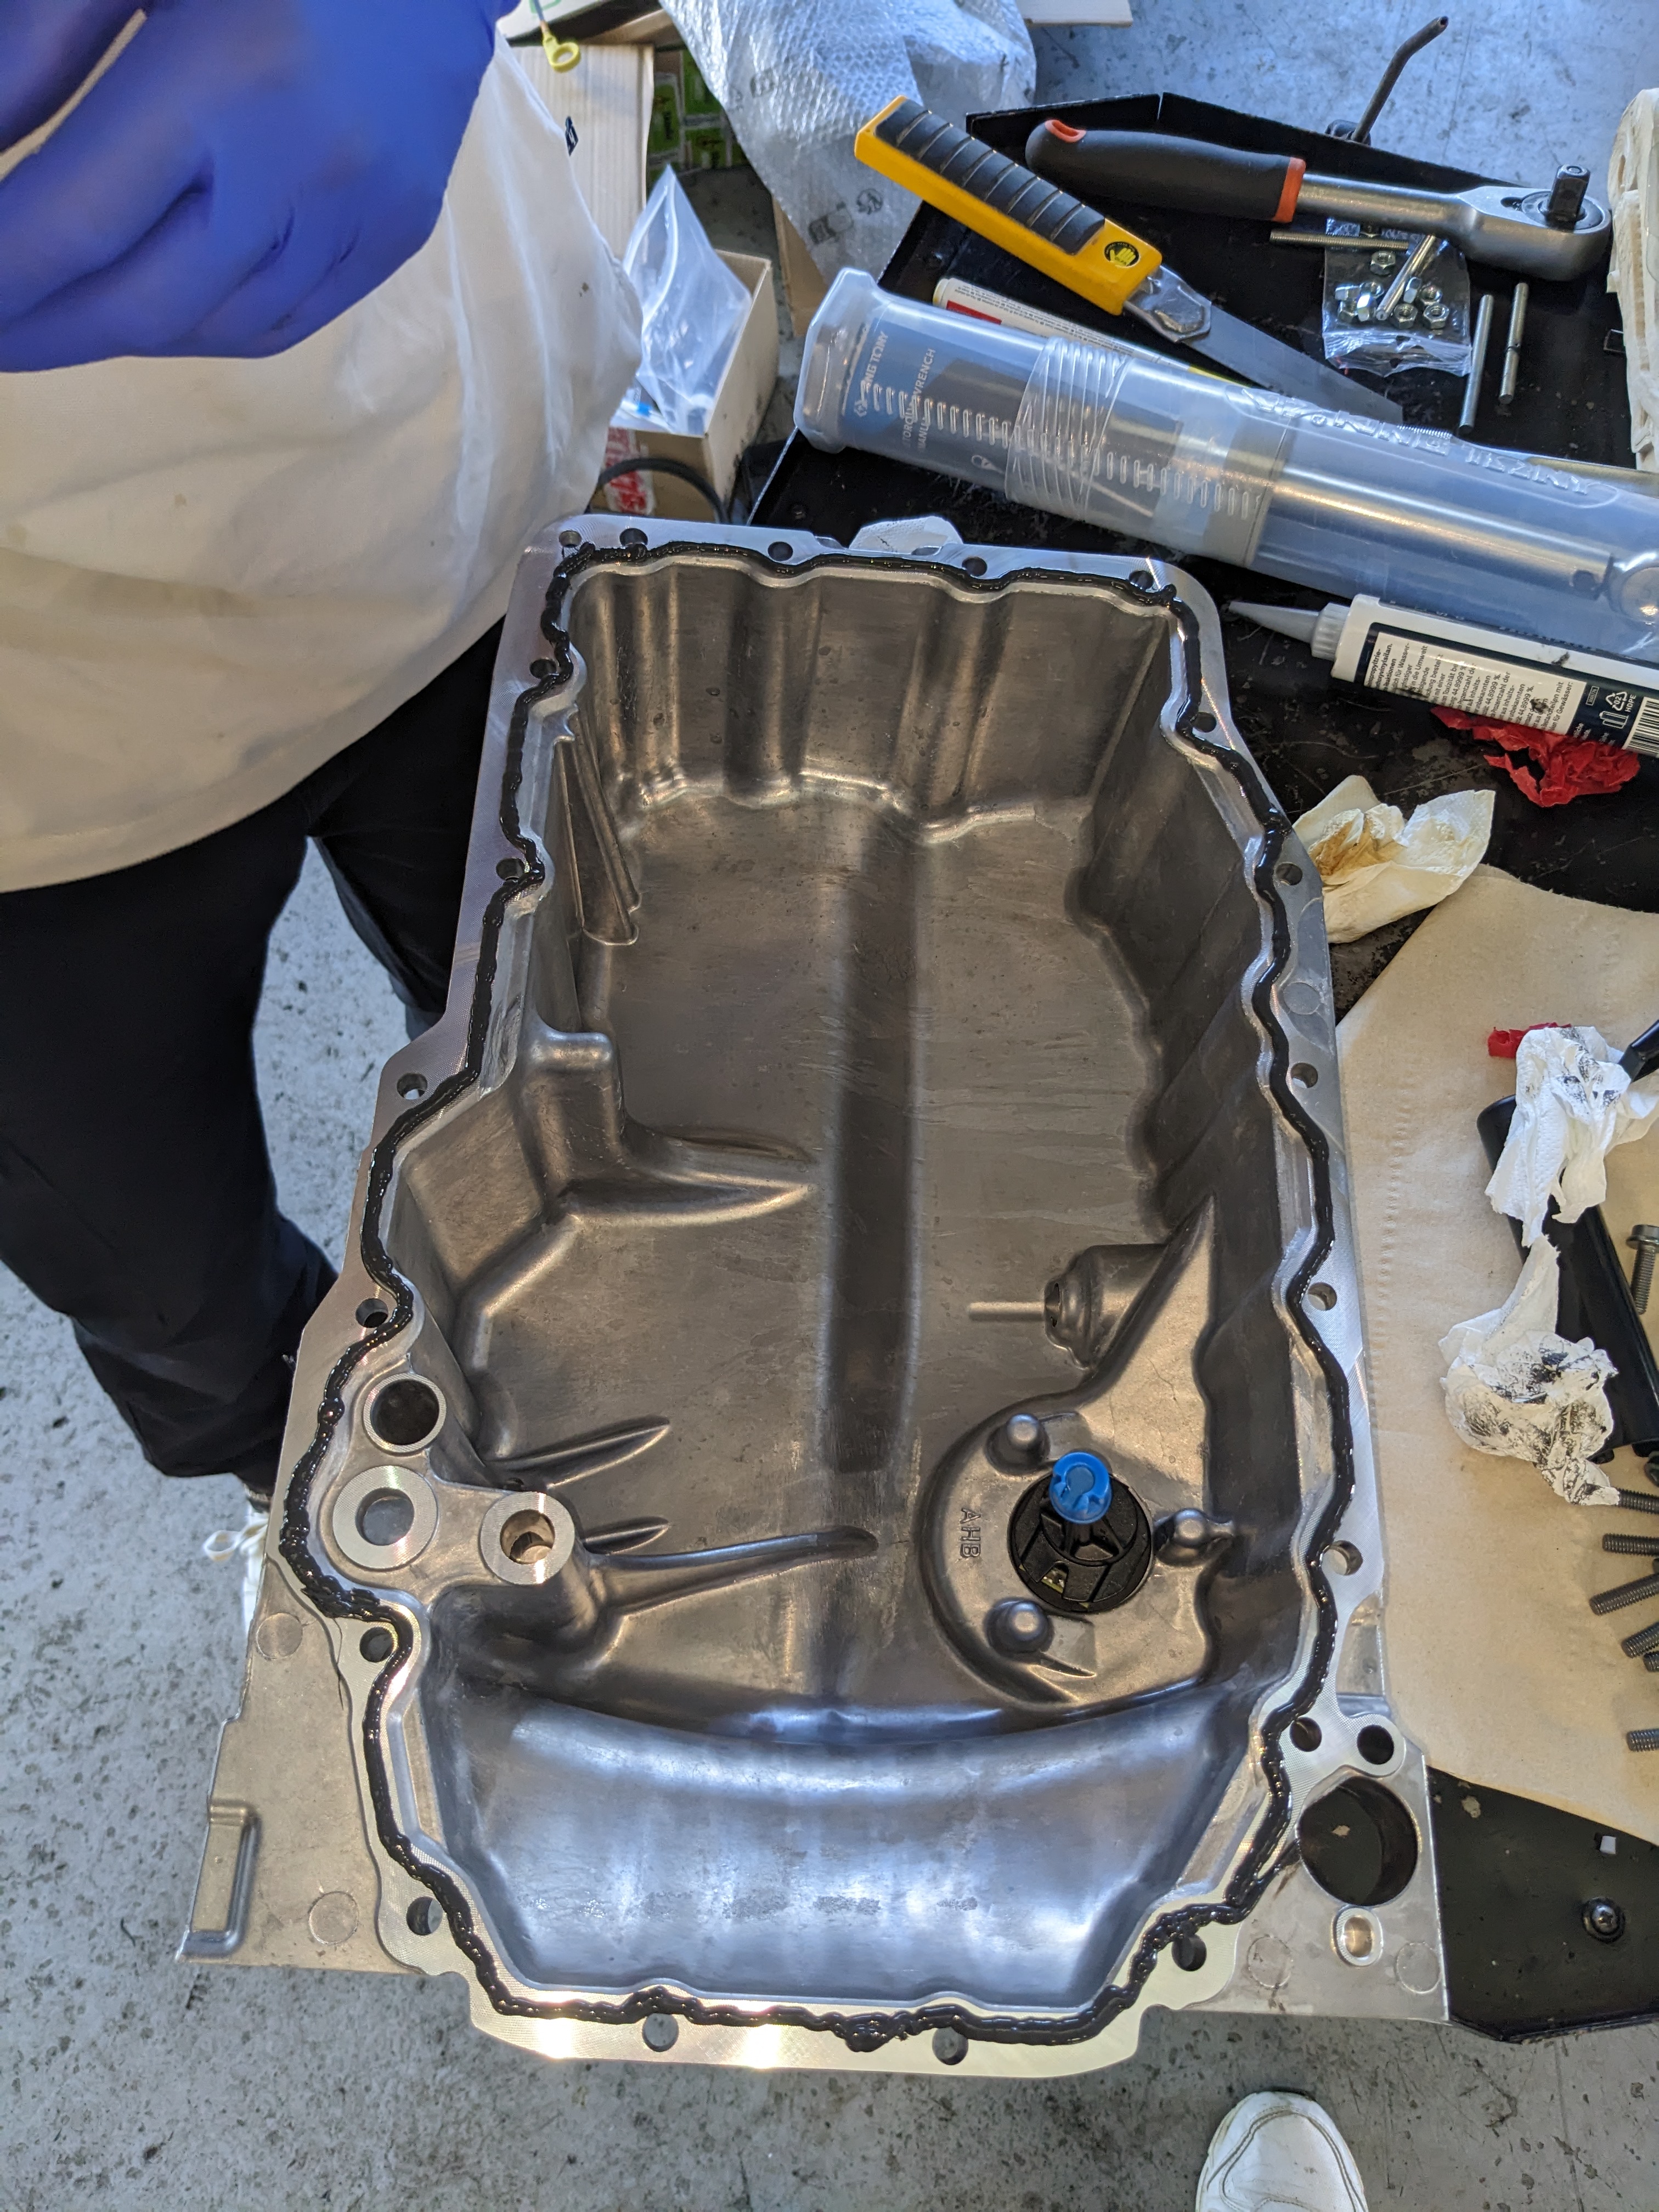
So, it's clearly not the most beautiful bead. I've done much better and much worse.
Let's say ‘could do better’.
- PXL_20250929_142840265.jpg (2.86 MiB) Viewed 1726 times
The difficulty (and my fear) is not to put too much on to prevent pieces from falling off and clogging the strainer.
VW recommends a thickness of 2-3 mm, but I think I've put on more than that.
And there are certain areas where the sealant (in my opinion) is too close to the edge... I'll check during the next oil change with a borescope.
The strainer is clean, apart from a piece of metal (machining residue?), nothing to report.
Final step: reassembly
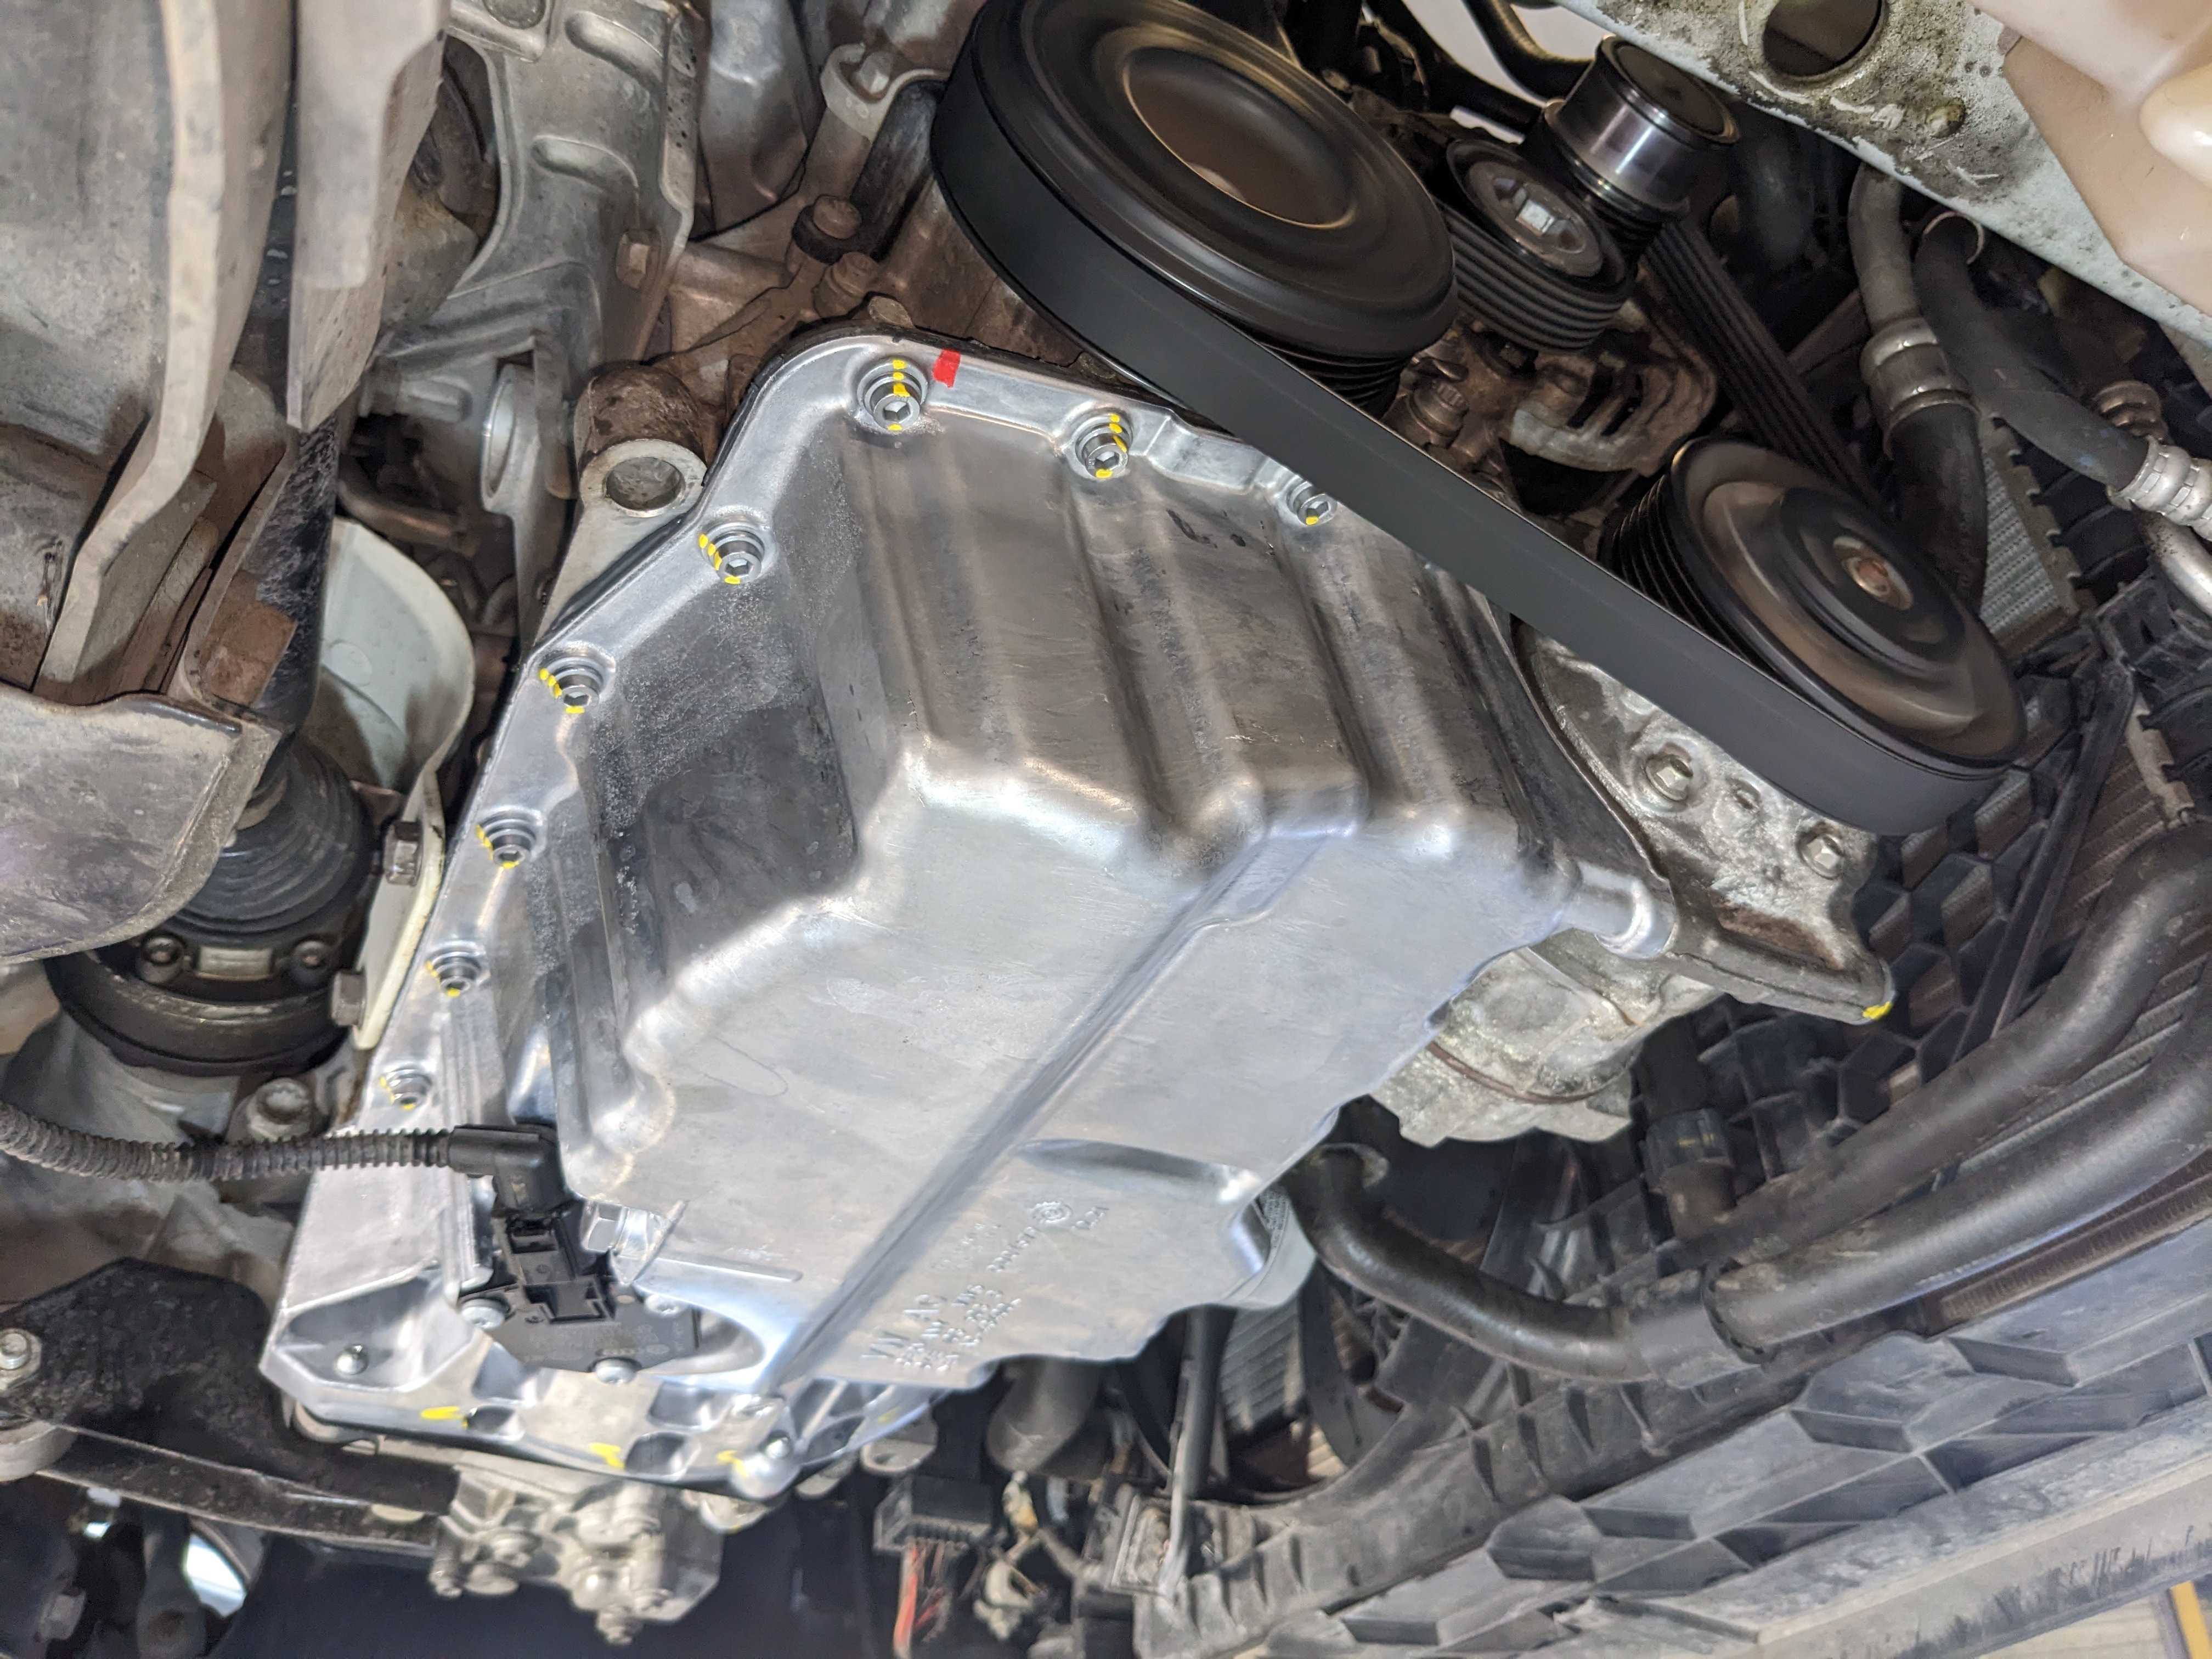
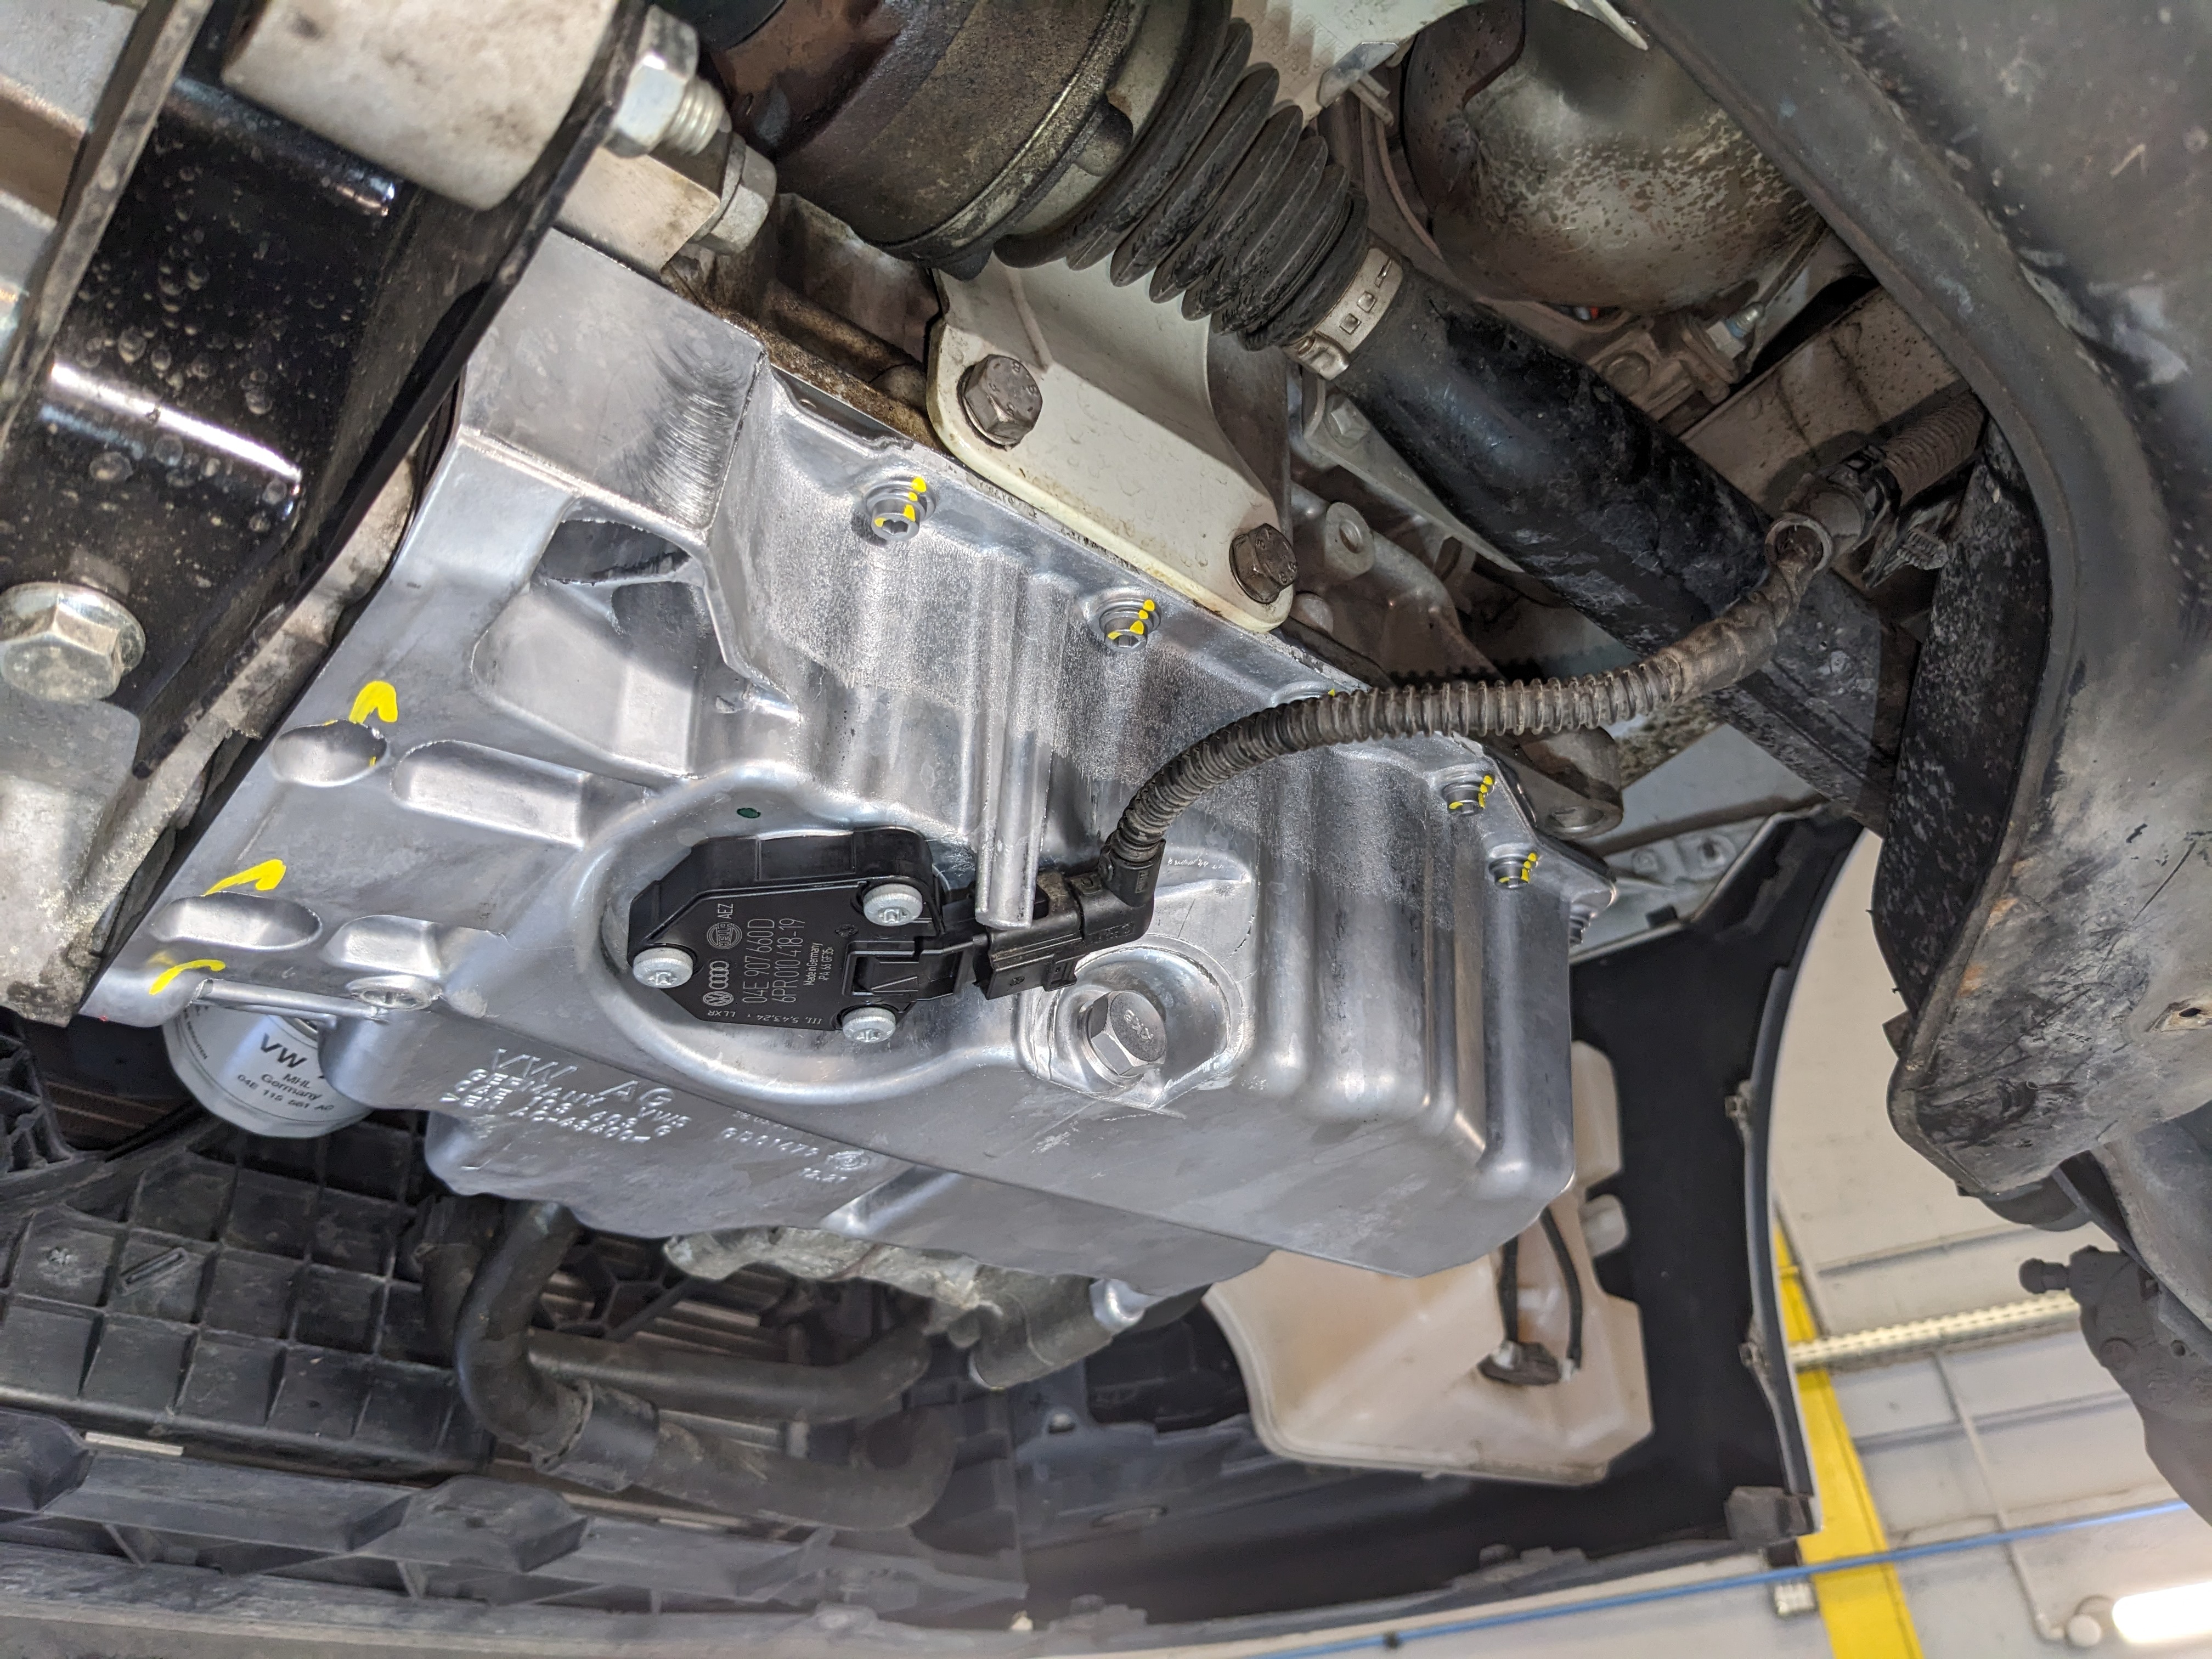
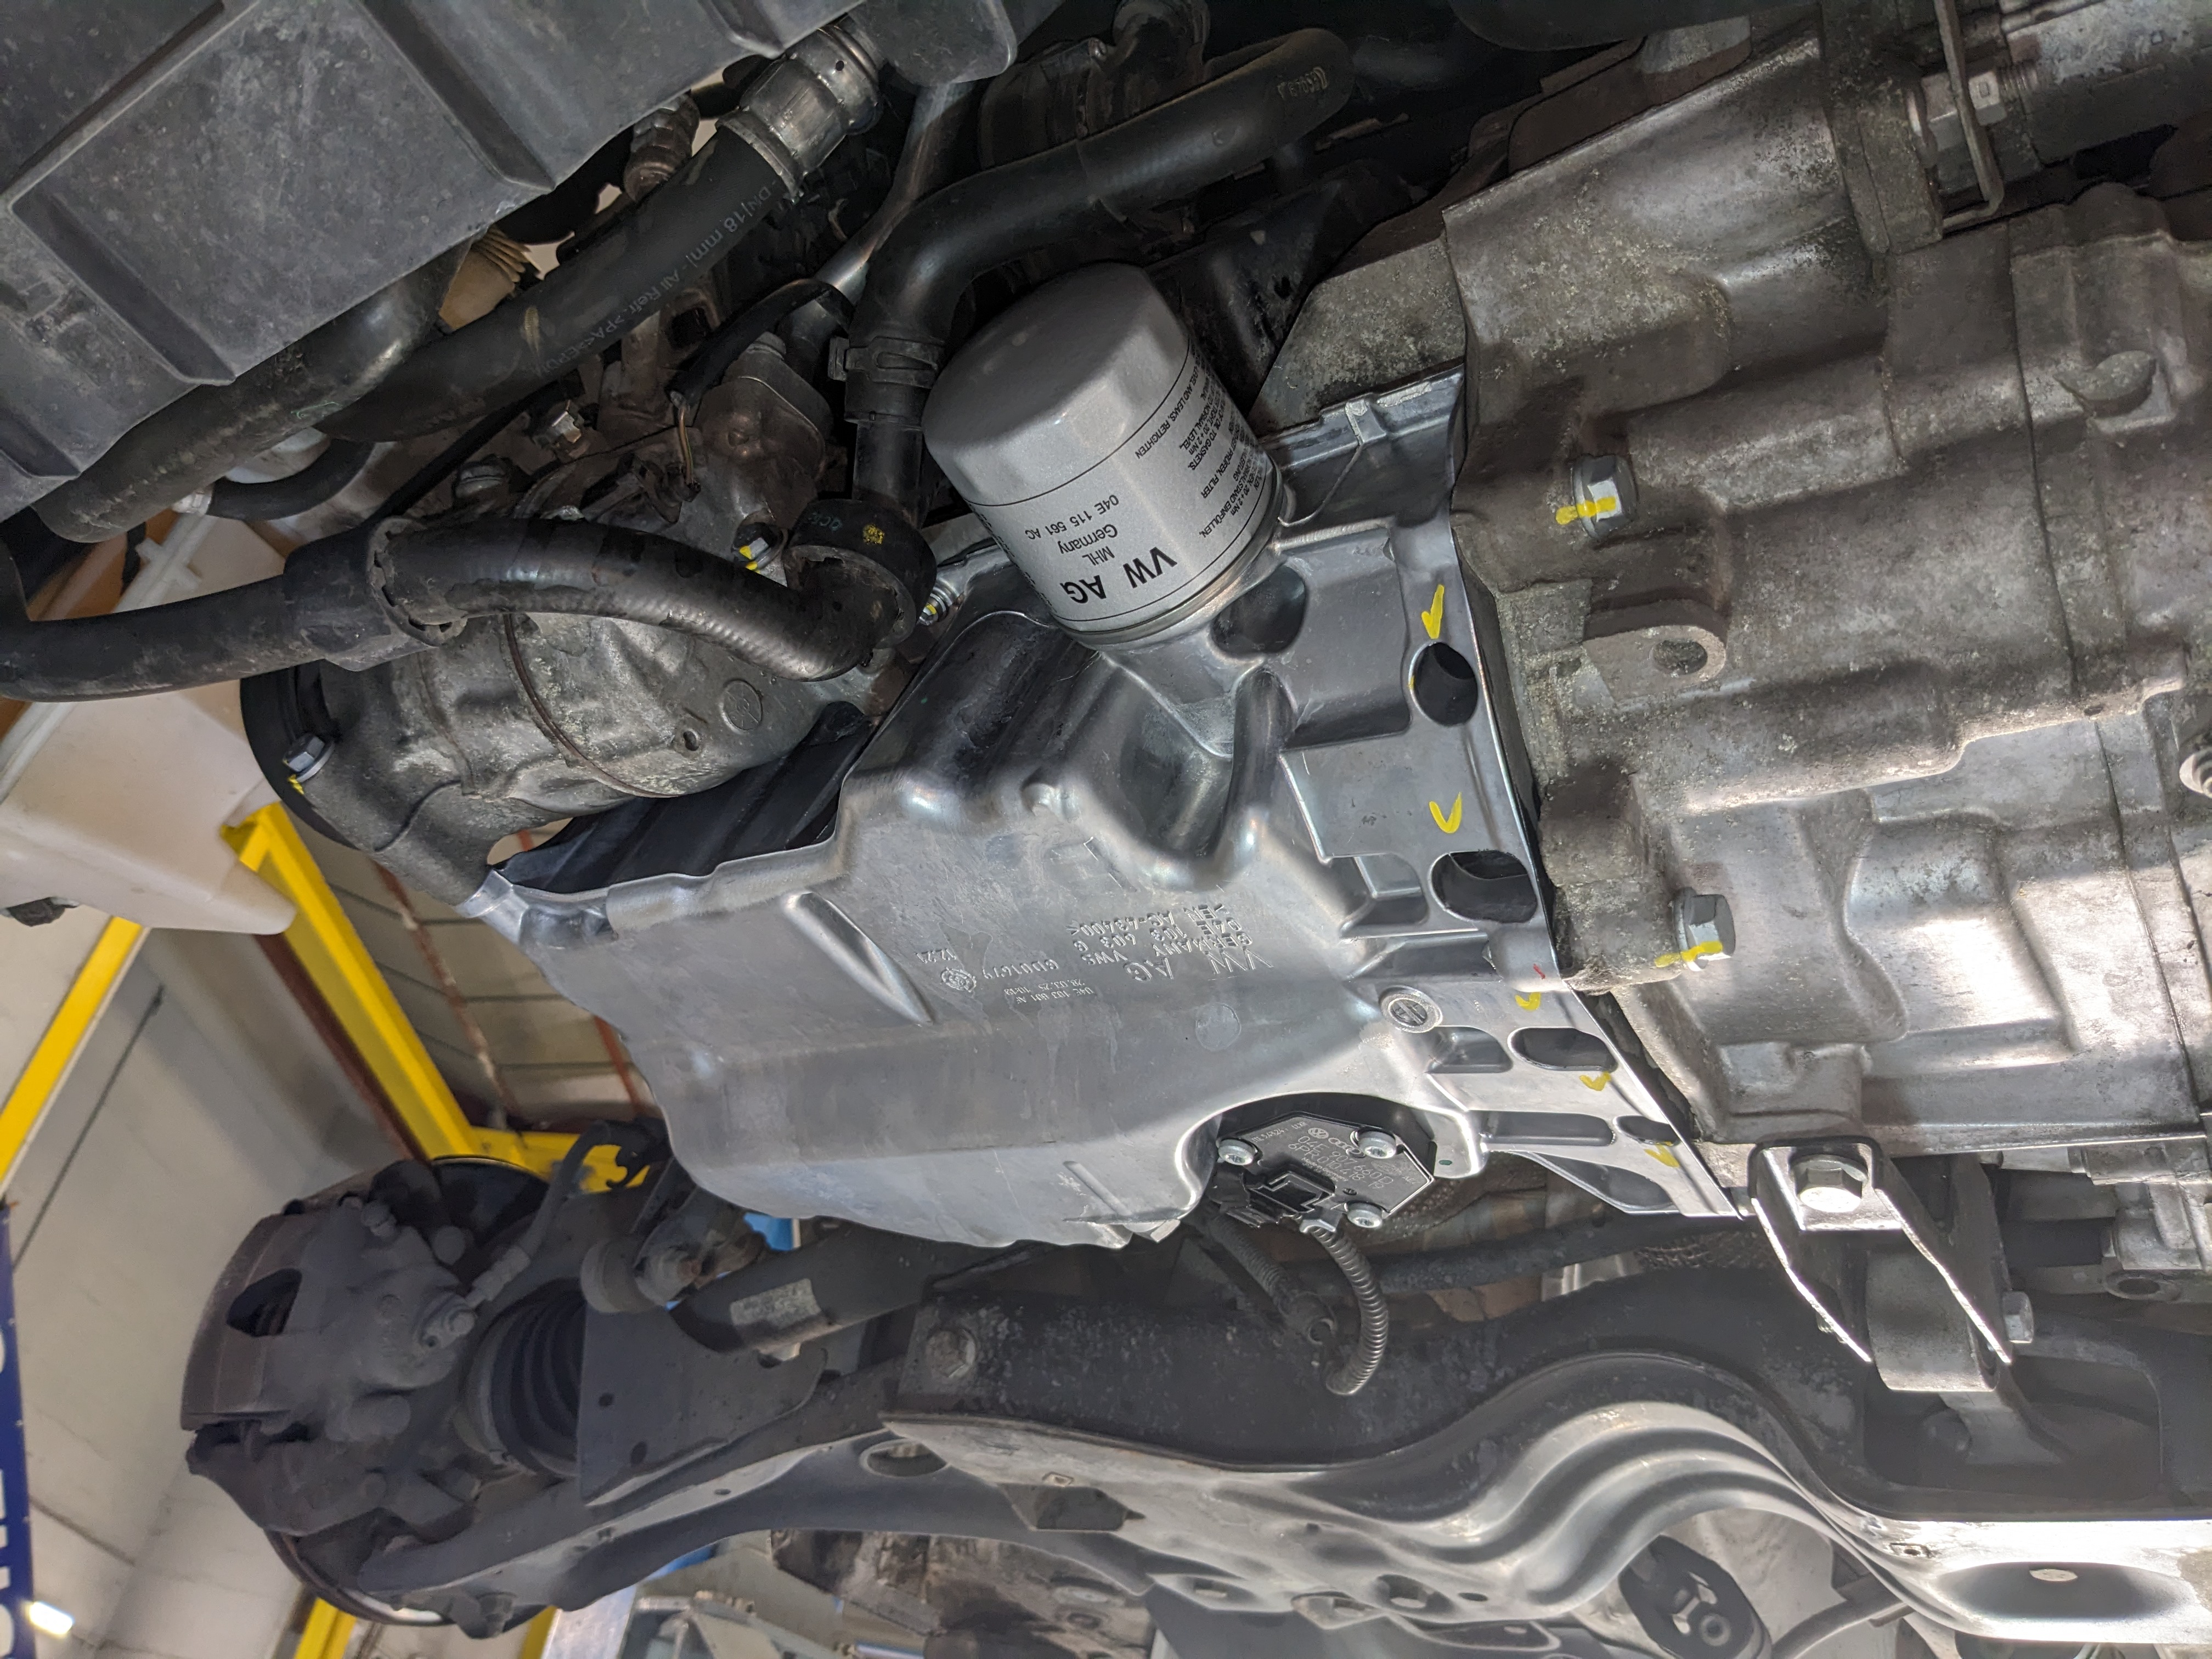
- Tightening the casing screws: 8Nm + 90°
- Tightening the gearbox screws: 40Nm
- Tightening the air conditioning compressor screws: 25Nm-+2Nm
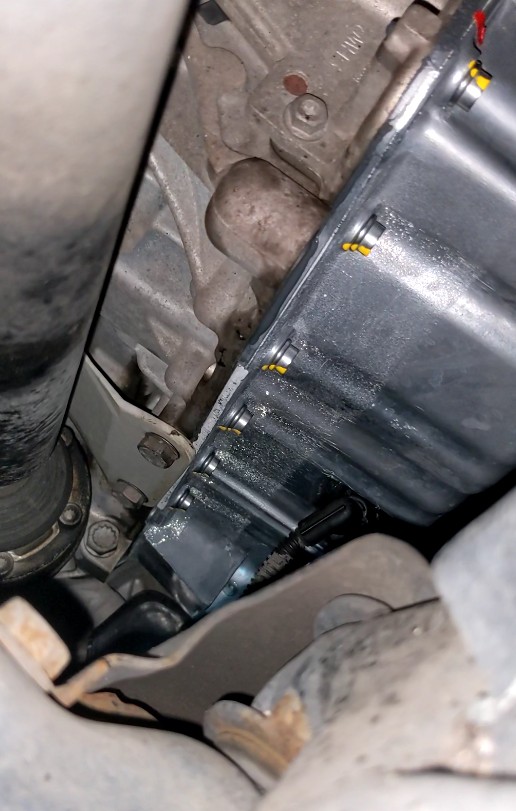
They didn't cause any problems. Angle thightening was good and apart from one (oil pan screw: when tightening at an angle, it feels a little bit off), the feeling was good. No impression of stripping all the threads with each tightening.
- PXL_20250929_152620924.jpg (2.91 MiB) Viewed 1726 times
- PXL_20250929_152613308.jpg (2.97 MiB) Viewed 1726 times
- PXL_20250929_152606499.jpg (2.78 MiB) Viewed 1726 times
Once again, I had doubts about the ability of the specific tool I had purchased to handle the tightening torque and angular tightening for two screws. But that wasn't the case at all; it was perfect.
In fact, two screws are quite off-centre in relation to the hole in the casing, and VW, to remedy this (without removing the box), offers the tool I posted a little earlier.
VW recommends a drying time of 30 minutes before refilling with oil (this may vary depending on temperature and humidity conditions).
To be on the safe side, we waited an hour...which is how long it took us to finish tightening the casing, reassembling the compressor and gearbox screws, plus a few other few things (inspections etc...).
Fill with oil and start up. The car will have been running for 15 minutes: all clear.
No leaks.
Back home, I check under the car: all clear.
- Capture d’écran 2025-09-29 211836.jpg (92.29 KiB) Viewed 1726 times
However, I notice that my oil temperature is higher than usual.
It was 17°C when I set off, and once warmed up, it was around 100-102°C on roads at 90 km/h, and at 130 km/h, it reached 108°C.
I'm used to driving it and I admit that it surprises me a little, no doubt because the new sensor has a different calibration. I'll check tomorrow with the VCDS when the engine is cold. The oil should have the same value as the outside temperature.
Conclusion:
Very pleased with myself, even though I could have done without this kind of work. After that, it allowed me to see the condition of my internals and the small size of the crankshaft: a toy

No false notes except for the gasket (it could have been better), a screw that didn't feel quite right when tightening it, and the fact that the firewall is poorly fitted. But I'm probably just being paranoid.
See you at 200,000 km, hopefully with the timing belt.

