would anyone be interested in this?
could open this up to others on uk-polos
could be worth doing as its certainly a good mod to any car
following the lighting topic...HID group buy?
-
LowPoloCo.
- Silver Member
- Posts: 397
- Joined: Sat Sep 09, 2006 5:28 pm
- Location: Hampshire
-
poloecosse
- Bronze Member
- Posts: 188
- Joined: Thu Mar 02, 2006 7:53 pm
- Location: Edinburgh
-
mc_iver_9n
- Gold Member
- Posts: 775
- Joined: Tue Nov 15, 2005 12:14 pm
- Location: Newbury, BERKSHIRE
-
LowPoloCo.
- Silver Member
- Posts: 397
- Joined: Sat Sep 09, 2006 5:28 pm
- Location: Hampshire
-
LowPoloCo.
- Silver Member
- Posts: 397
- Joined: Sat Sep 09, 2006 5:28 pm
- Location: Hampshire
-
LowPoloCo.
- Silver Member
- Posts: 397
- Joined: Sat Sep 09, 2006 5:28 pm
- Location: Hampshire
Sadly there is a lot more involved than just swapping bulbs, hid stands for high intensity discharge and these bulbs work with balasts, and ignighters rather than just our hallogen bulbs, which are simply a small piece of wire in an inert (i.e. unreactive) gas (halogen, really good ones xenon) which enables light to fill the bulb.
The idea of HID is a lot more technical to understand, but in short HID bulbs get so hot they basically melt metals into a plasma, this burning plasma creates an enourmous amount of light, which combined with a xenon isolated gas chambre produces about 300% more light than traditional bulbs, which as i said earlier just get a bit of wire really hot, in a chamber filled with an inert gas. The light actually comes from atoms and elements coliding.
One of the cool things about HIDs is that you can specify the 'blueness' of the bulb because the so called "arc" can me made of many compositions, and that is what decides the wavelength (and therefor color) of the light emited from the bulb.
The balasts that you asked about are there to regulate current and voltage, and are essential.
h7 ad h4 are bulb sizes, my polo 9N is h7 dipped and h1 main beam (h1 is the thin one, h7 the normal looking one).
I hope that all this makes sense?
-
chris4500uk
- Bronze Member
- Posts: 124
- Joined: Tue Jan 09, 2007 10:00 am
- Location: Middlesbrough
-
M7
- Gold Member
- Posts: 658
- Joined: Sun Jul 18, 2004 11:55 pm
- Location: Newcastle & East Mids
- Contact:
yes, its a kit not just a couple of bulbs
taken from my local car site....
taken from my local car site....
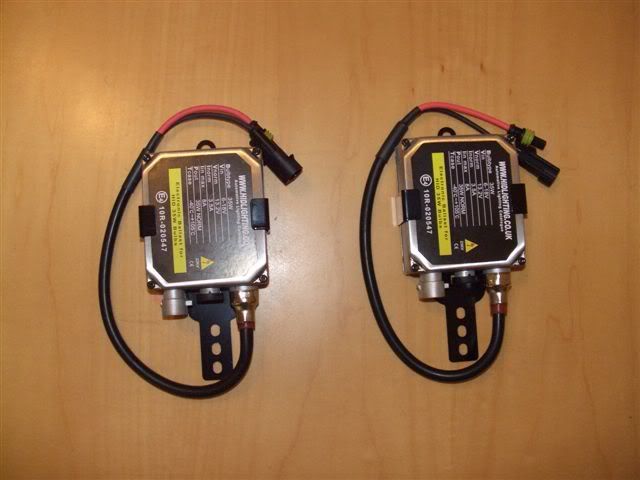
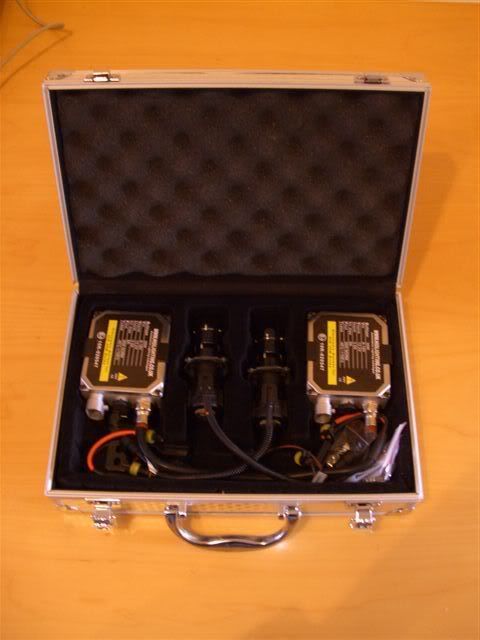
this is what you get with the kits:
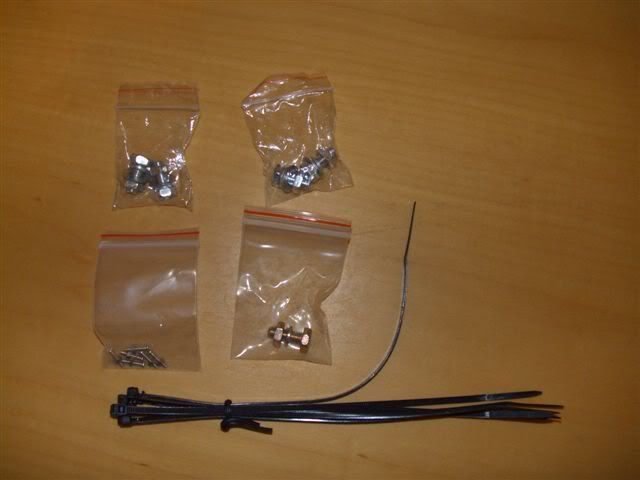
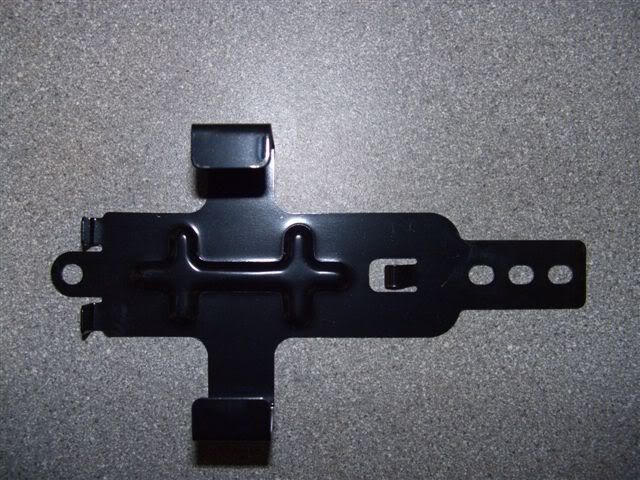
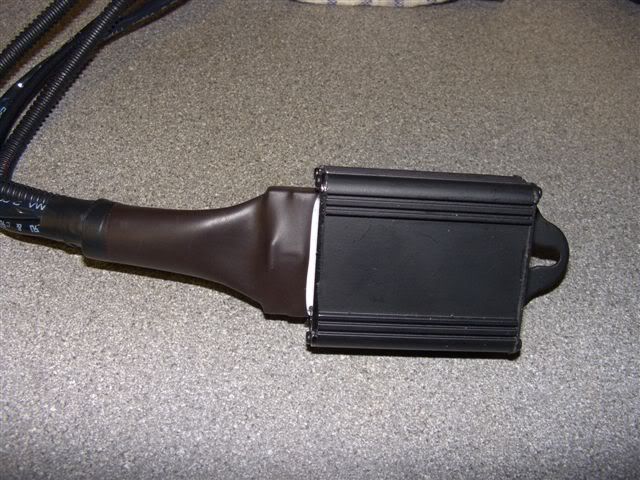
2x control units and brackets:
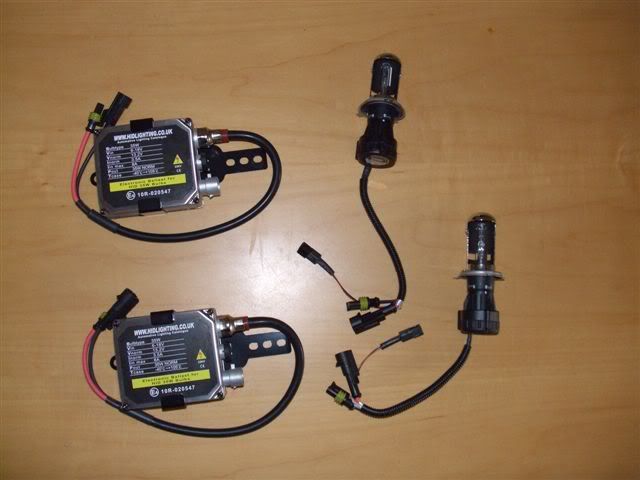
2x xenon Hid bulbs with integral igniters:
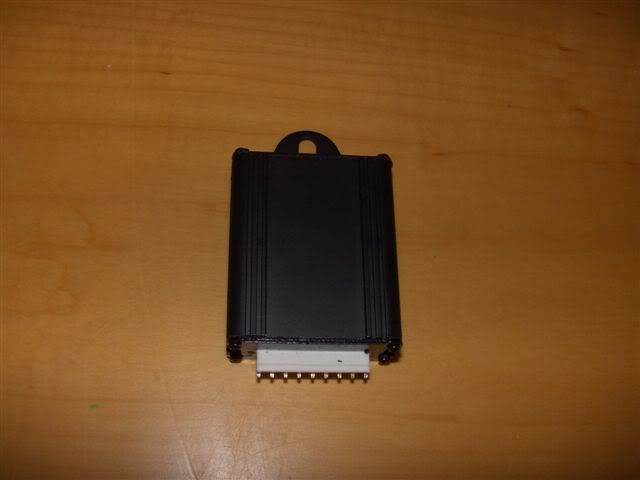
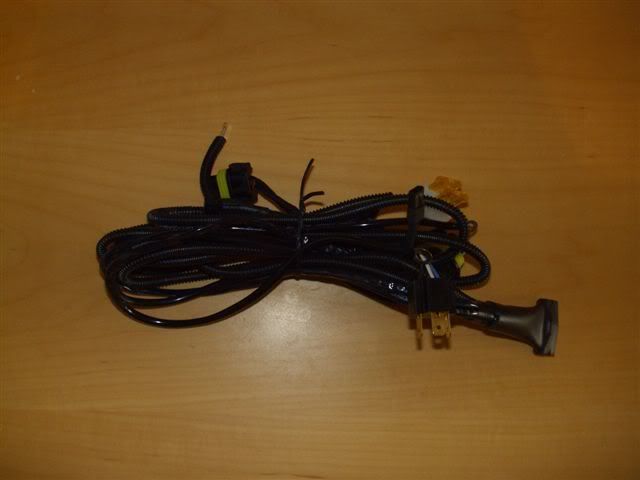
1x relay/ecu unit to control the main beam/flash:
1x wiring harness:
1x fitting kit:
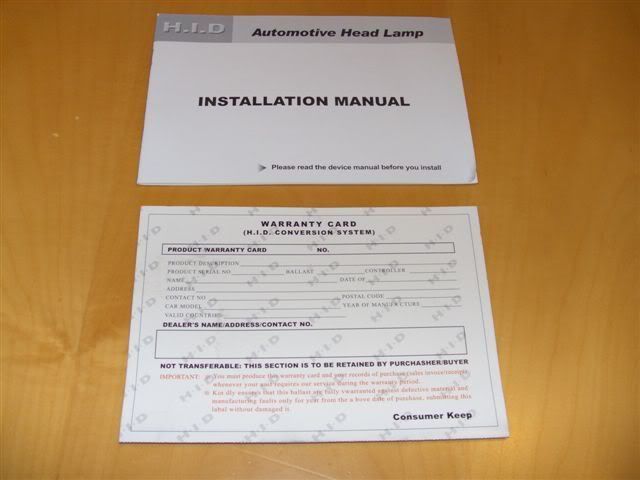
instuctions and warranty card:
all goes into a rather nice case:
------------------------------------------------------------------------------------------------
to fit the kit allow yourself 30 mins to make a good tidy job. its as simple as this:
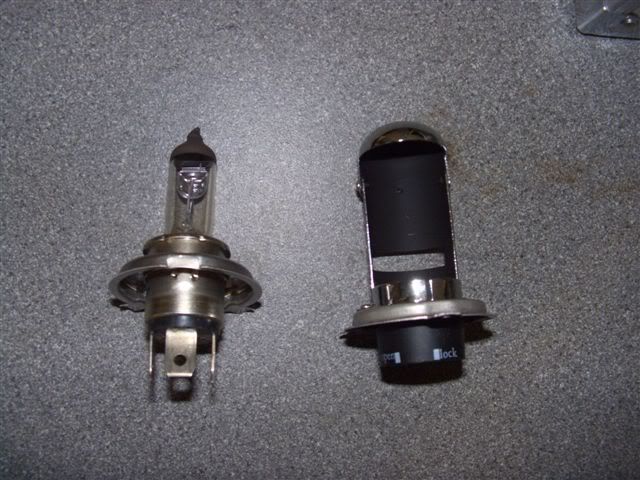
first remove the old bulbs from the lights:
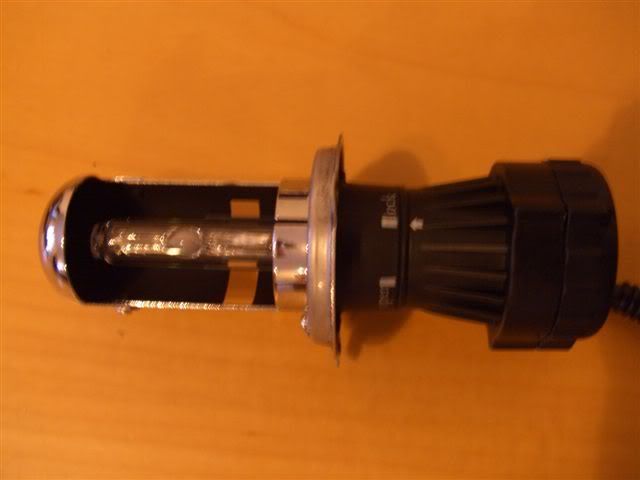
they look like this compared to the Hid bulb carriers:
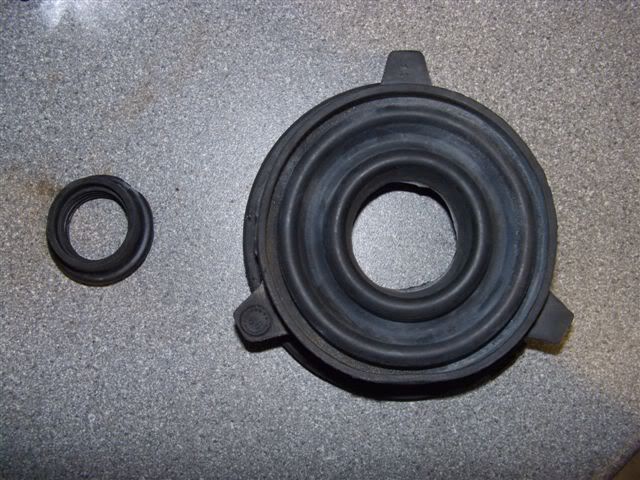
trim the inside from the old dust covers to fit over the new bulb holders:
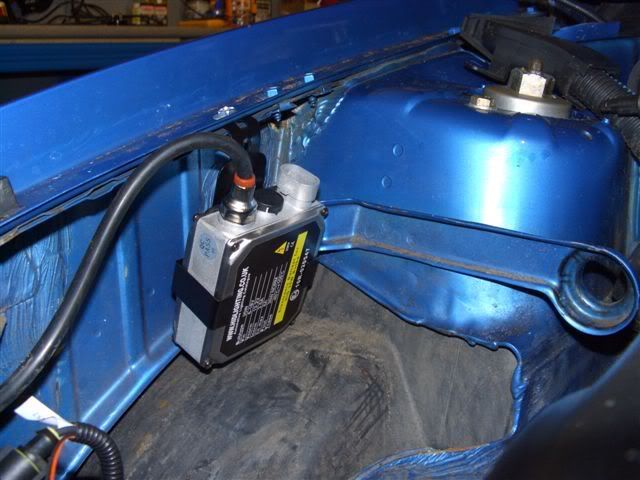
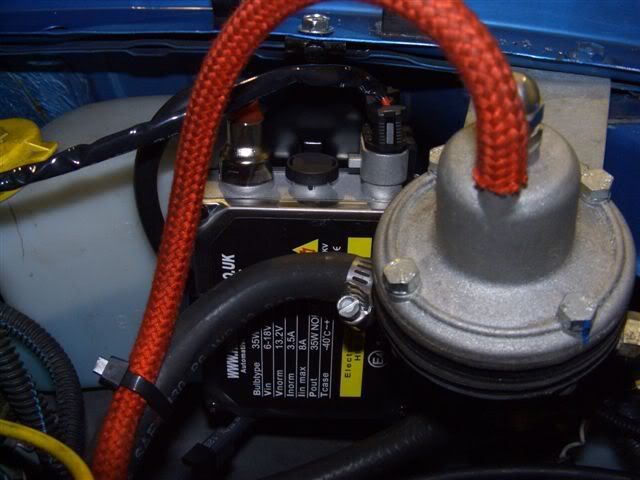
take the brackets:
and position them in a suitable place using the bolts provided and clip in the control boxes:
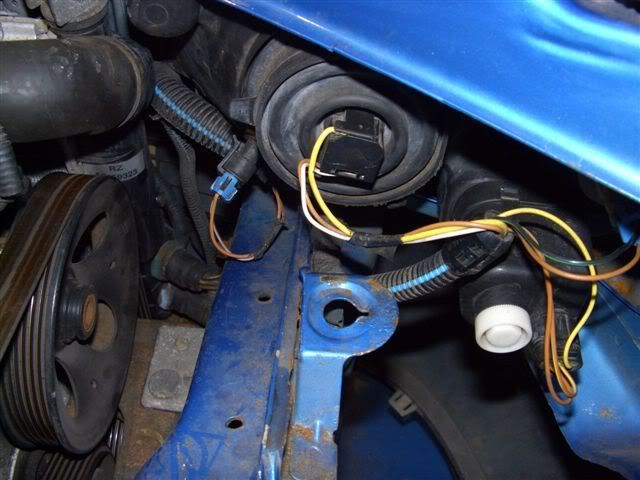
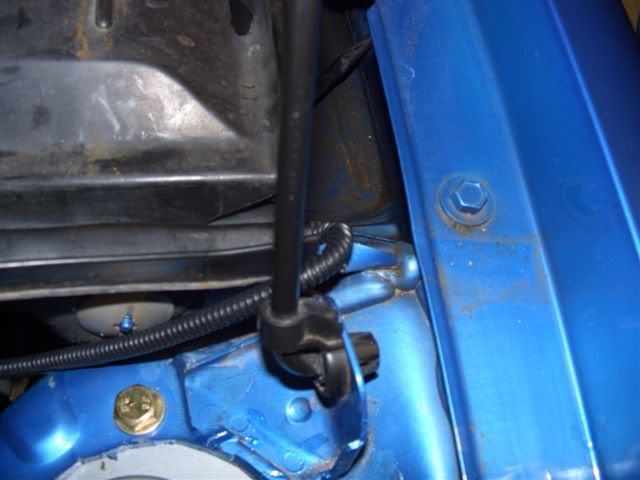
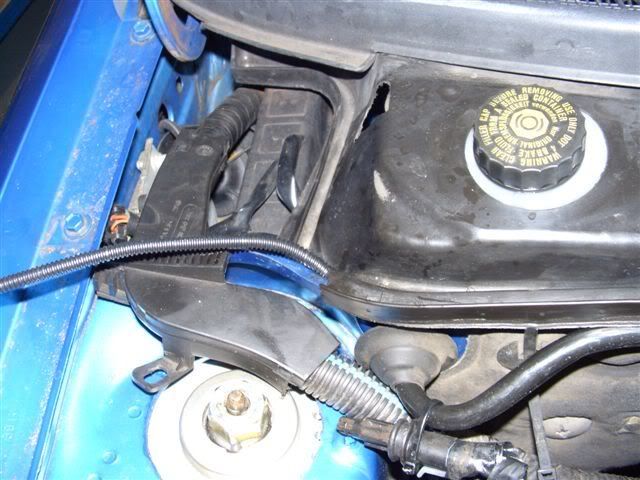
take the wiring loom and run it from one side of the bulhead to the other, I tucked it under the scuttle panel cover thingy:
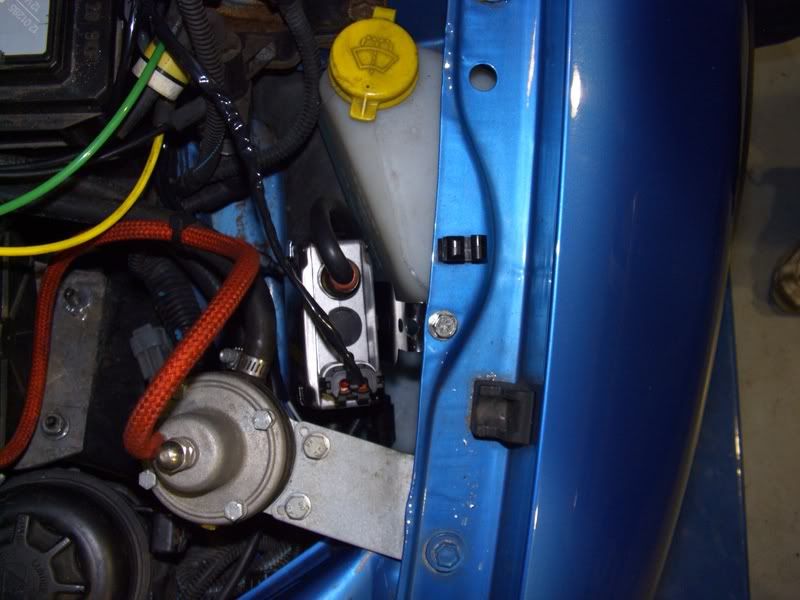
plug in the relay/ecu unit to the loom and fix in a suitable position (I tucked it behind the battery) :
plug in the plugs from the wiring loom to the ballast boxes:
fit the dust covers and the new bulbs into the holders, they lock into place nicely. and connect the plugs to the control boxes (I forgot to fit the covers for the pic) :
then connect the 2 earth wires that are on the wiring loom (I used the fixing bolts that I held the brackets in place with) and 1 positive to the battery.
tidy up the wires using the cable ties provided and fir up the lights. its reccomended to leave them on initially for 10 mins for them to stabilise then stand back and admire your work
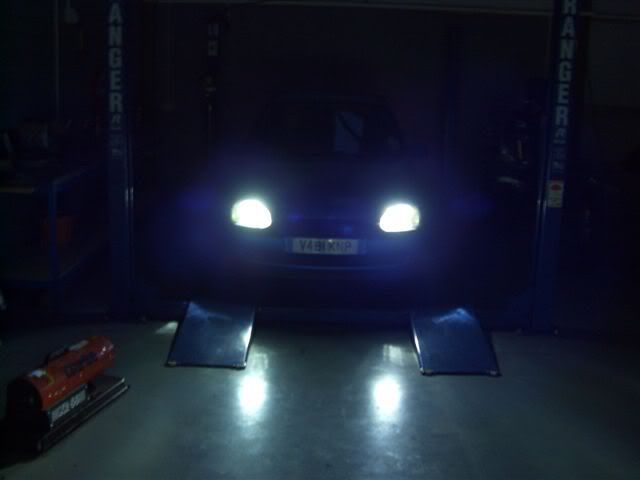
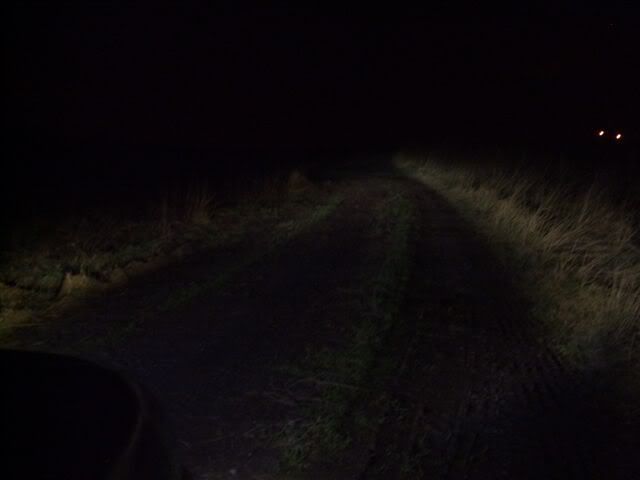
dipped beam:
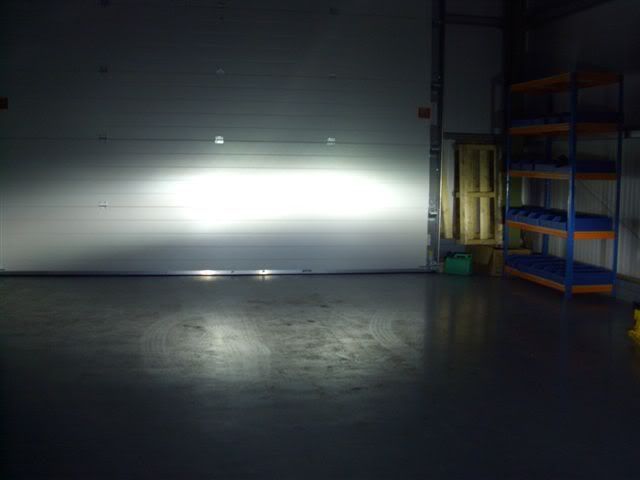
they give a fantastic beam pattern:
the differnce is unbelievable:!
no lights:
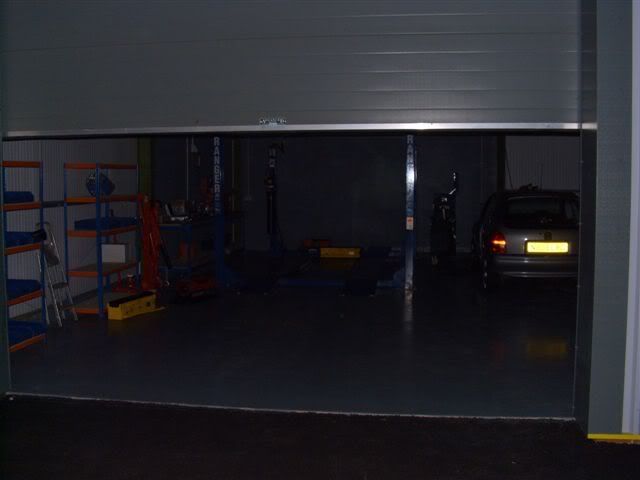
old halogens:
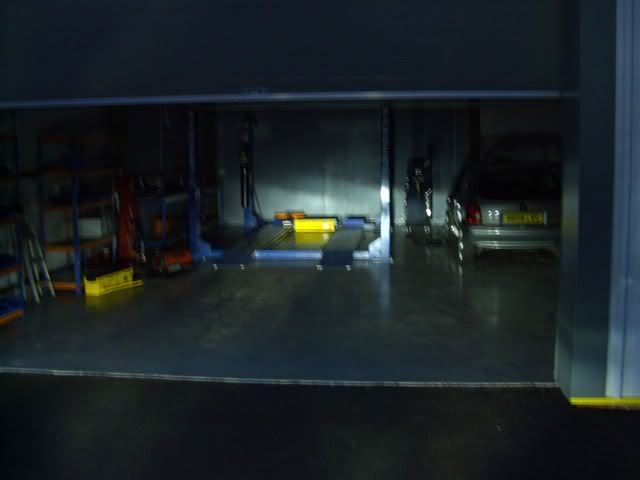
Hid:
old halogens:
Hid:


-
carmadaaron
- Bling Bling Diamond Member
- Posts: 4350
- Joined: Fri Mar 12, 2004 8:55 pm
- Location: Scotland