Hey guys, just thought i would begin a thread on my newly purchased 6n2 Polo GTi. Today i purchased an 'X' reg, 3 door Polo Gti 6n2 in red. Its got 64,000 miles on the clock. The only problems with the car is that the Cambelt and auxiliary belt need replacing. With that, i managed to pick the car up for £1900. I'm picking up the car on friday, so ill be posting pictures that night or the following morning.
Anyway, just wanted to share my future plans and maybe get some help into my plans. My intended mods for the car are as follows;
-heated leather seats put in the car
-double din sat nav head unit (volkswagen unit only) (any threads into this ie having the arial for sat nav)
-deep detailing including door pulls re sprayed, headlights wet sand and polished, alloy wheel refurb
-cambelt and auxilary belt
-k&n typhoo or any other recommended air intake or induction kit
any other ideas and suggestions would be great. Also if anyone see's anything decent floating around the internet please do post!
Tom's Polo GTi Thread

Re: Tom's Polo GTi Thread
Congrats on your purchase 
Great plans so far! Get some photos up soon, always nice to see a new polo to he group
This might help with the HU Request a bit
http://forums.clublupo.co.uk/index.php?showtopic=80958
Great plans so far! Get some photos up soon, always nice to see a new polo to he group
This might help with the HU Request a bit
http://forums.clublupo.co.uk/index.php?showtopic=80958
Re: Tom's Polo GTi Thread
I haven't written a post on here since I bought my car! I am embarrassed. I thought i would find the time to fill you guys in with what I have got and what I've done so far. Also had a change of heart on some of the mods I wish to do and also alot of things to add to the list.
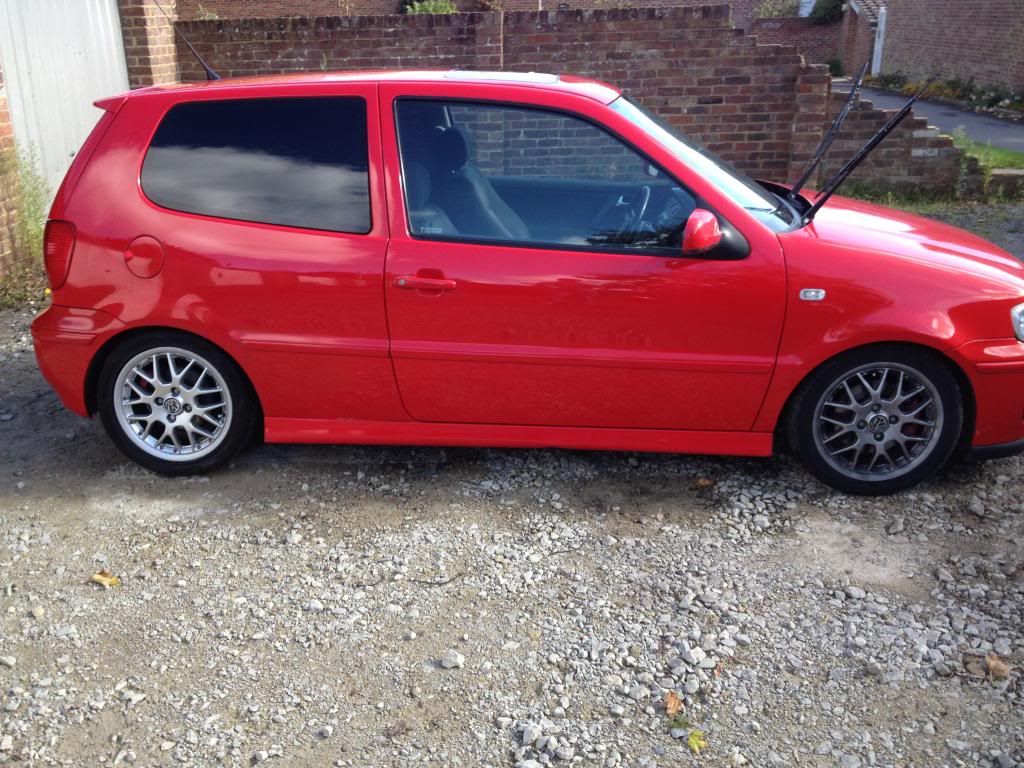
Right. I'll start from the beginning I guess! So i picked up the car on Friday the 14th of September 2012 for £1900. here is my purchase in photo form;
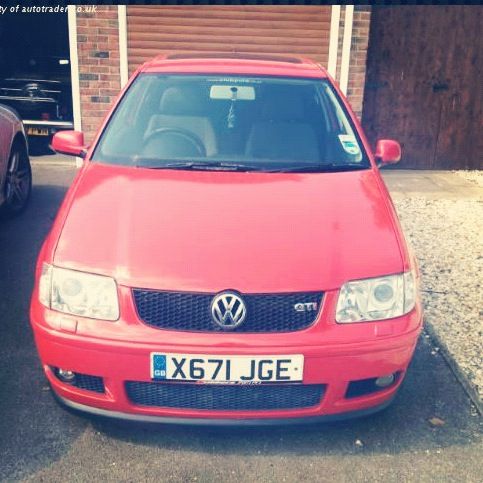
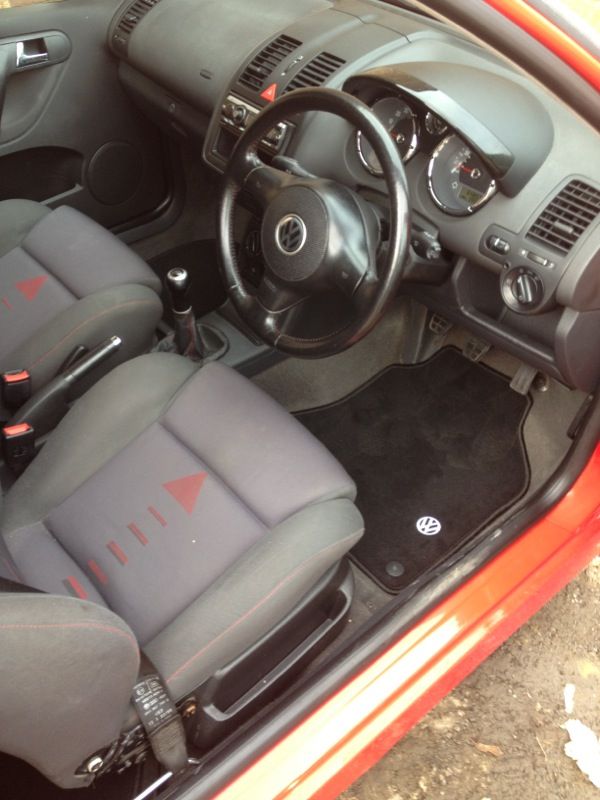
As you can see its a red one! Also its a 3 door. I have heard that these are fairly rare, haven't seen too many about in my area, so with the price I paid, I think I grabbed myself a bargain. It's a fairly basic one, but never-the-less, I'm pleased with it. When I got it, it had 64,000 on the clock and was due a Cambelt change (desperately). that was my main priority. Anyway, before I bought the car I bought the Cambelt kit as well as a new water pump as I knew that the original ones had problems with the plastic impellers and also I got myself a axillary belt as the one on their was a bit squeaky. Picked all of this up from Volkswagen for £220. Thought that wasn't too bad for Volkswagen bits. Nothings better than the Volkswagen official! Anyway after a couple of weeks of good work, I managed to gain the funds to send the car in to the local garage to get the Cambelt done. I would have attempted it myself, but I didn't want to knock out the timing and risk not having a car for a couple days.
Onto the more fun bits, in regards to not blowing loads of money. When I picked it up, I noticed that the car was pretty grim. It looked like it has been sitting in a swamp for days. The algae build up was awful. So I decided to get the snow foam out
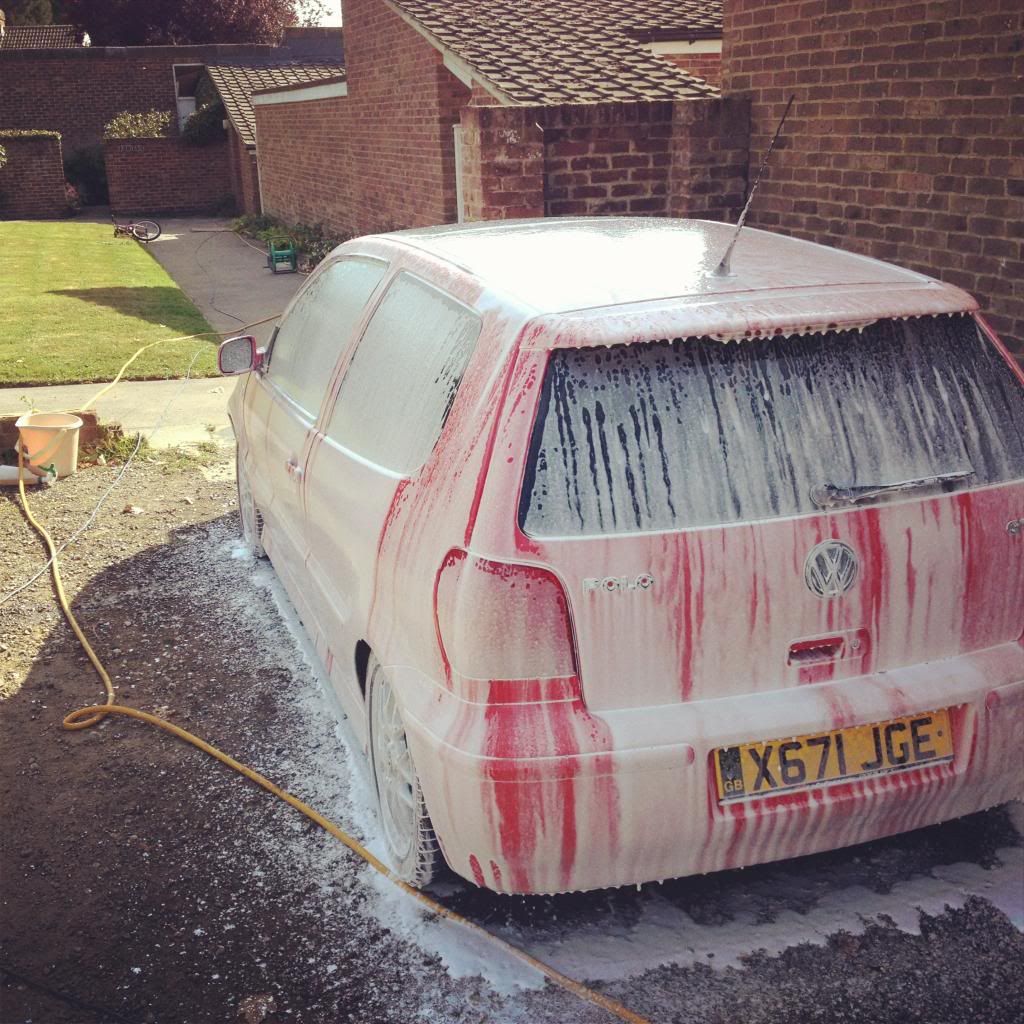
After a pre wash, snow foam, rinse, shampoo wash, clay, polish, wax and seal, the car was finally clean! my next priority was to sell the lupo. This was a sad day, here's a picture to the lupo
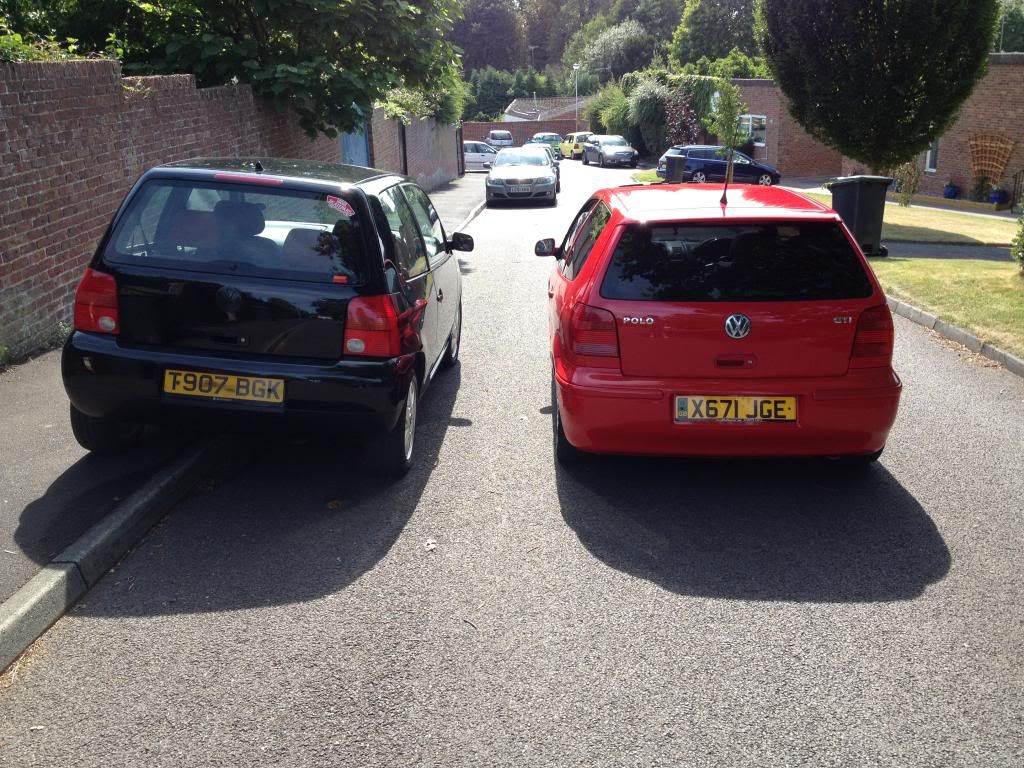
They make a pretty good couple don't you think?
Right. I'll start from the beginning I guess! So i picked up the car on Friday the 14th of September 2012 for £1900. here is my purchase in photo form;
As you can see its a red one! Also its a 3 door. I have heard that these are fairly rare, haven't seen too many about in my area, so with the price I paid, I think I grabbed myself a bargain. It's a fairly basic one, but never-the-less, I'm pleased with it. When I got it, it had 64,000 on the clock and was due a Cambelt change (desperately). that was my main priority. Anyway, before I bought the car I bought the Cambelt kit as well as a new water pump as I knew that the original ones had problems with the plastic impellers and also I got myself a axillary belt as the one on their was a bit squeaky. Picked all of this up from Volkswagen for £220. Thought that wasn't too bad for Volkswagen bits. Nothings better than the Volkswagen official! Anyway after a couple of weeks of good work, I managed to gain the funds to send the car in to the local garage to get the Cambelt done. I would have attempted it myself, but I didn't want to knock out the timing and risk not having a car for a couple days.
Onto the more fun bits, in regards to not blowing loads of money. When I picked it up, I noticed that the car was pretty grim. It looked like it has been sitting in a swamp for days. The algae build up was awful. So I decided to get the snow foam out
After a pre wash, snow foam, rinse, shampoo wash, clay, polish, wax and seal, the car was finally clean! my next priority was to sell the lupo. This was a sad day, here's a picture to the lupo
They make a pretty good couple don't you think?
Re: Tom's Polo GTi Thread
Verity, thanks for the comment! had a look at the link you posted. Massive help, thanks for that. new to all this so it took me an age to learn how to upload images haha
Re: Tom's Polo GTi Thread
Thought id follow up my post with some images and also to let you all know i have instagram and twitter, so give me a cheeky follow if your interested in that sort of thing!
Twitter - twsmith123
Instagram - tom_smith123
Twitter - twsmith123
Instagram - tom_smith123
Re: Tom's Polo GTi Thread
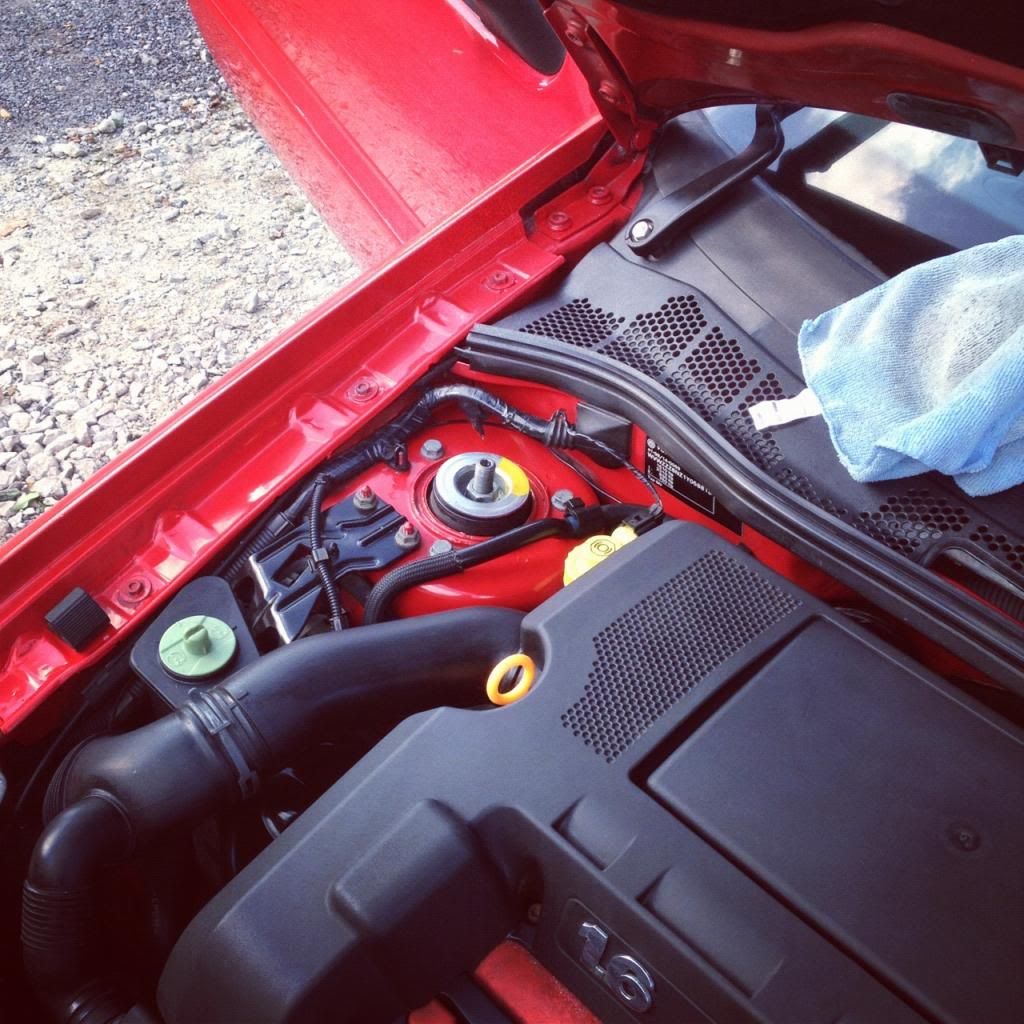
Had a bit of spare time the other day so thought id attempted to respray my rocker cover. I know its a common fault for these to peel like mine, so I decided to rub it all down and start again. How long it will last, I don't know. To make sure it lasted for as long as possible, using a paint scraper and wet and dry paper, I began to take off all of the old paint I could get too on the rocker cover. I decided to do this on the car, because I couldn't be bothered to release the tension in the Cambelts to take off the rocker cover and do it properly. Lazy I know.
After scraping off all of the paint, I then used a paint on filler primer to prime the bare mental, waited for that to dry for an hour or so, then I sprayed on a thin layer of primer with aerosol primer. This was just to make sure the whole area was covered. (please note I did properly mask up the engine bay and panels. I'm not a yob who just sprays willy nilly) Once the primer had dried, I used a very high grit paper very lightly just to make sure that the surface was smooth, then I just did an extra thin coat to make sure. I theb waited for that to dry.
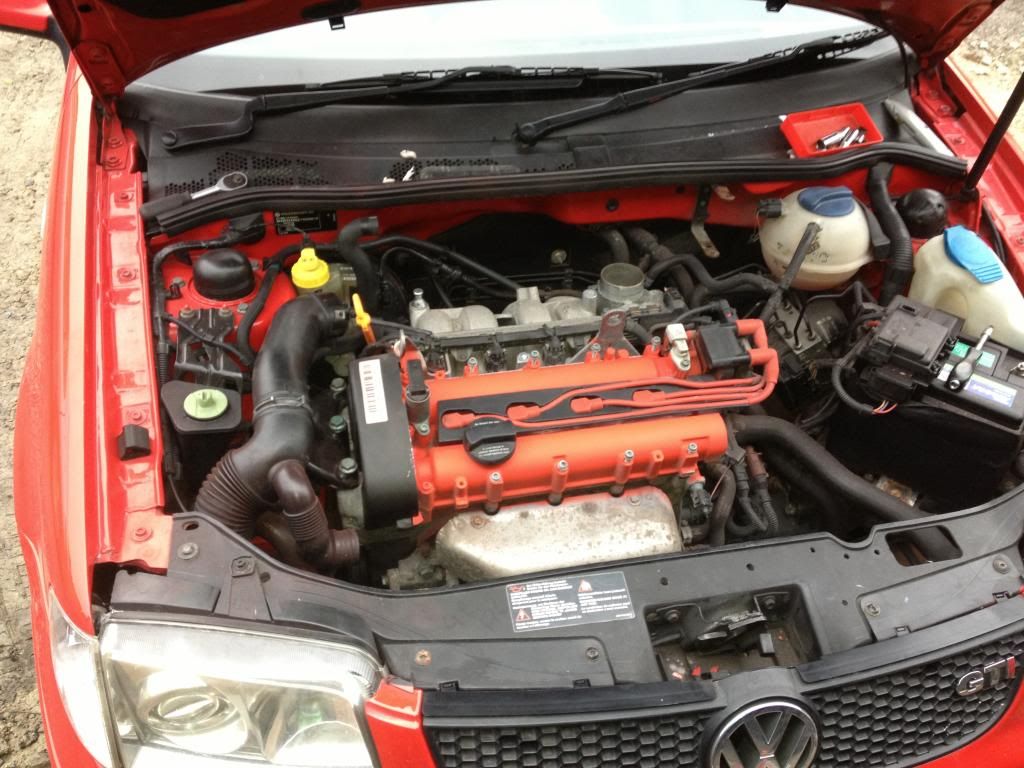
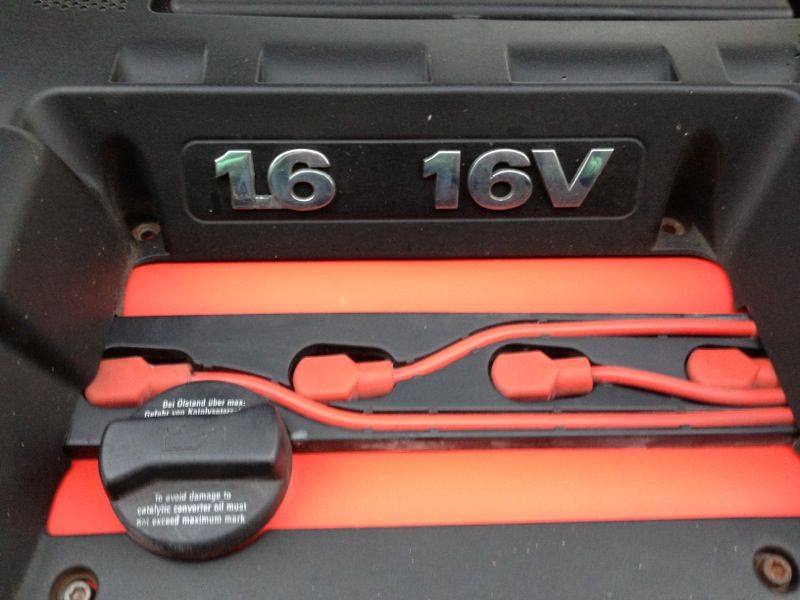
When the primer was dry, I applied thin coats of high temperature red paint to the rocker cover gradually getting thicker the more coats I applied. waited for the rocker cover to dry, inspected it to make sure it was good to go, removed the masking from around the engine bay and used a calliper cleaner to remove any overspray. Turns out i didnt mask the exhaust shield very well. Never mind. I want to polish it up anyway
Final step was putting the HT Leads, air box and engine surround all back together. Here's the before and after image for you lot to enjoy.
Before

After
After scraping off all of the paint, I then used a paint on filler primer to prime the bare mental, waited for that to dry for an hour or so, then I sprayed on a thin layer of primer with aerosol primer. This was just to make sure the whole area was covered. (please note I did properly mask up the engine bay and panels. I'm not a yob who just sprays willy nilly) Once the primer had dried, I used a very high grit paper very lightly just to make sure that the surface was smooth, then I just did an extra thin coat to make sure. I theb waited for that to dry.
When the primer was dry, I applied thin coats of high temperature red paint to the rocker cover gradually getting thicker the more coats I applied. waited for the rocker cover to dry, inspected it to make sure it was good to go, removed the masking from around the engine bay and used a calliper cleaner to remove any overspray. Turns out i didnt mask the exhaust shield very well. Never mind. I want to polish it up anyway
Final step was putting the HT Leads, air box and engine surround all back together. Here's the before and after image for you lot to enjoy.
Before
After